Alignment of Z Rails
Vertical Alignment
The Z axis, similar to the X and Y axis, uses MGN12 rails.
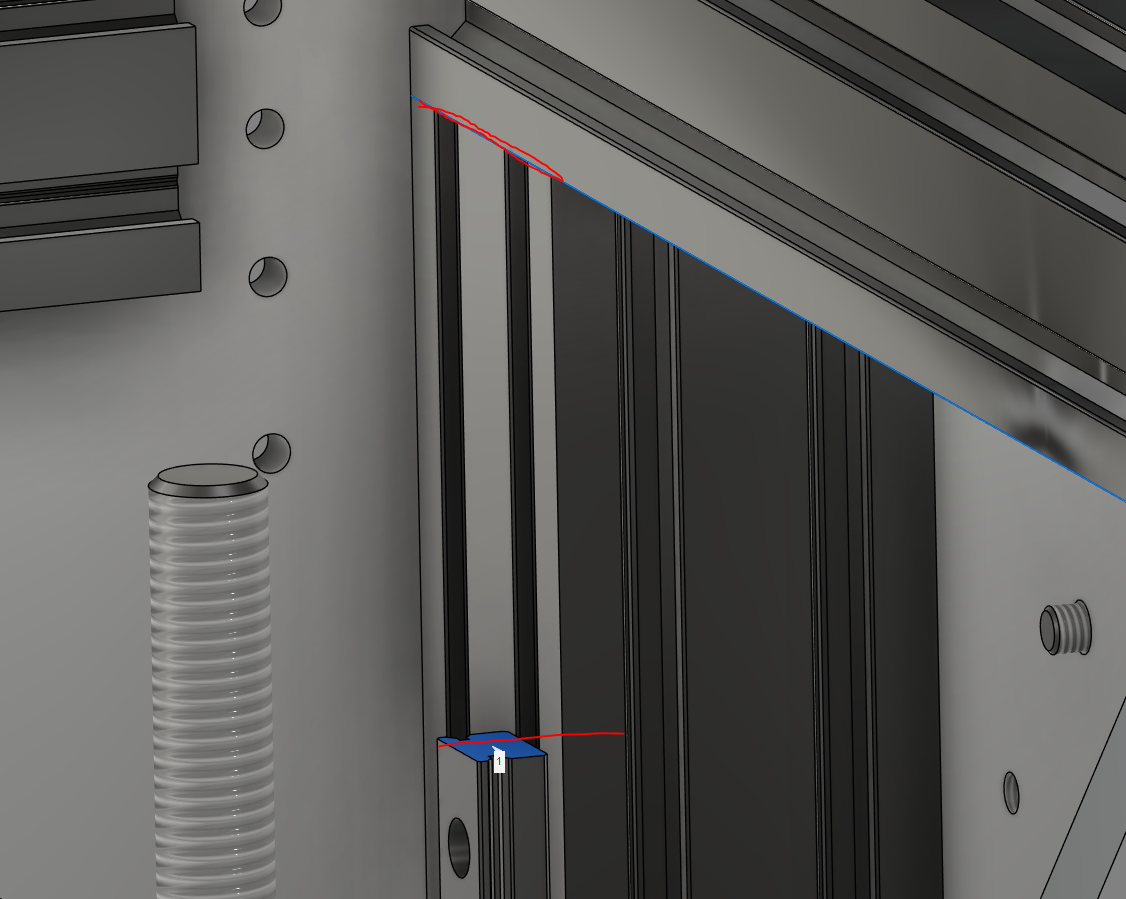
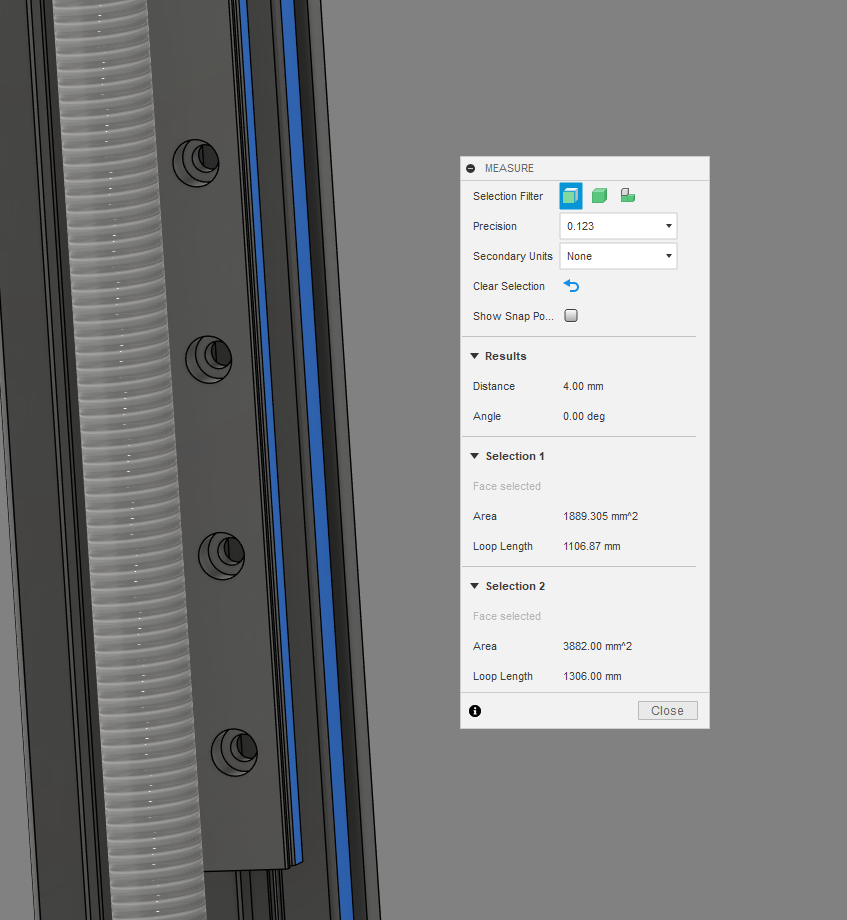
To position them centered on the 20mm Slot (Stablebot uses 4040 or 2040 extrusion) the edge of the rail will nominally be 4mm from the nearest edge, and 24mm from the farther edge.
There are tools one can print to help align the rail loosely - use at least two to help align it well.
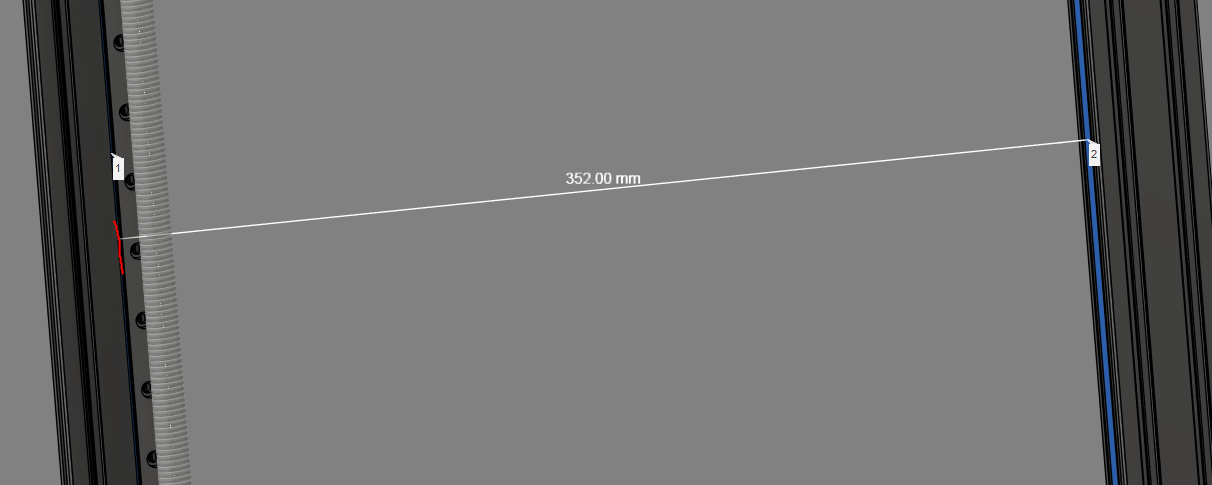
An easier reference to make is to start with the edge of the rail to the inside of the outer frame. This is measured from the red line to the closest edge of the back 4040.
This measurement is for a machine with a 500mm X dimension. Scale it for your machine size (400mm X axis would be 50mm less, 700mm X axis would be 100mm more, etc)
Vertical Height
The minimum length of the z rails should be 50mm longer than the stroke of the Z axis. Therefore, depending on the height of the rail installed, the height may vary on bottom and top.
Please ensure the full stroke of the z rails when properly trammed and printing.
Rear Z Rail:
The Rear Z Rail should be installed a maximum of 42mm from the top of the rear Z axis rod. This distance represents the absolute shortest rail allowing for maximum travel. There is approximately at least 5mm minimum of overtravel for the carriage with a 550mm rail.
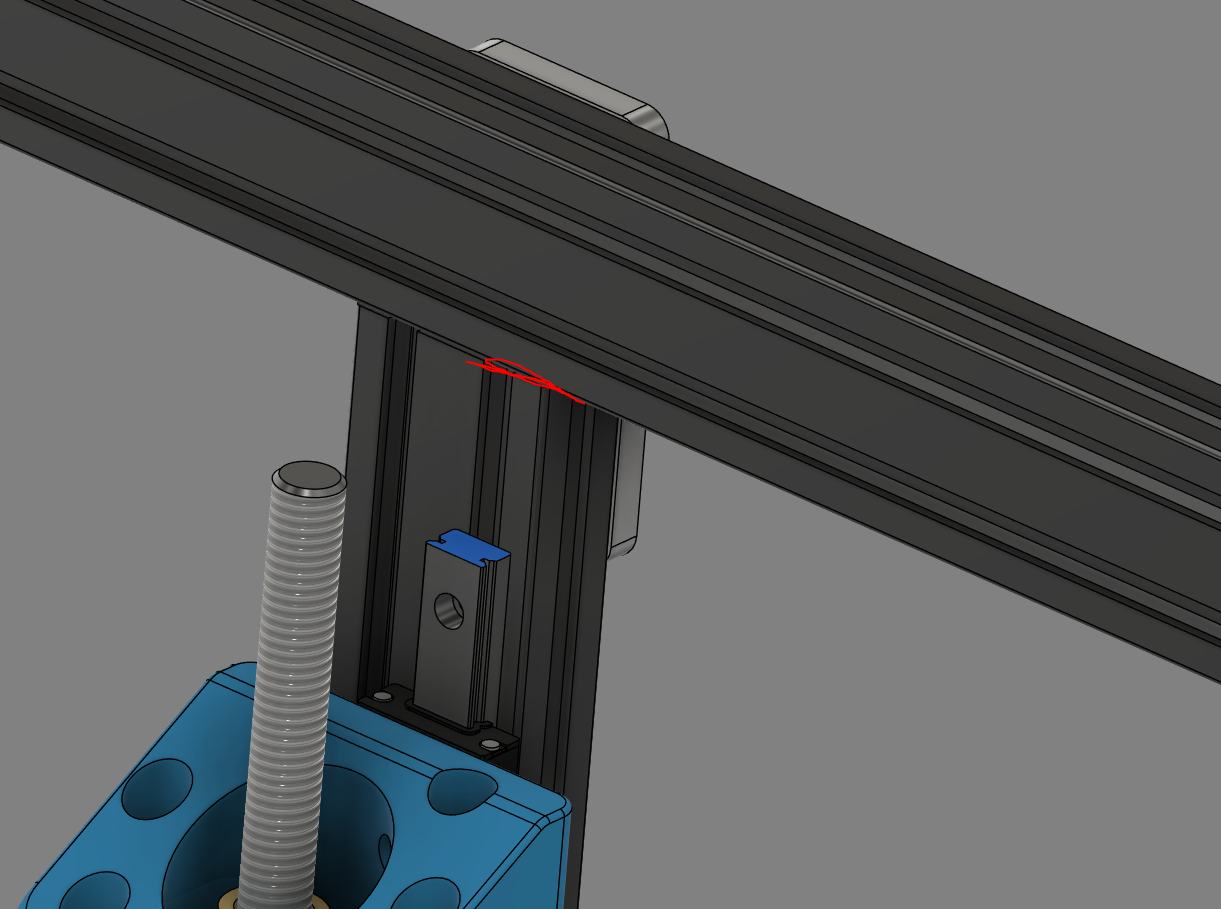
Front Two Z Rails
The Front Two Z rails should be installed a maximum of 42mm from the bottom of the front X Crossbar (which is the same height as the rear Z axis crossbar) , or 55mm from the top of the Z axis 4040 frame.