Torquing Pika Hotend Heatbreaks
These instructions apply directly to the following Pika Hotends:
Pika for Bambu X1 and Bambu P1 Series
Pika for Makers
Pika for Qidi Plus4
Pika for Snapmaker U1
Step 1:
You will need:
- Heatbreak
- Heatblock
- Torque Wrench
- Clamp/tool for holding block in place while torquing.
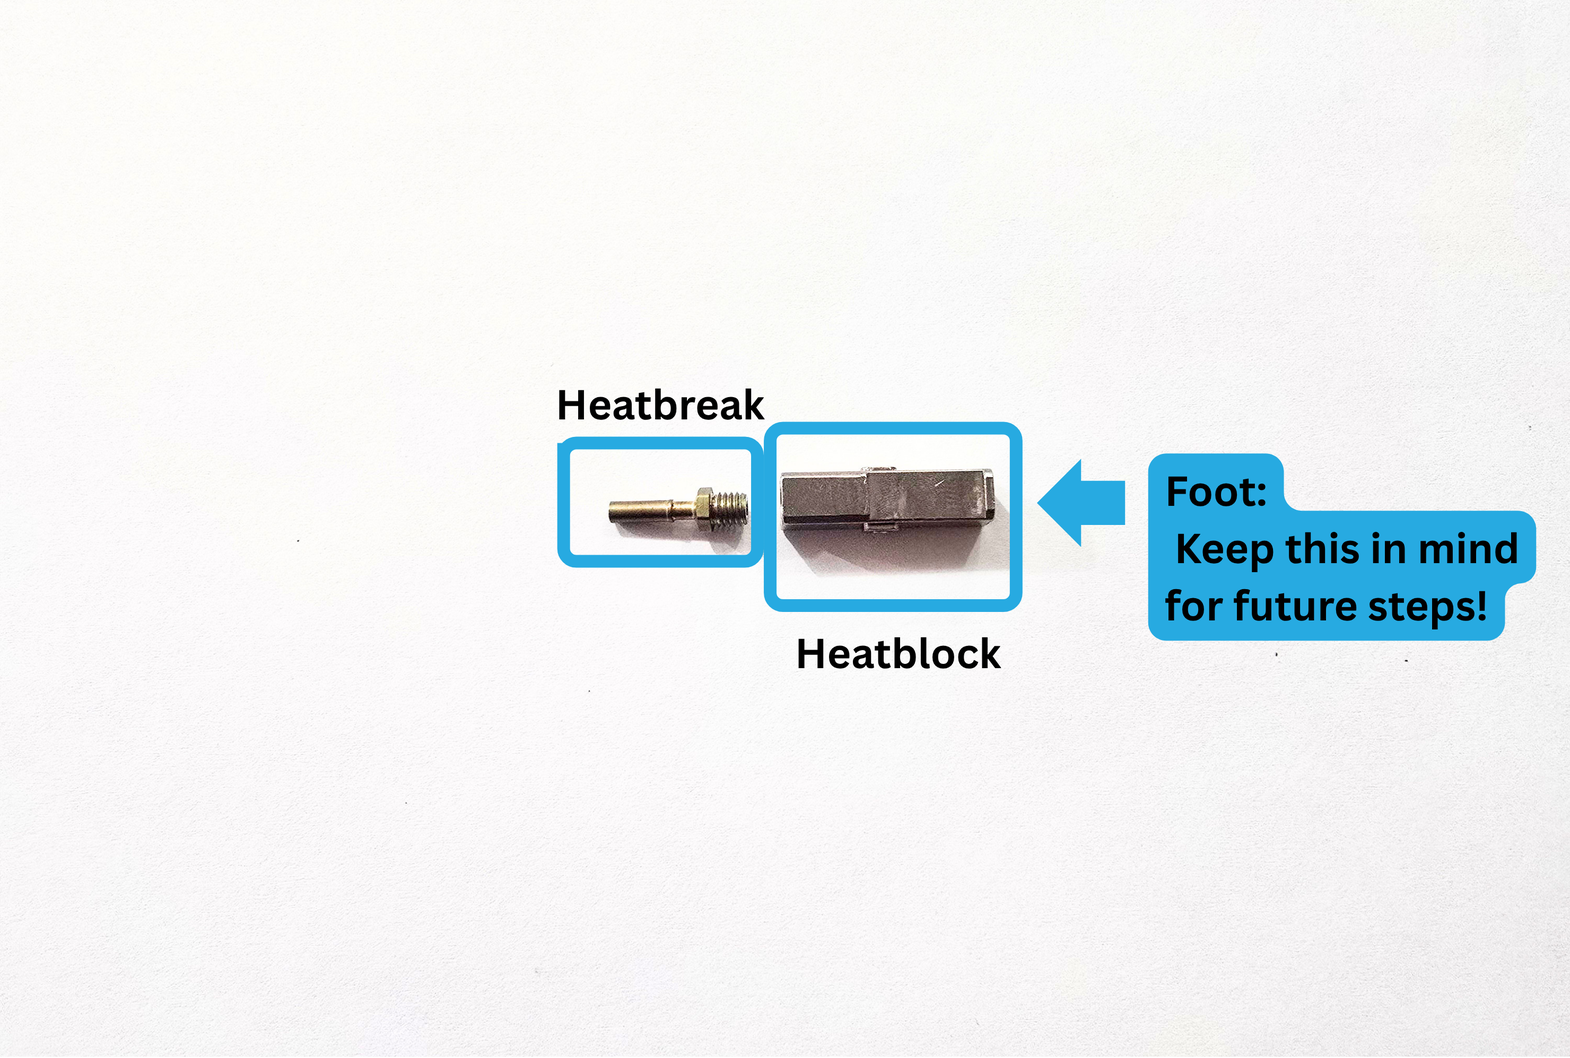
1a:
Take your Heatbreak, and insert it into the side of the Heatblock that does not have the foot.
1b:
Begin turning the Heatbreak into the threads. Keep turning until you can't.
*If it is not easy to turn with your fingers, that is okay. The torque wrench will take care of it later!
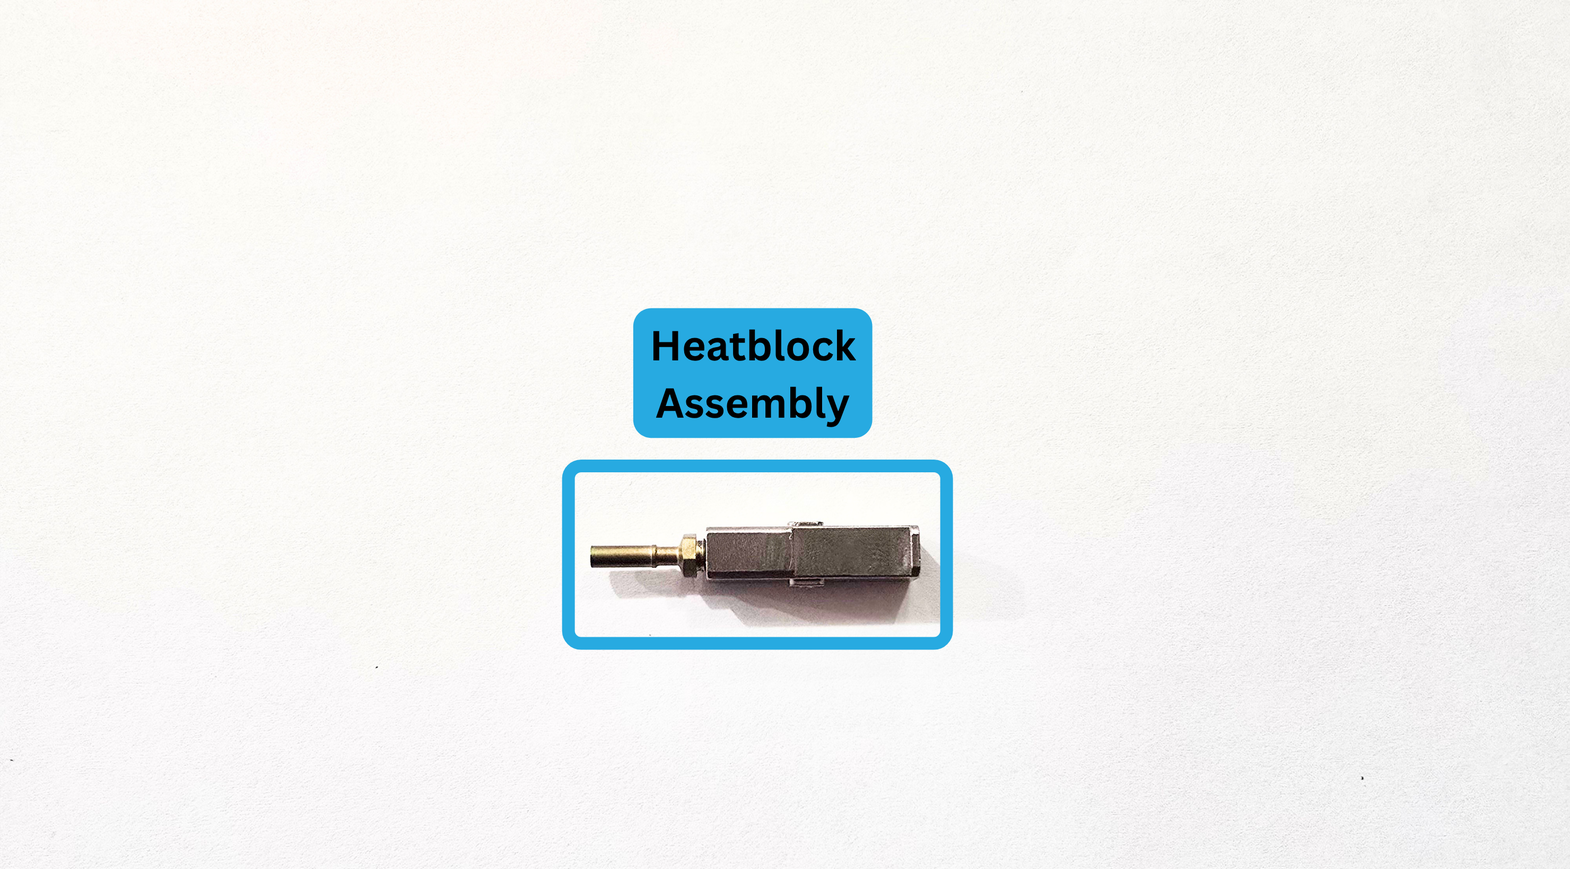
The image above is how your assembly should look before torquing.
1c:
Use a clamp to hold your block assembly in place. We use 3d printed fixturing.
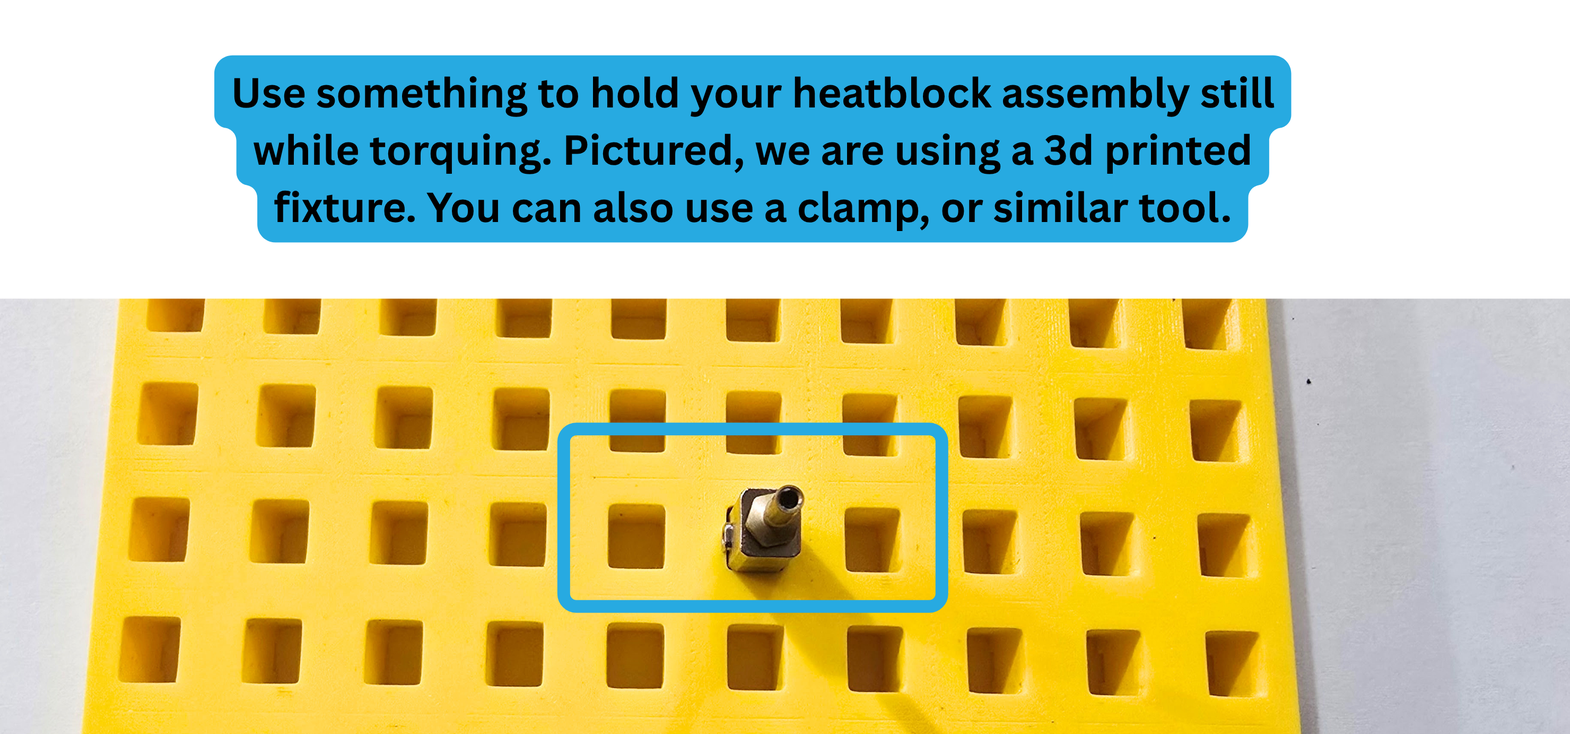
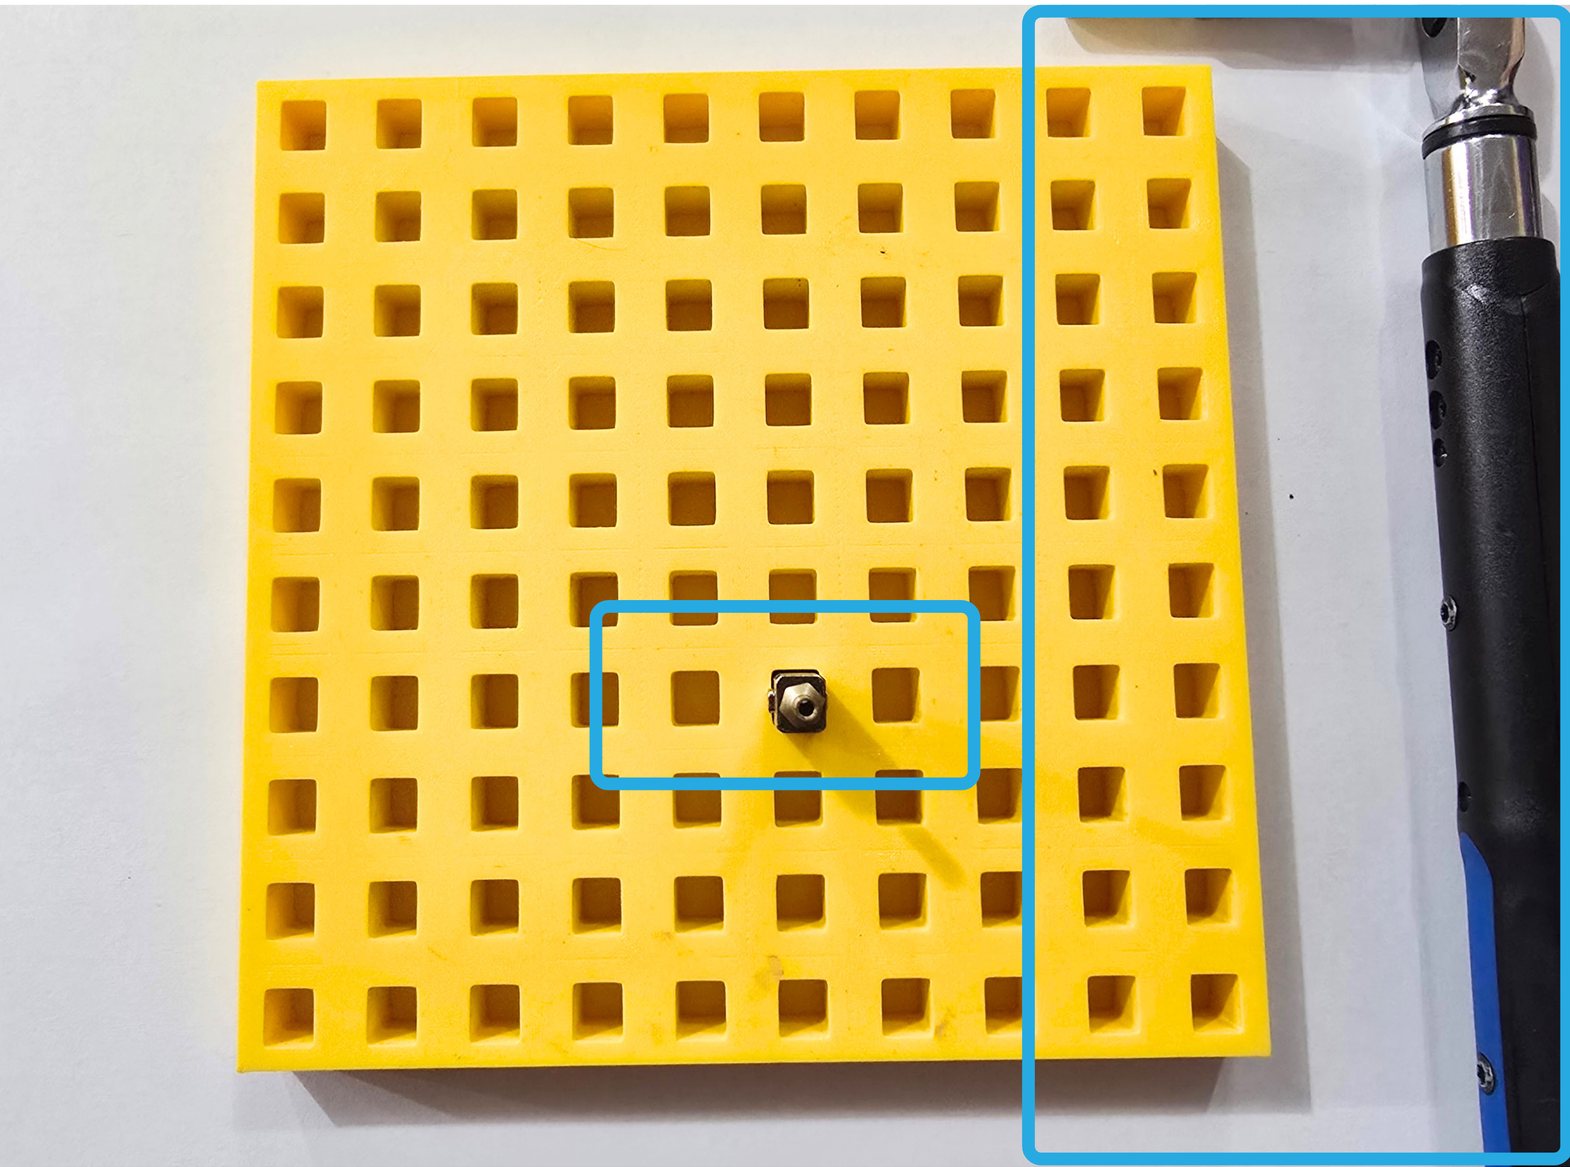
Use your torque wrench to tighten the heatbreak to 3Nm. If your heatbreak was not easy to finger tighten, you will need to use the torque wrench to turn the break a few times before the numbers start reading correctly.
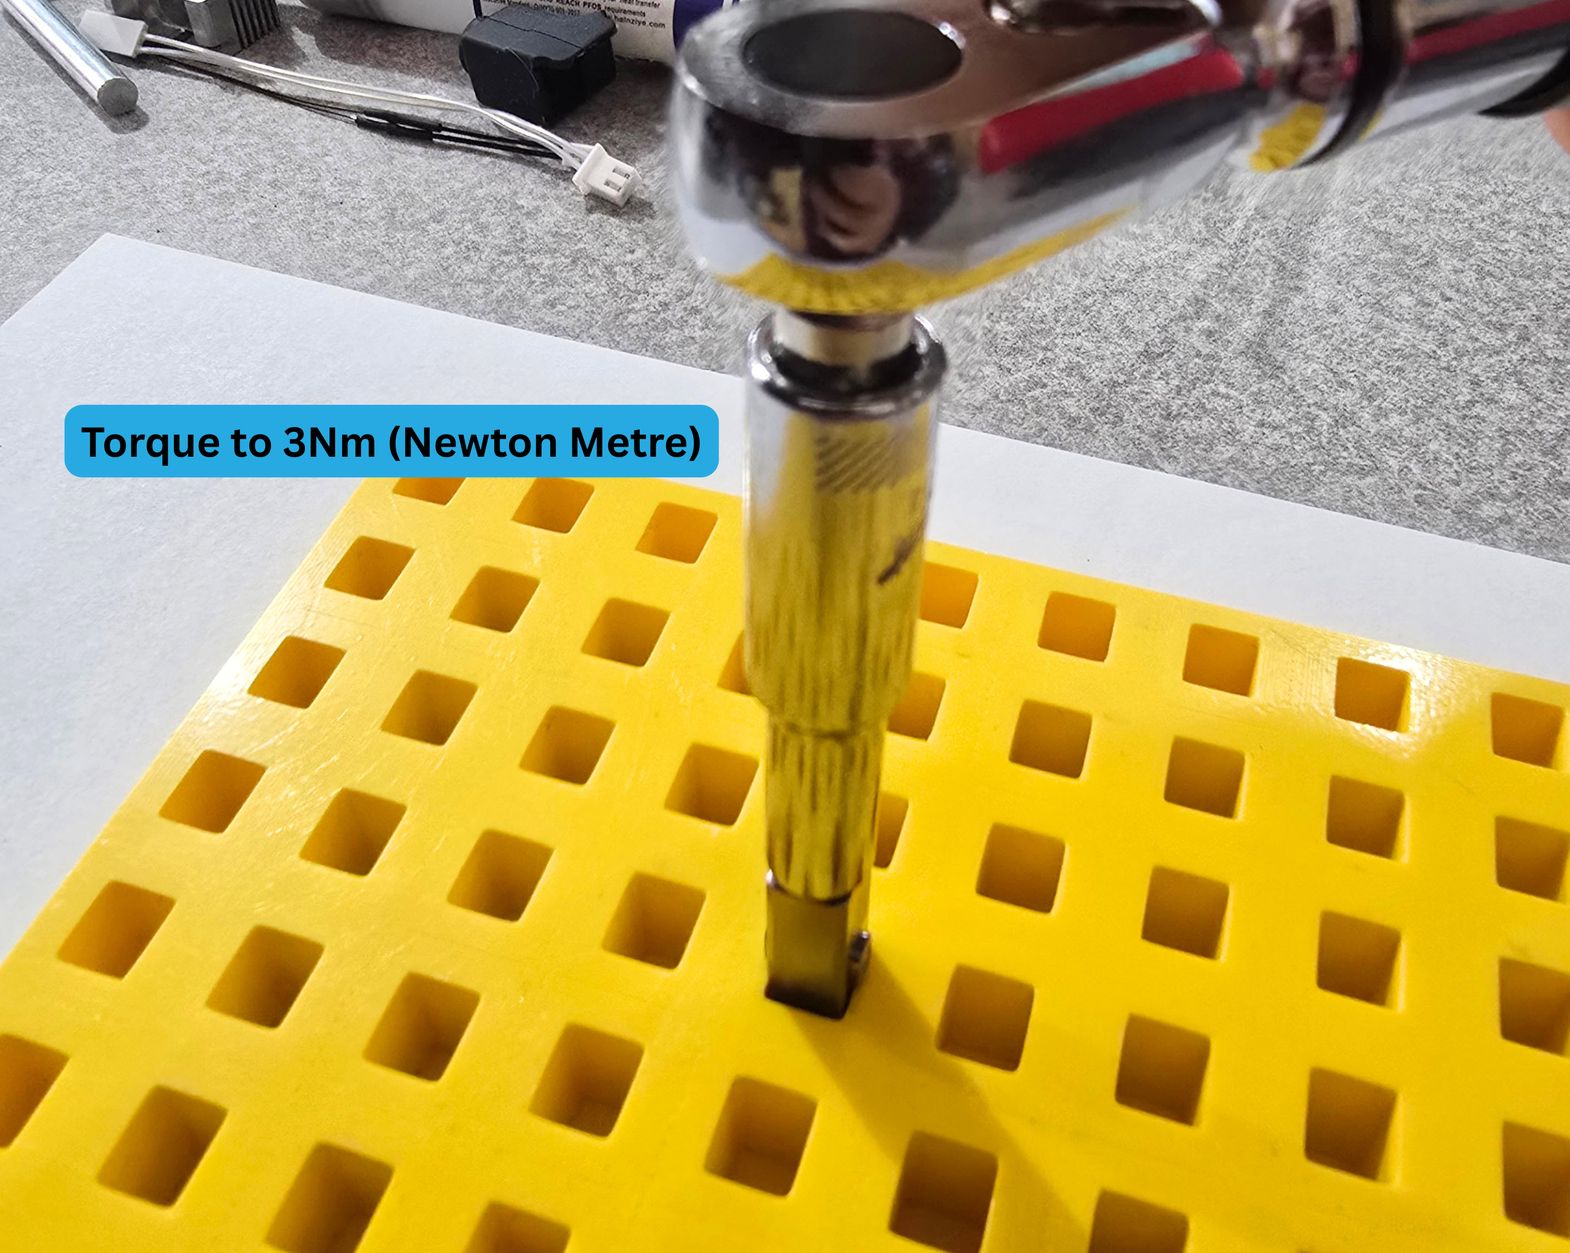
Use your torque wrench to tighten the heatbreak to 3Nm. If your heatbreak was not easy to finger tighten, you will need to use the torque wrench to turn the break a few times before the numbers start reading correctly.