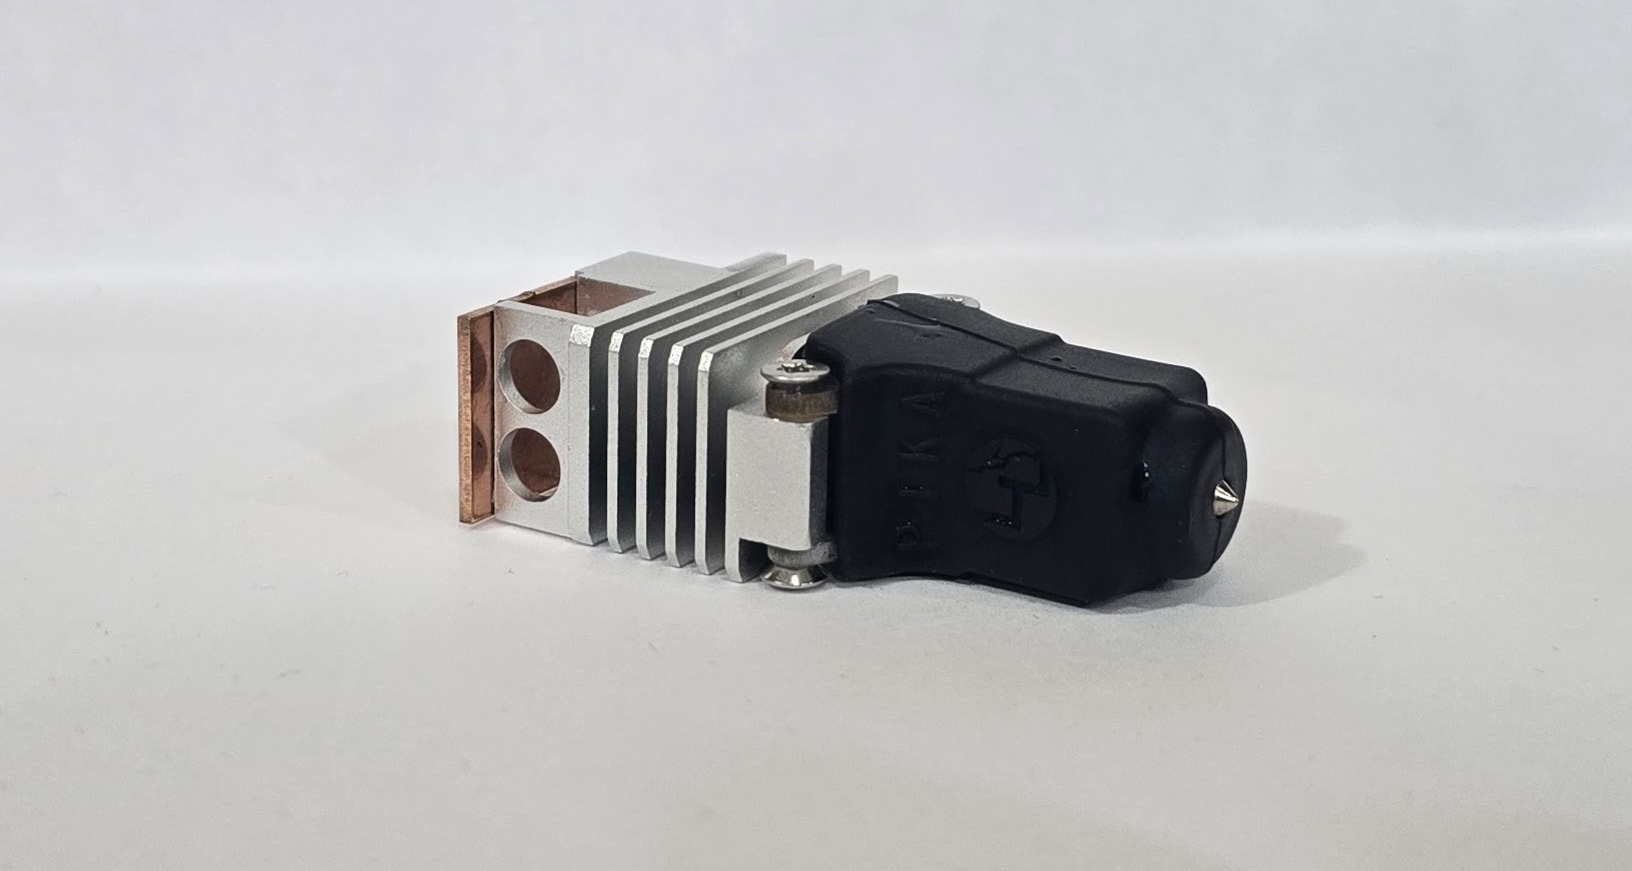
Pika for Snapmaker U1 Heater and Thermistor Installation
Everything in your Pika Hotend Box:
- Pika Hotend for Snapmaker U1
- Thermal Grease
- Installed Nozzle of choice
- T8 Torx Driver
- Retention Clip
- Sticker
Other things you will need:
- Stock Snapmaker Thermistor
- Stock Snapmaker Heater
- Grease Applicator
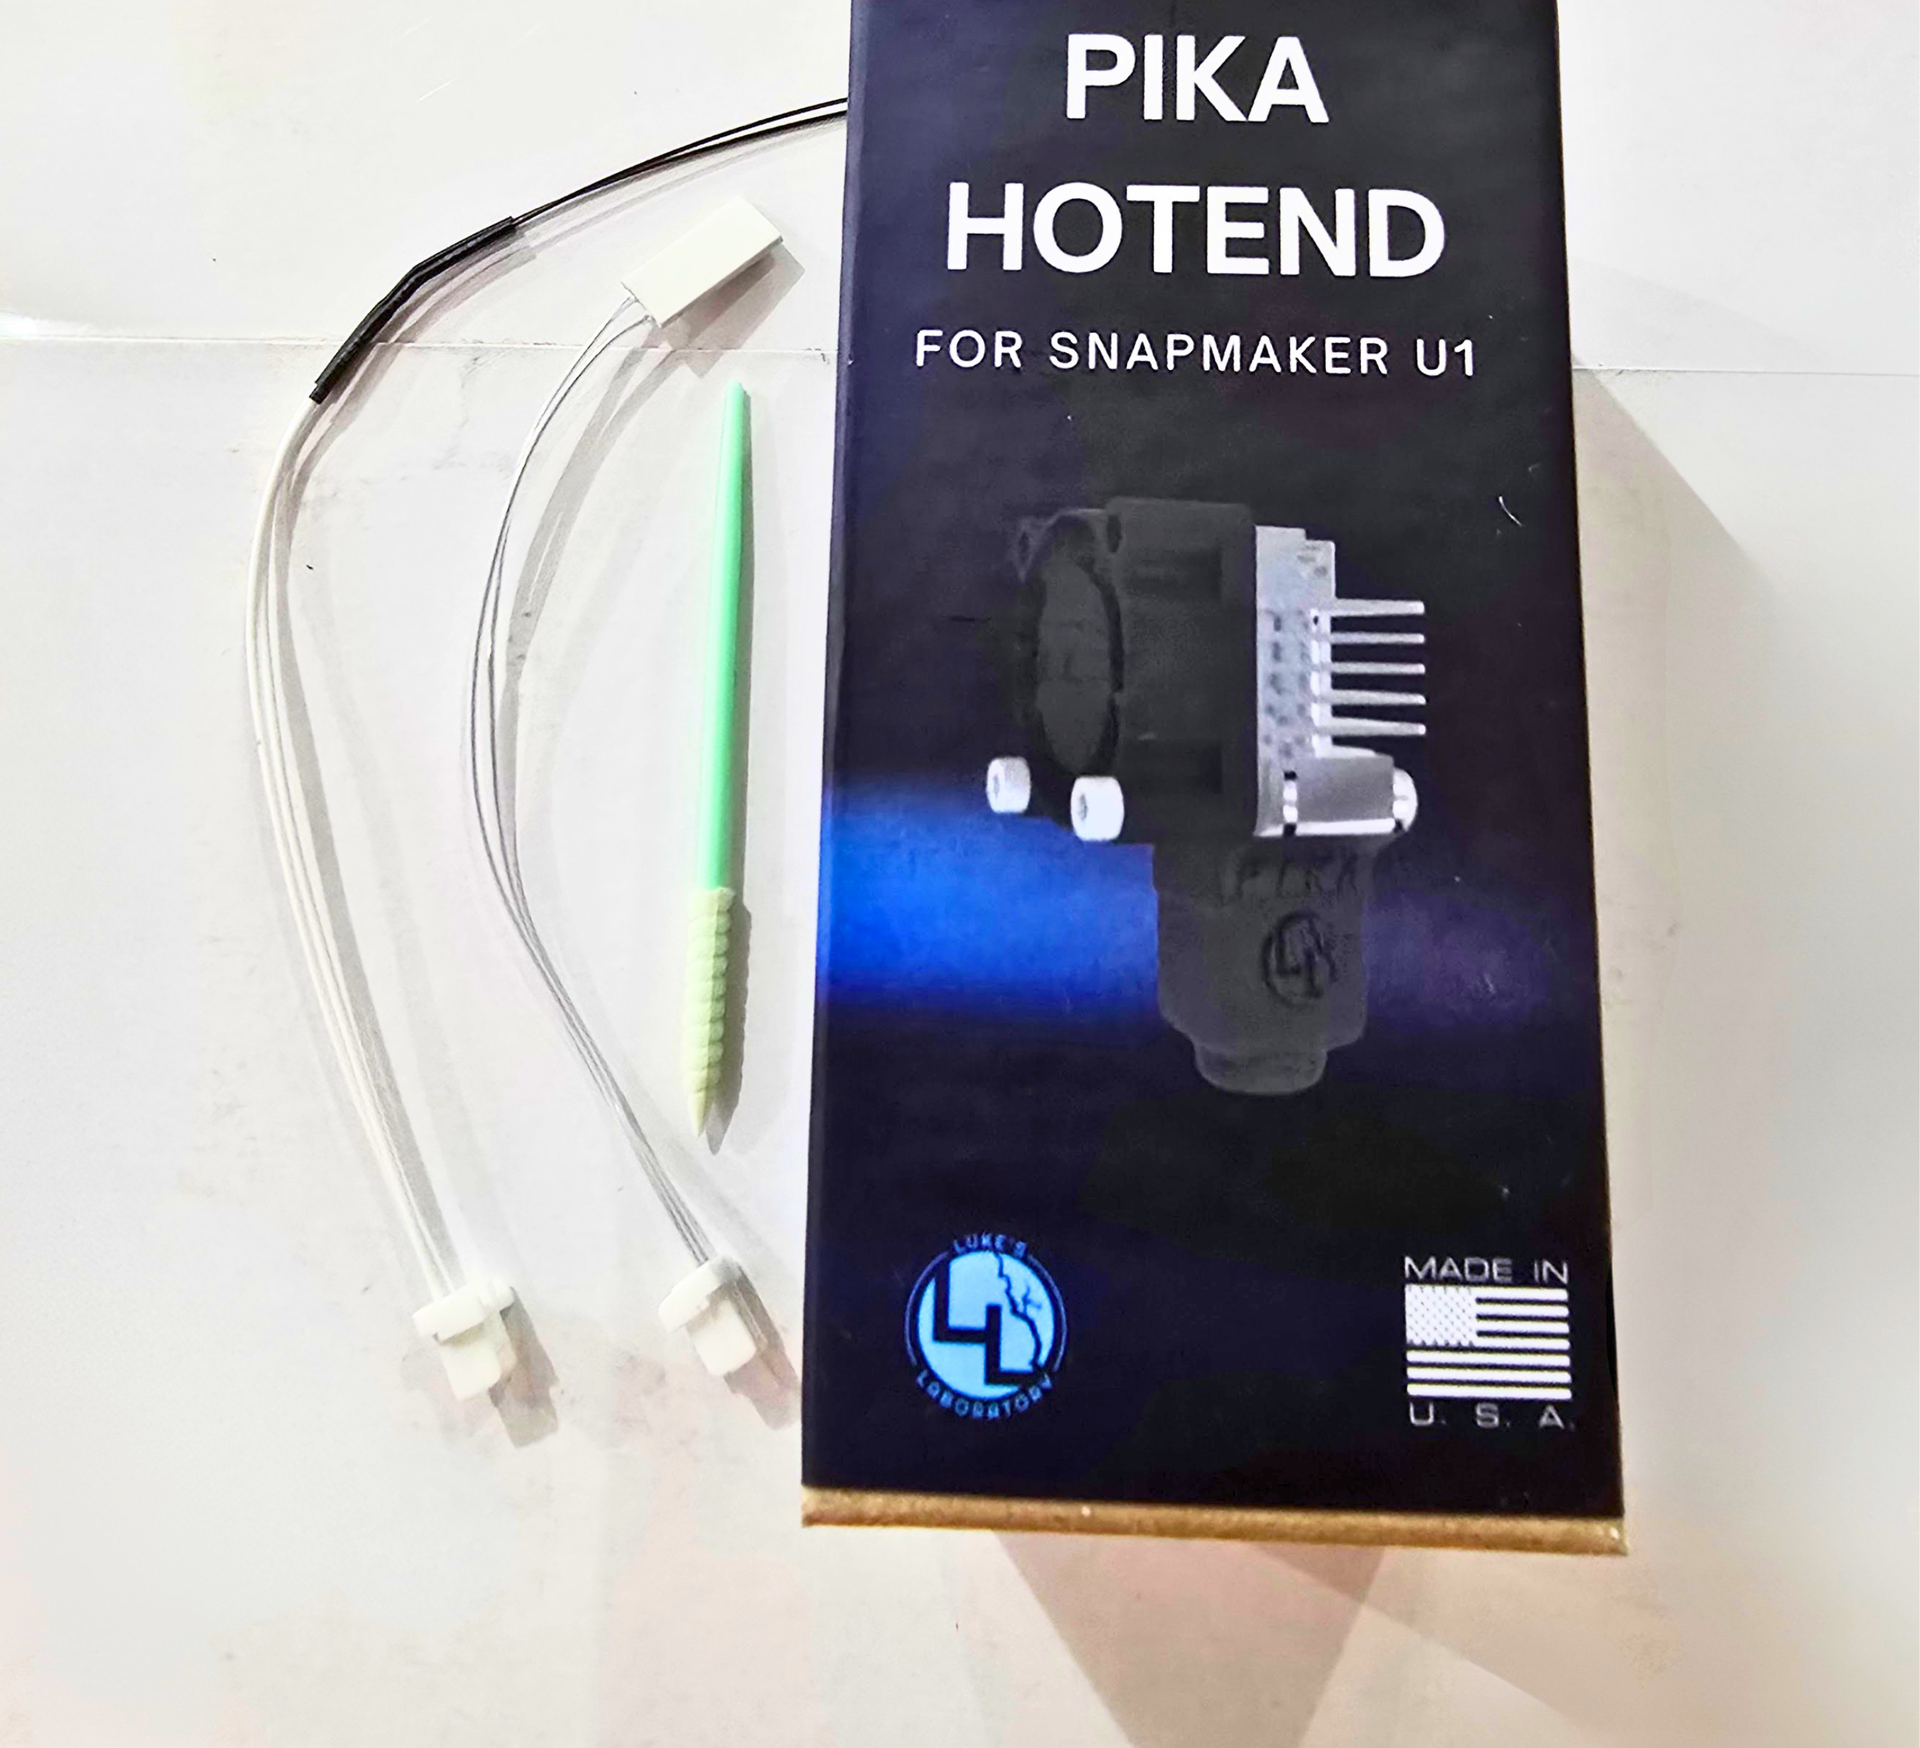
Step 1: Open your Pika Hotend Box, and remove all of the items
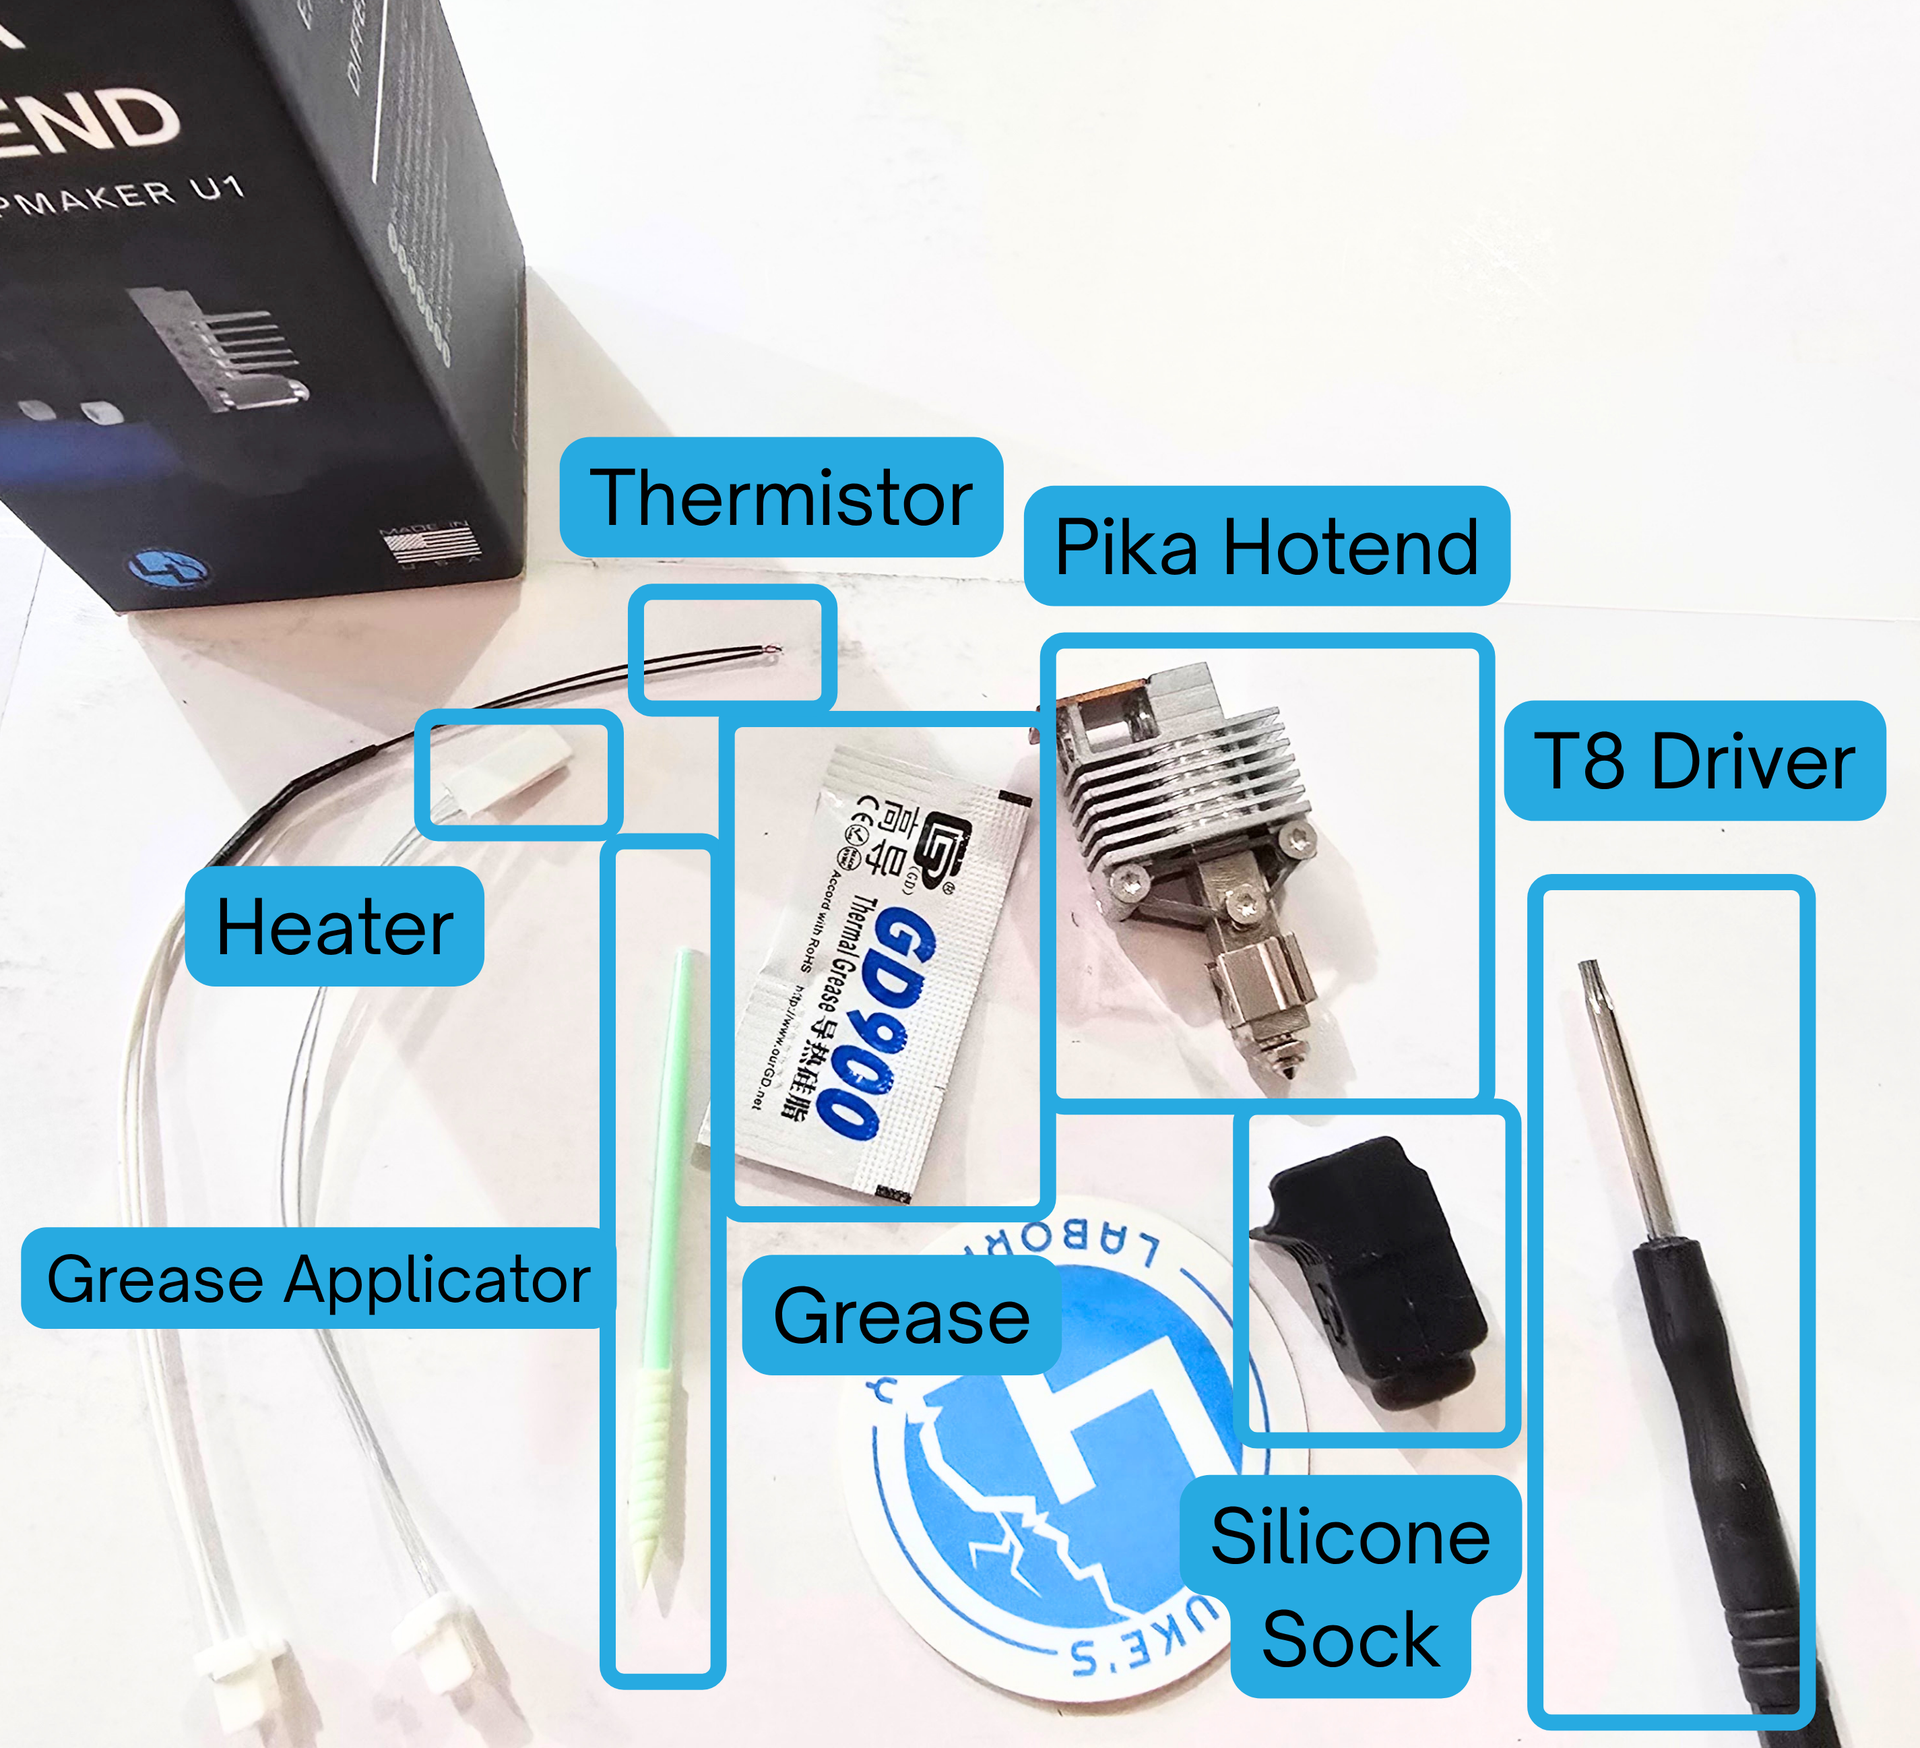
Step 2: Remove the silicone sock from your Pika hotend, and look for the retention clip, which should be underneath.
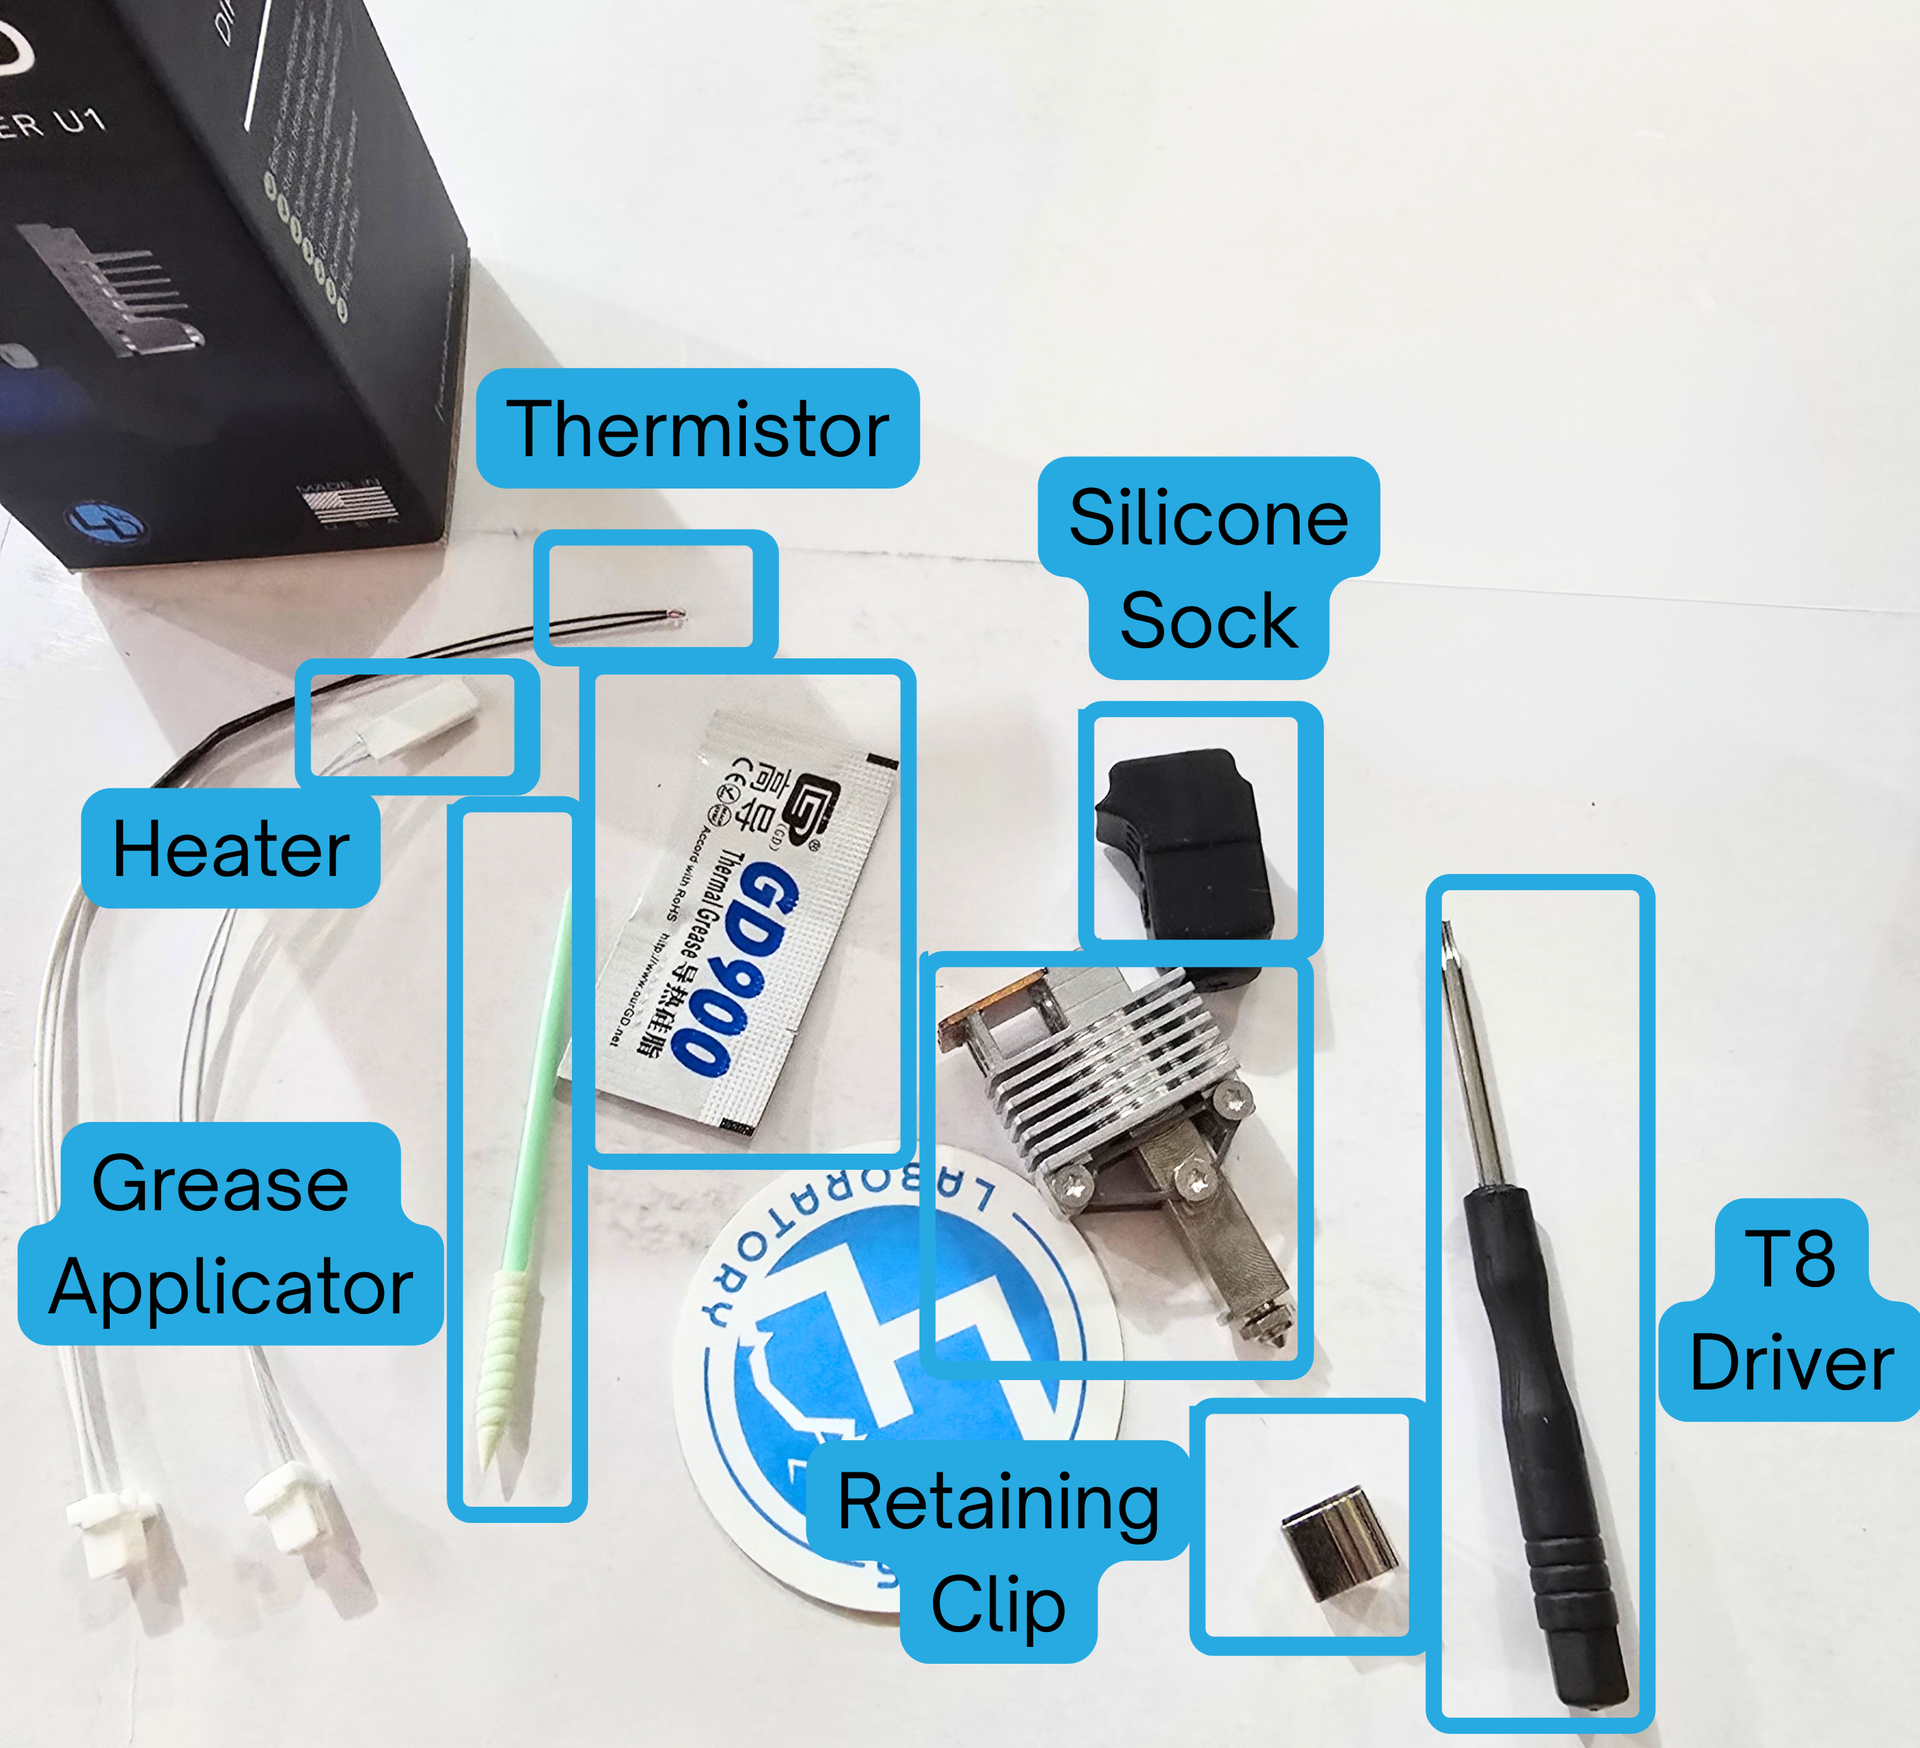
Step 3:
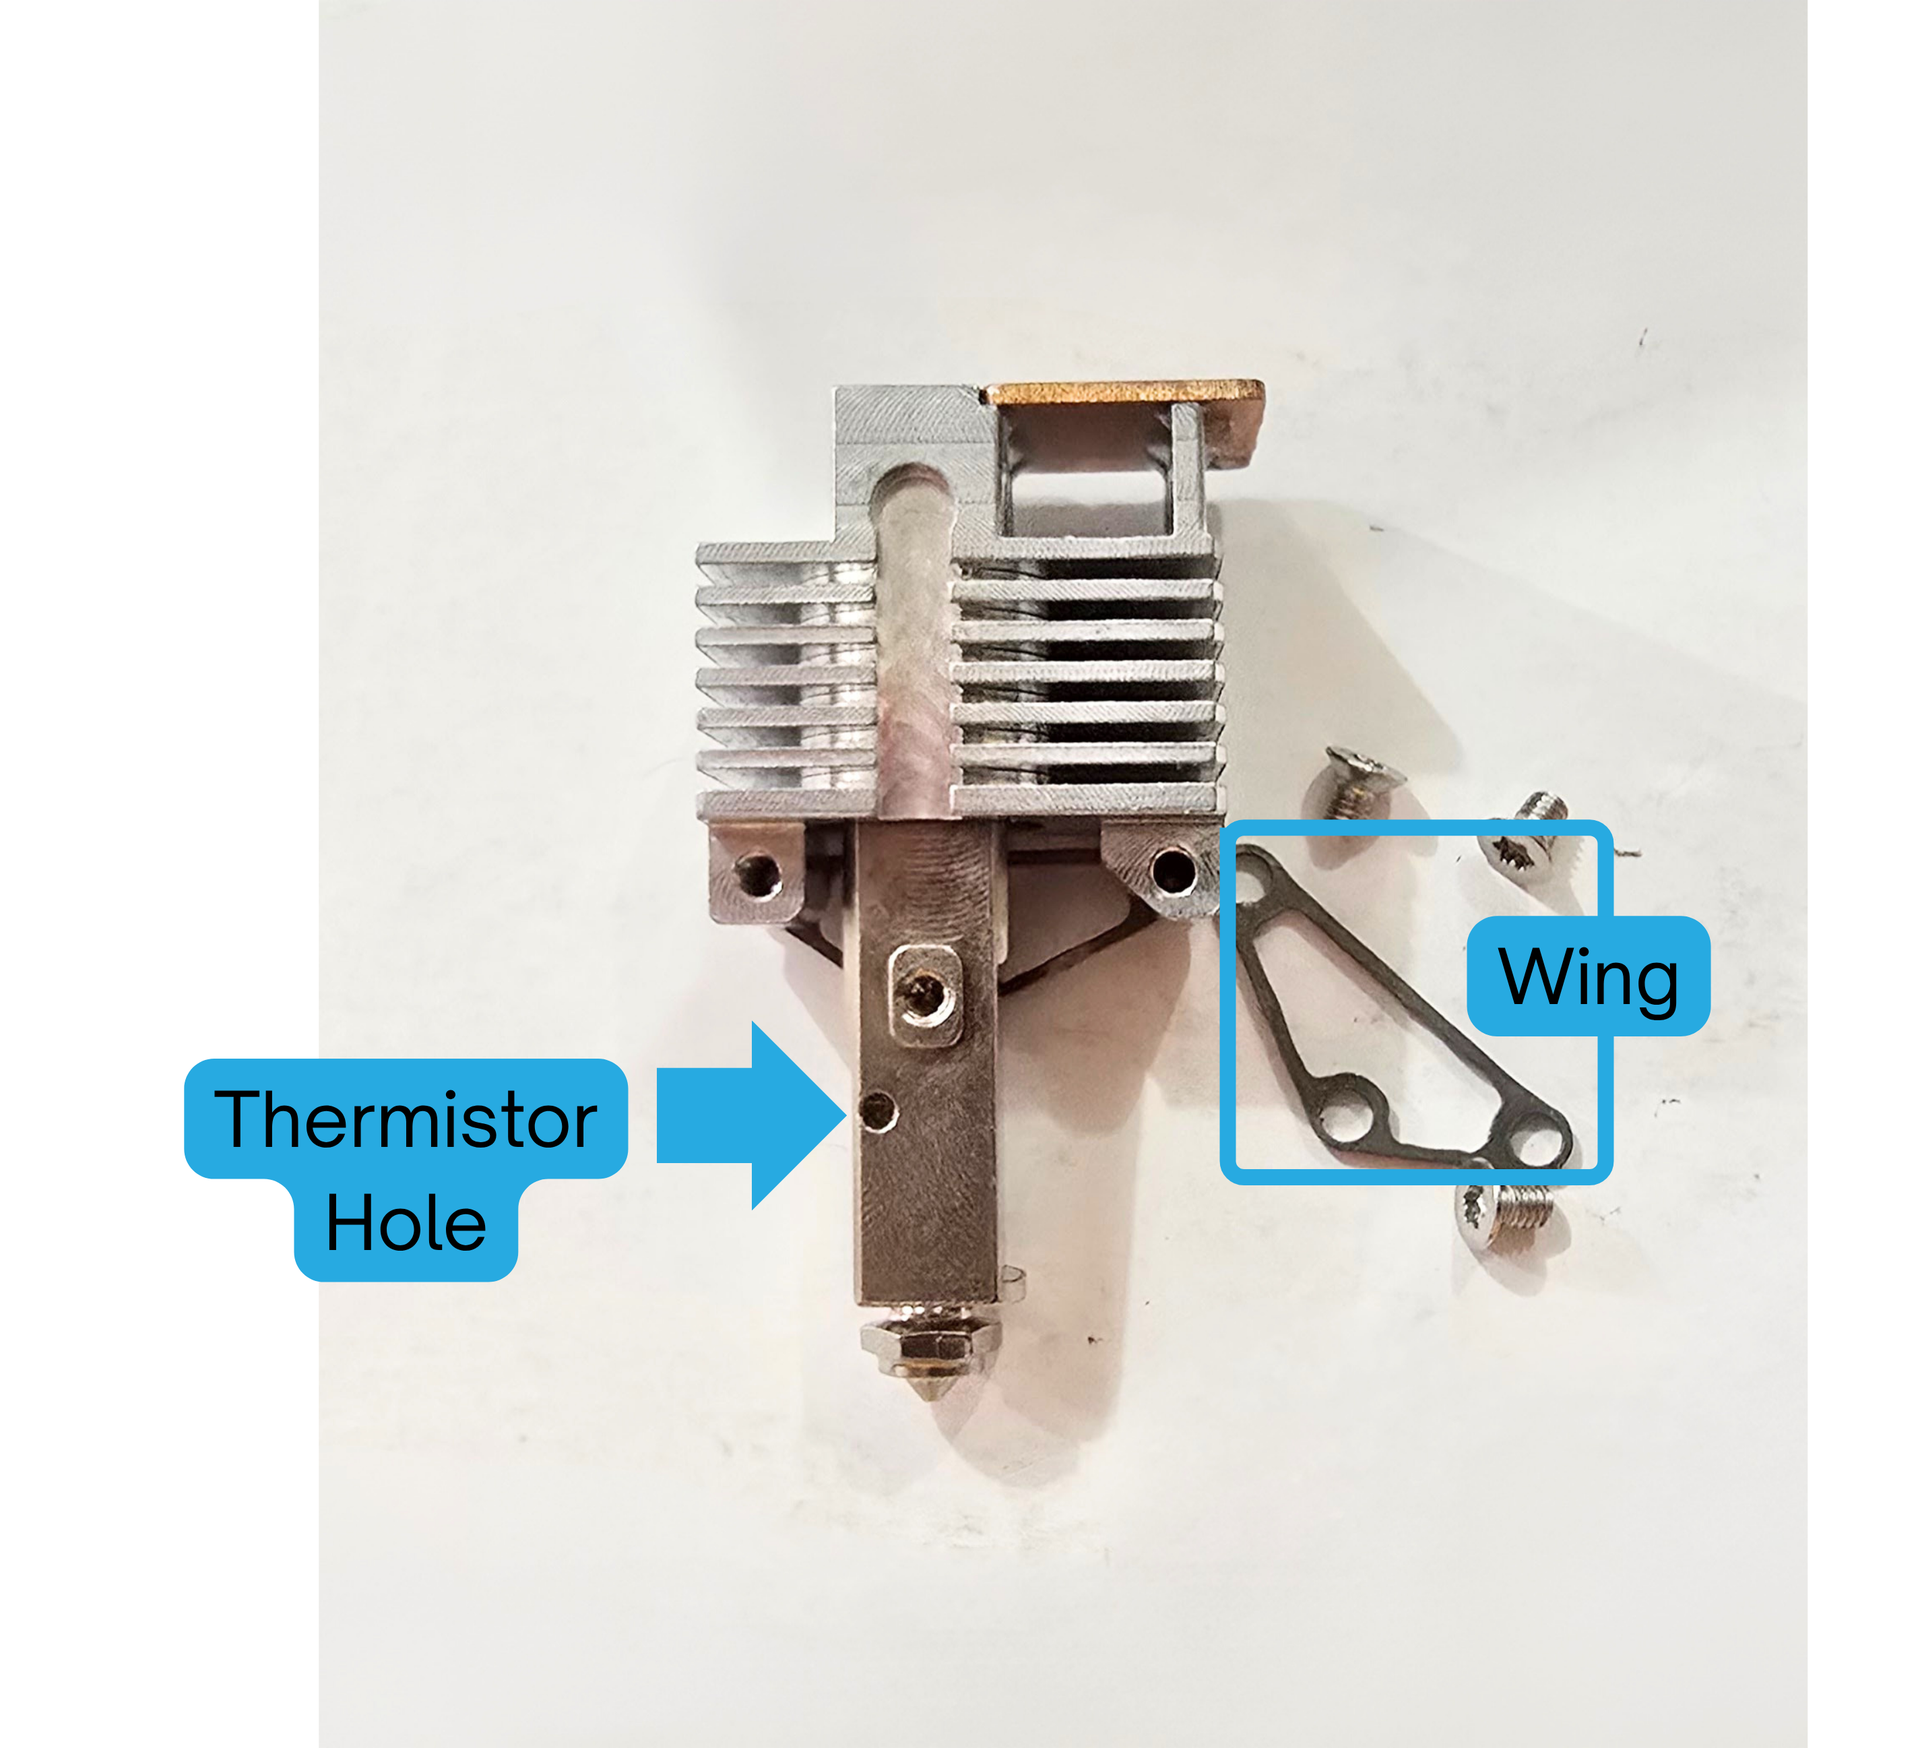
Remove the three torx screws on the side of the hotend that has a thermistor hole.
Step 4:
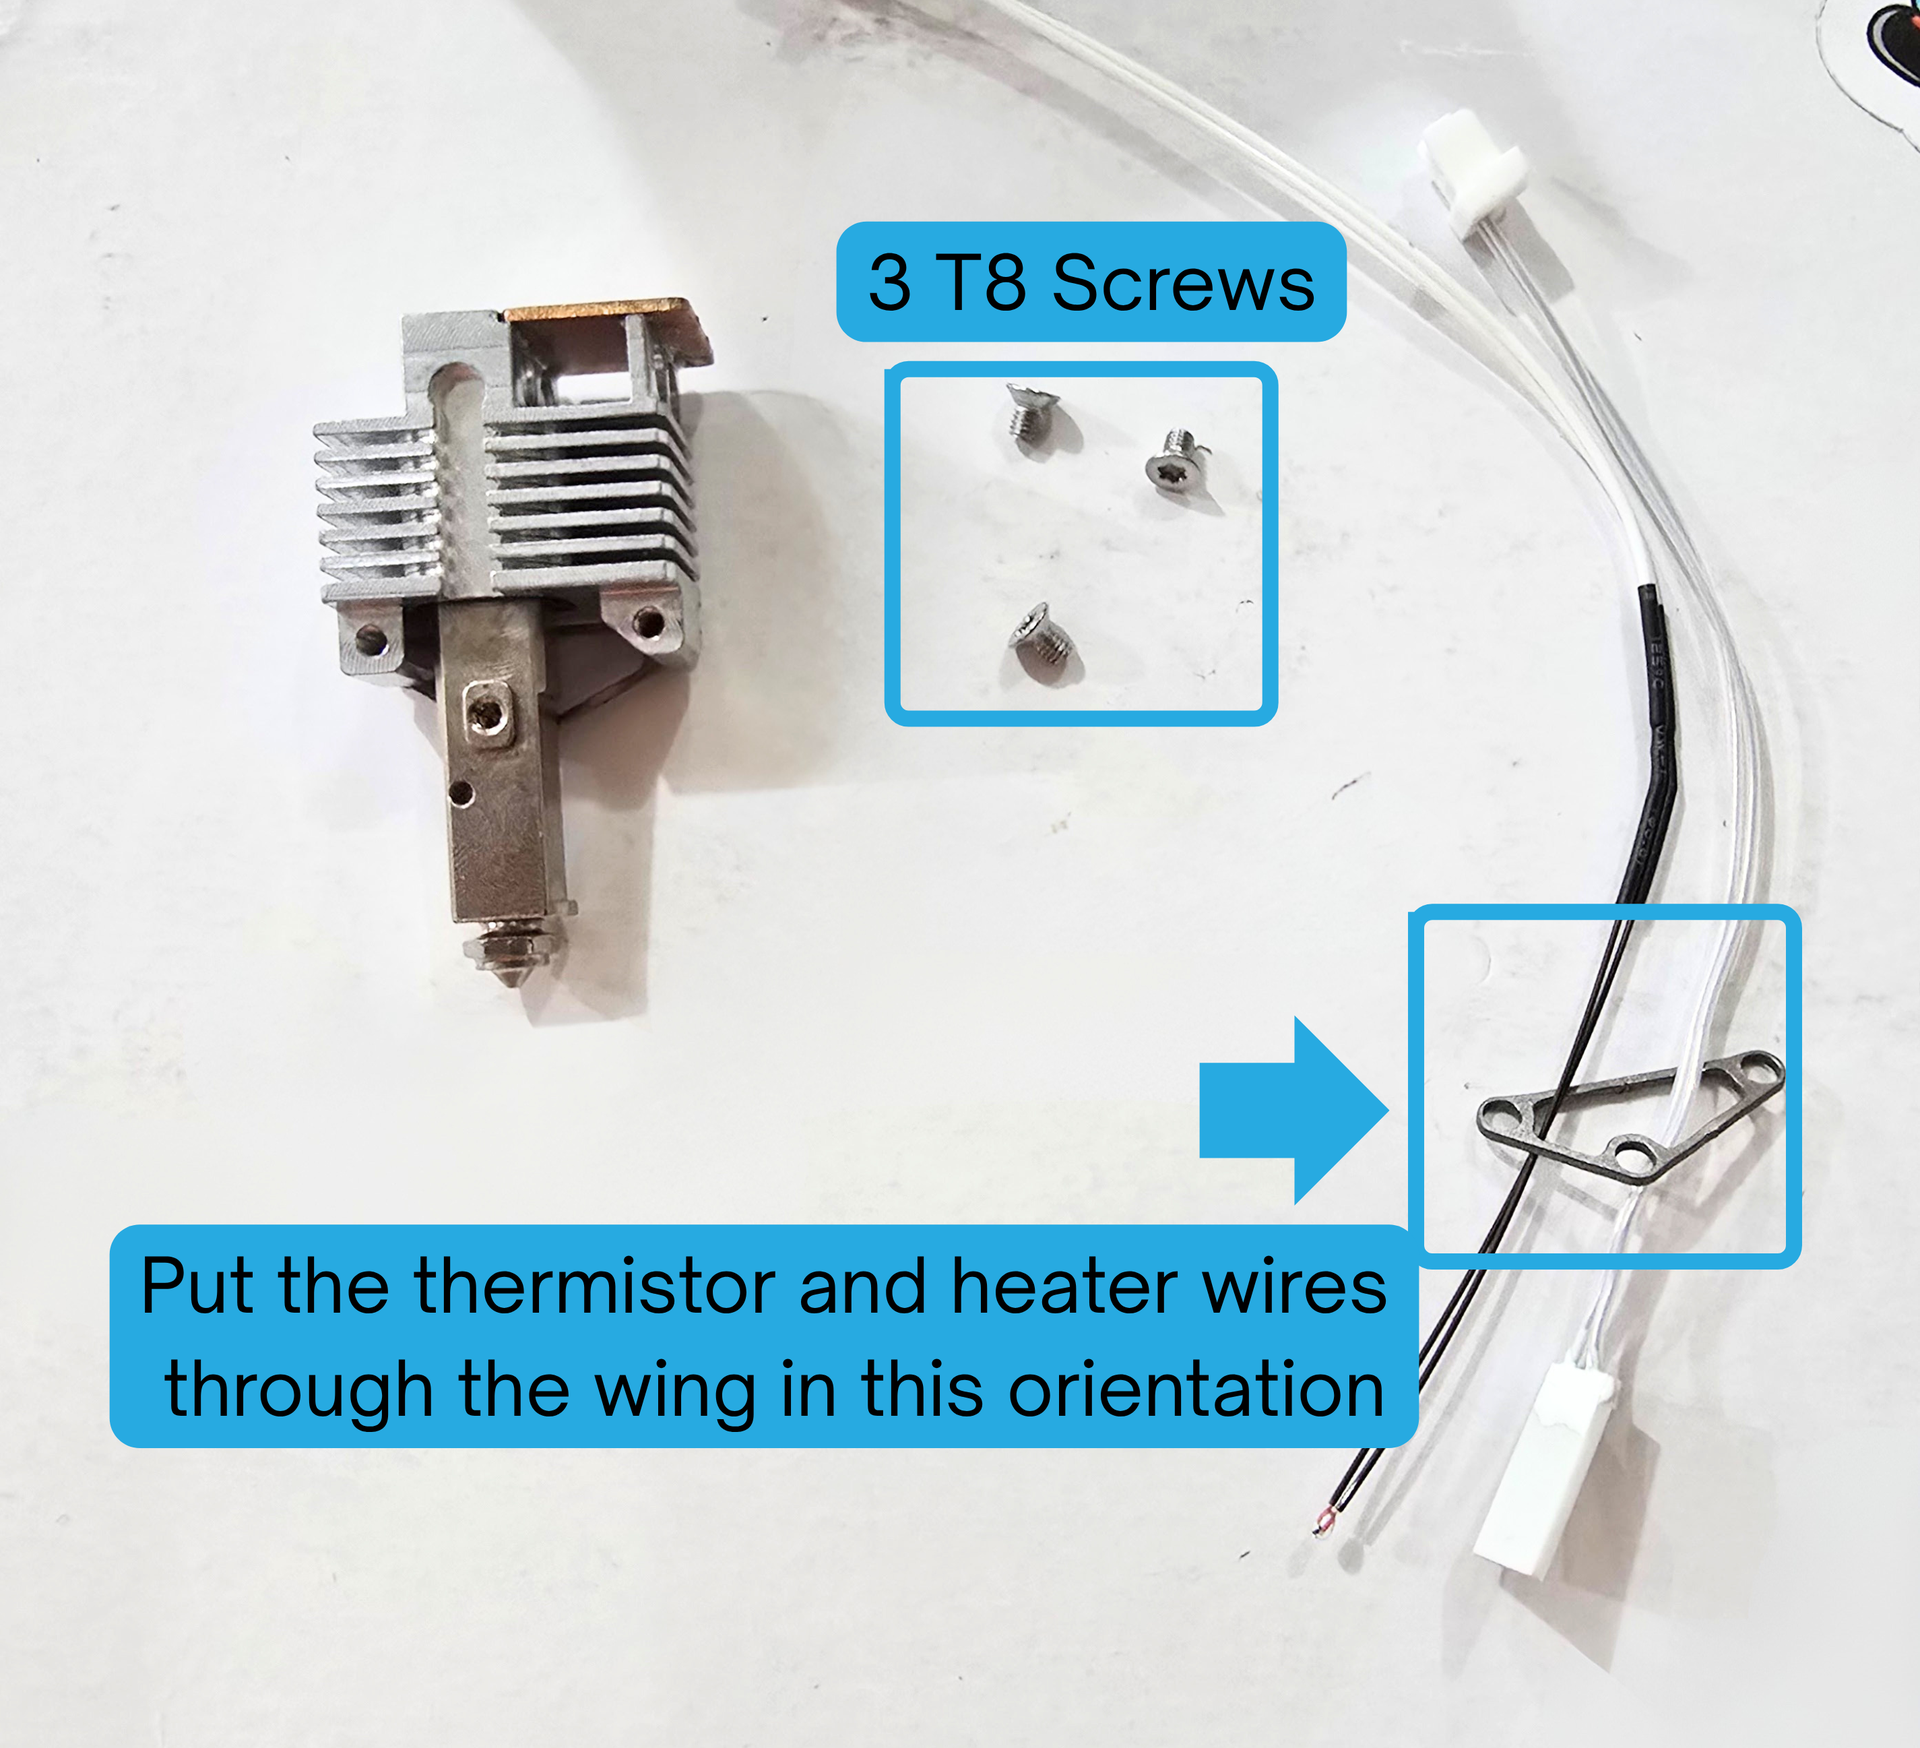
Put the thermistor wires and heater wires through the removed wing.
Make sure the thermistor goes through the short side of the wing, and the heater goes through the longer side of the wing.
Step 5:
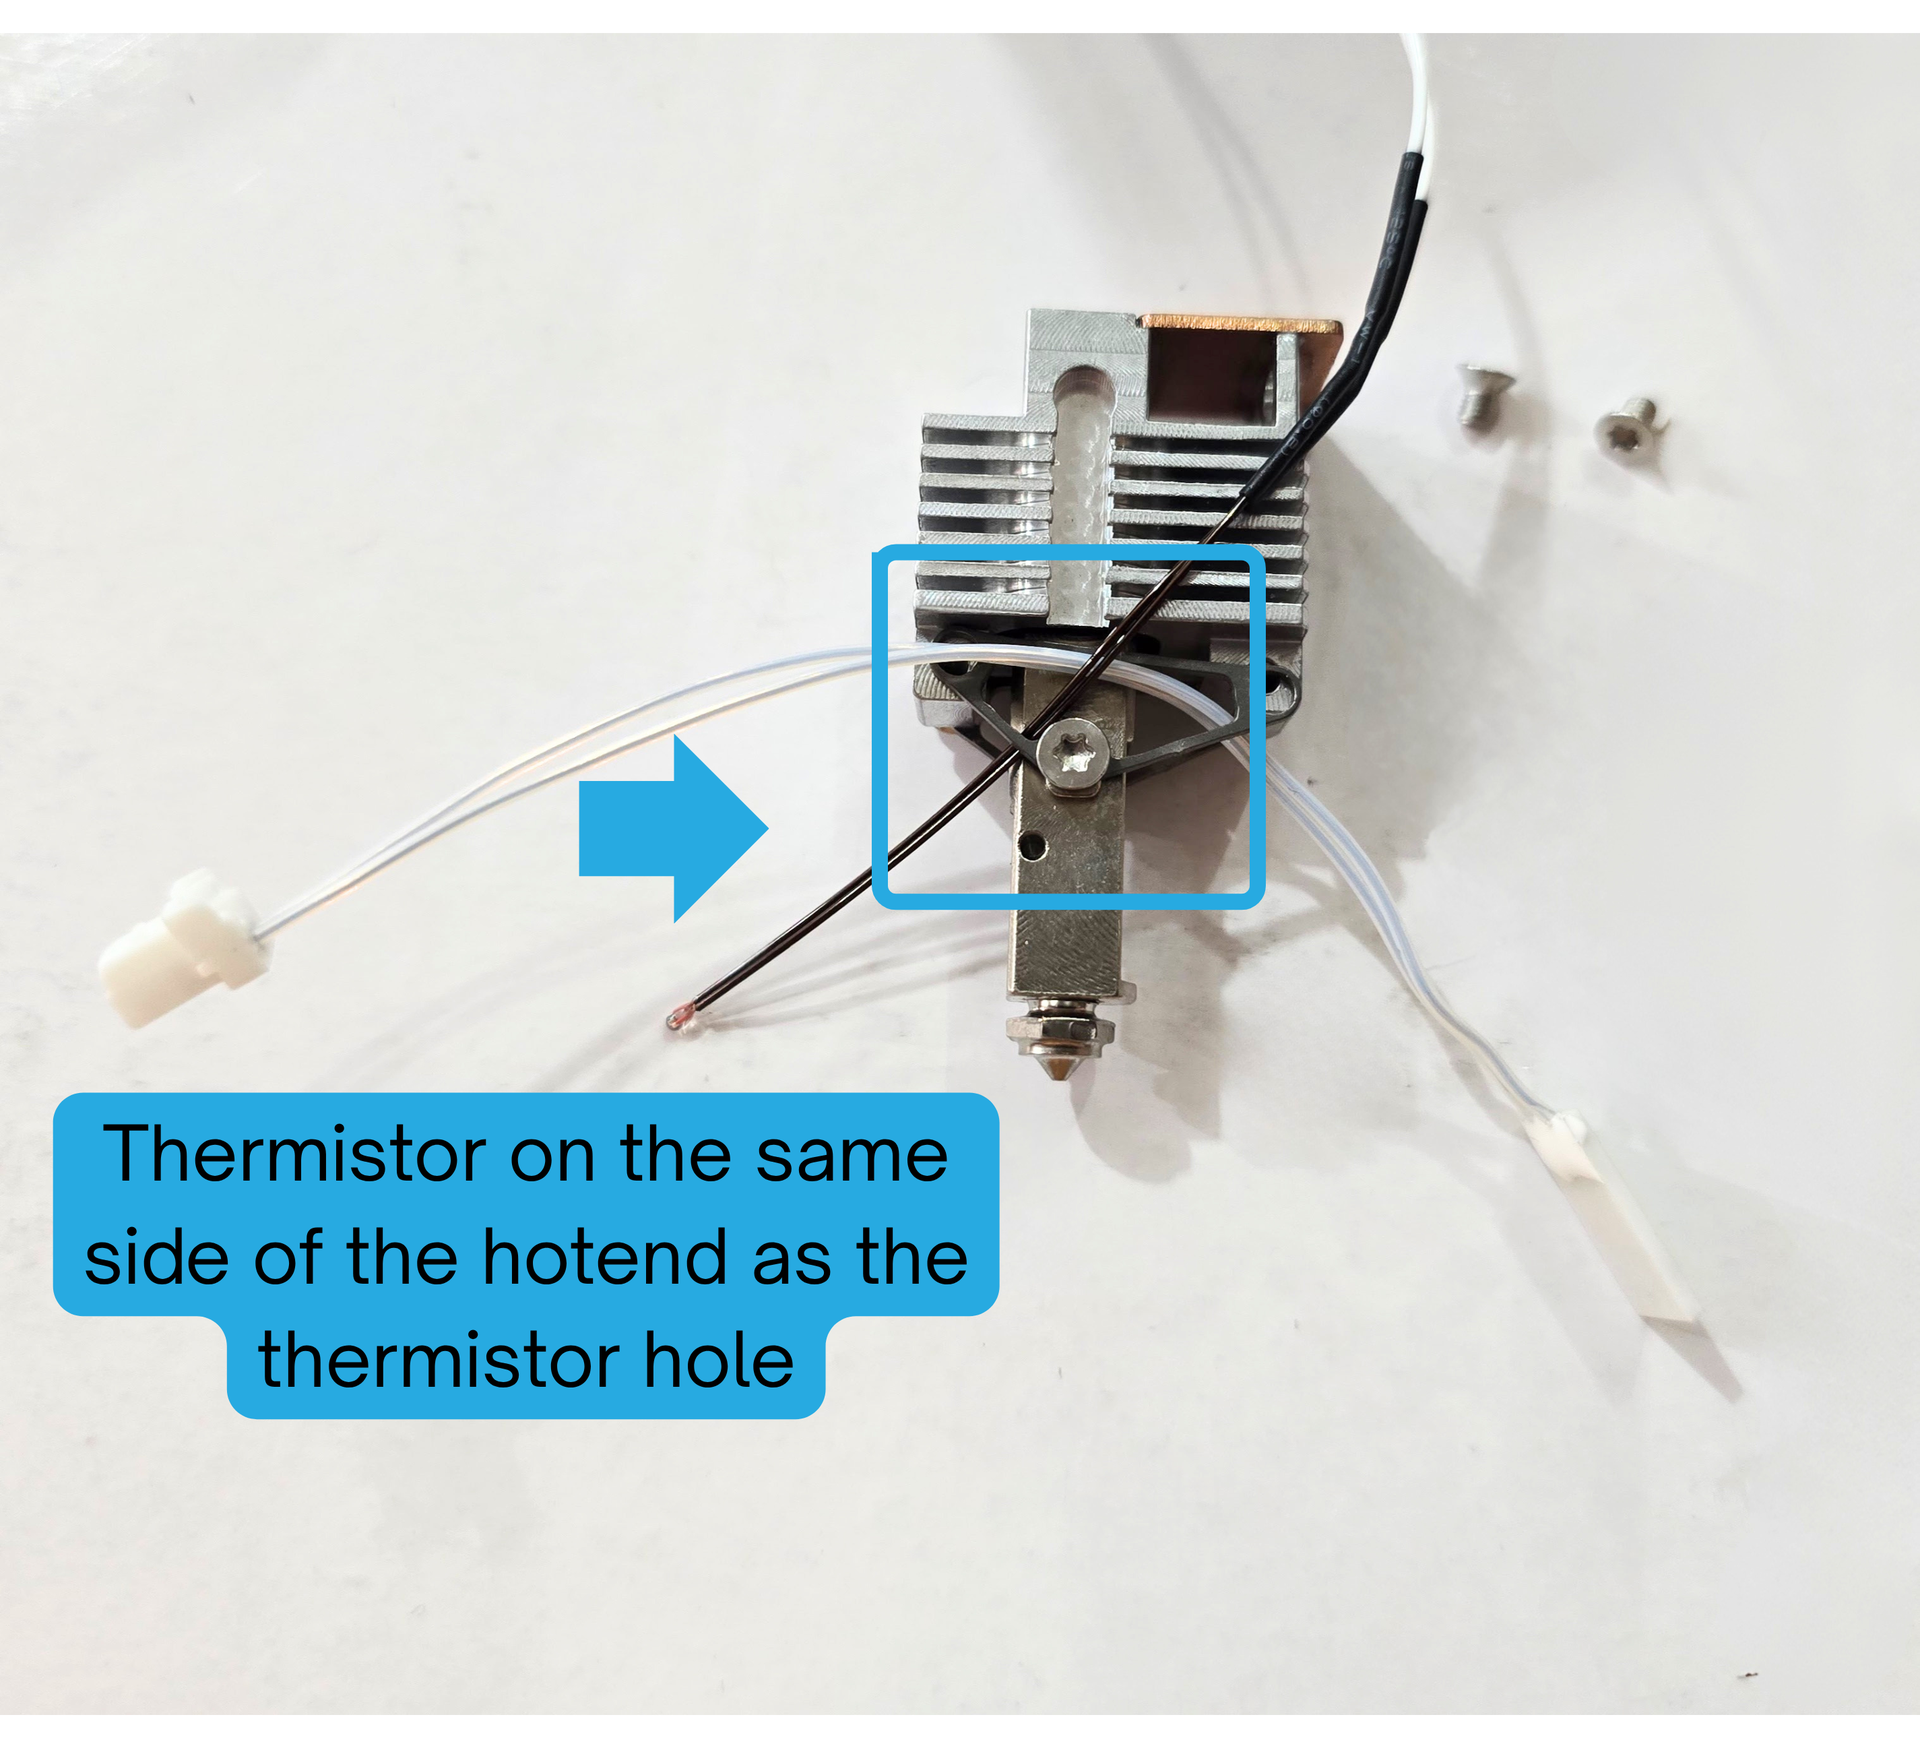
Reinstall the middle torx screw like so.
Keep the thermistor on the short side, and the heater on the long side.
Step 6:
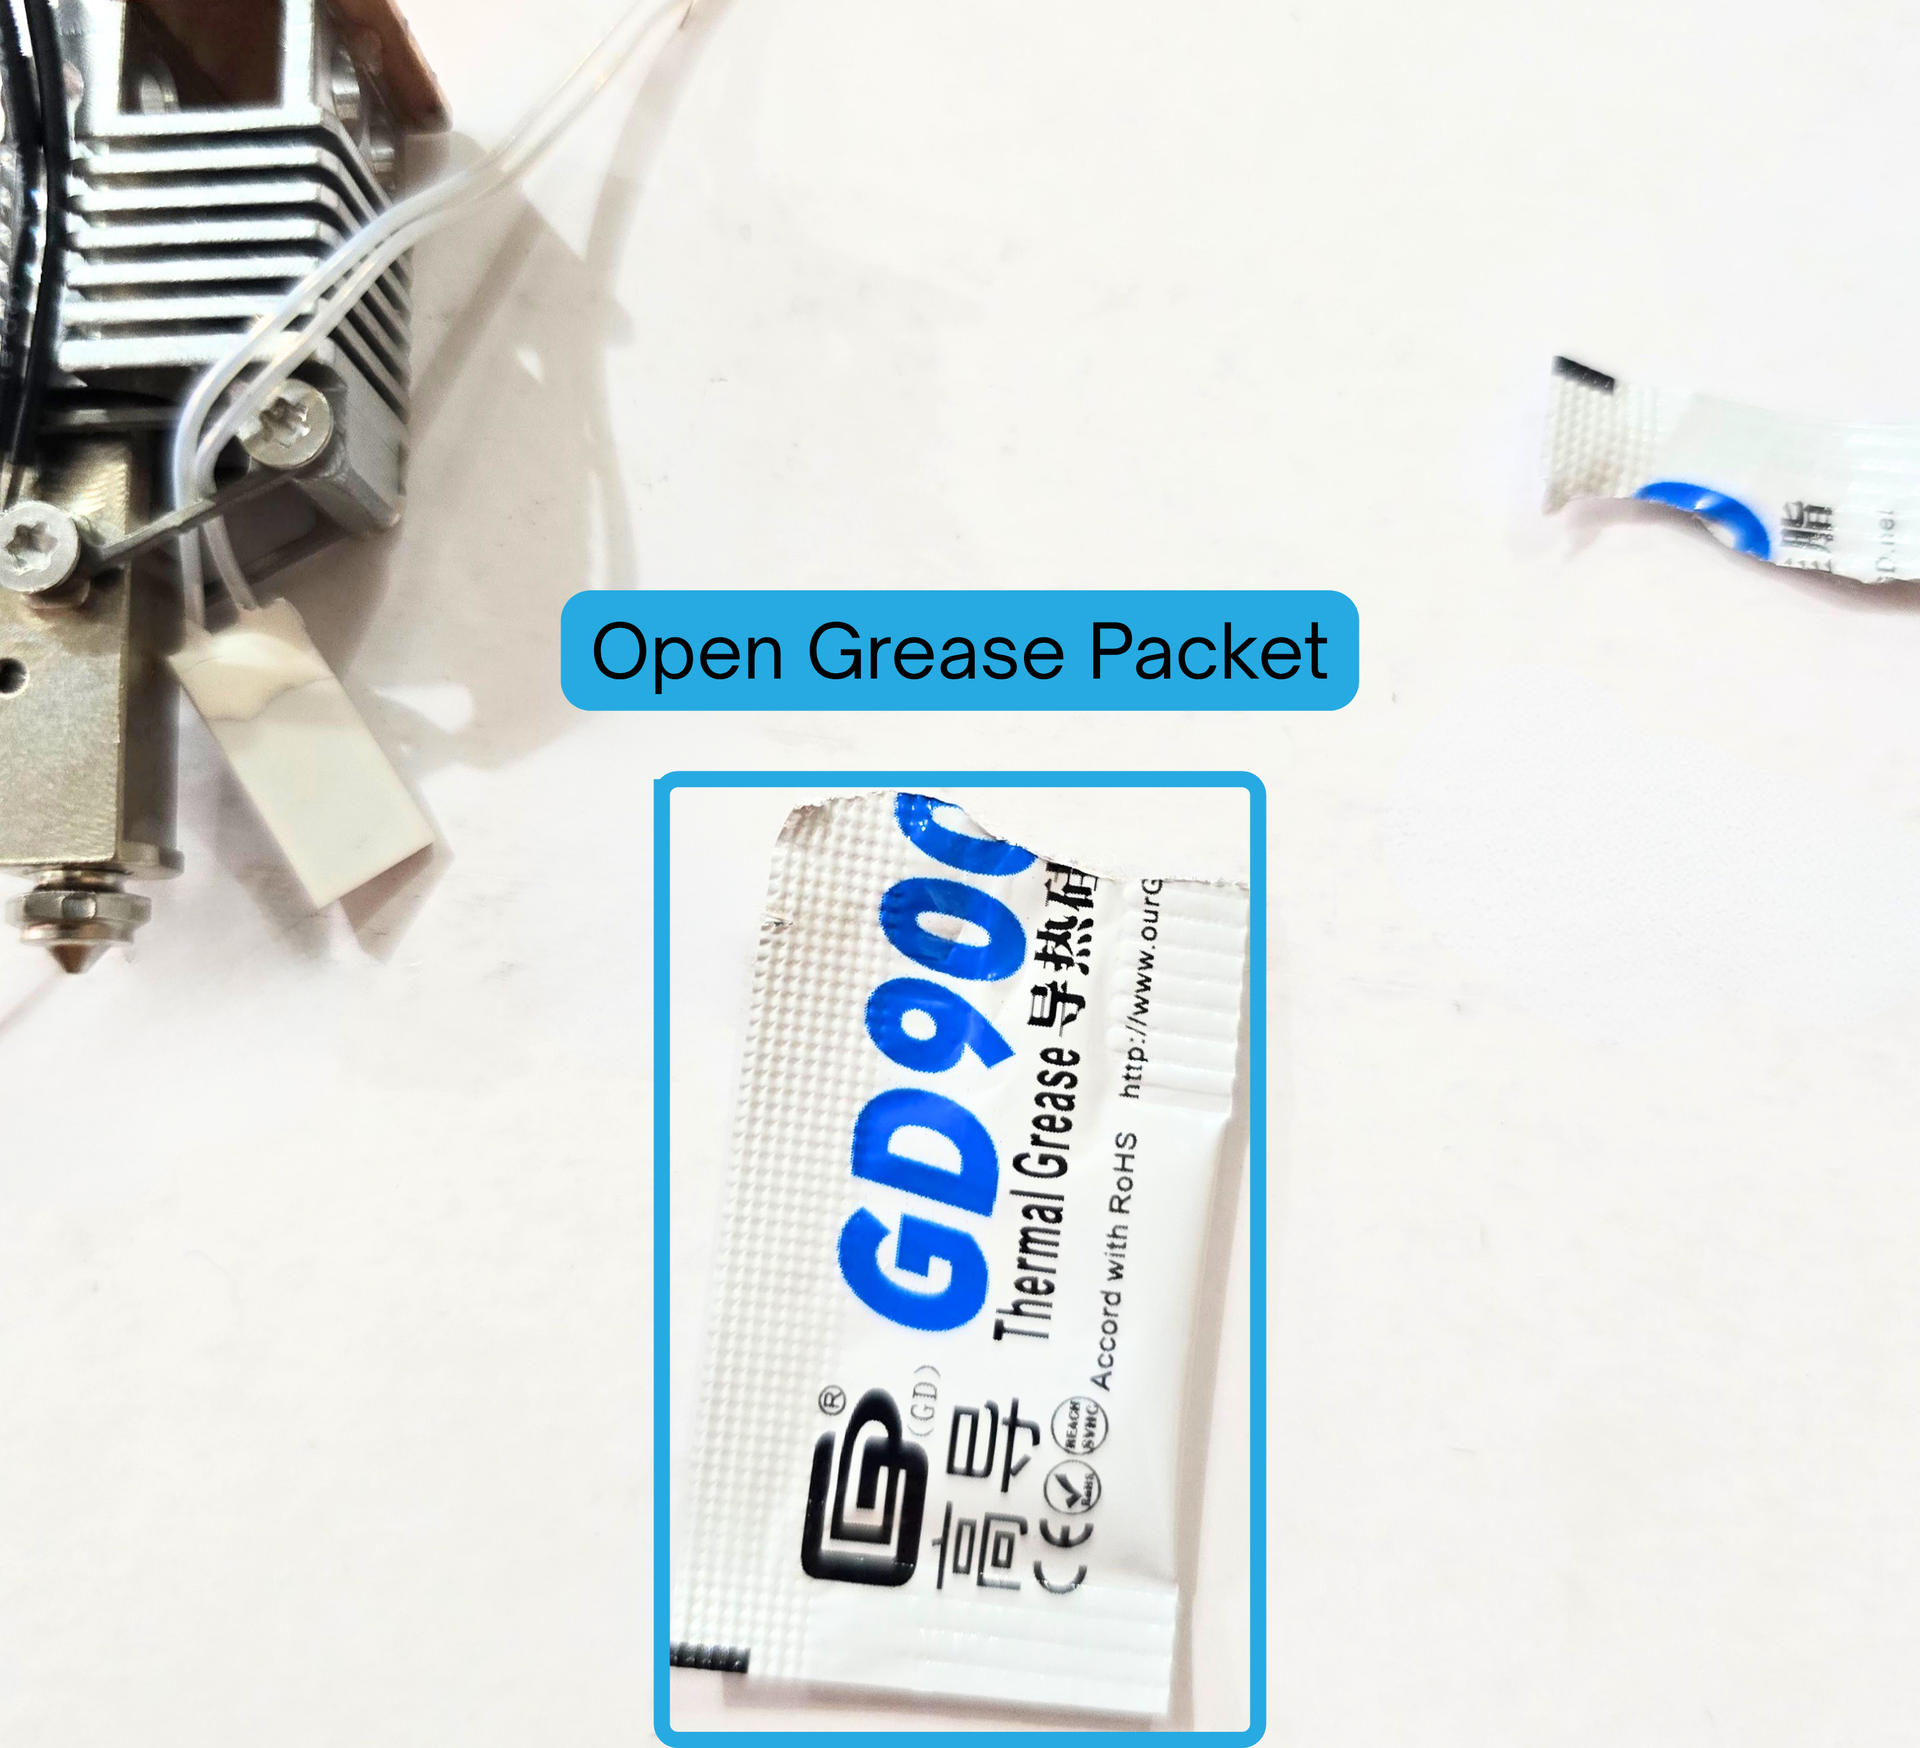
Open your grease!
You can use the grease we sent with the hotend, or any similar thermal grease.
Note: *DO NOT* use Boron Nitride. Boron Nitride is not the right grease for the Pika for Snapmaker. It can cause issues with printing.
Step 7:
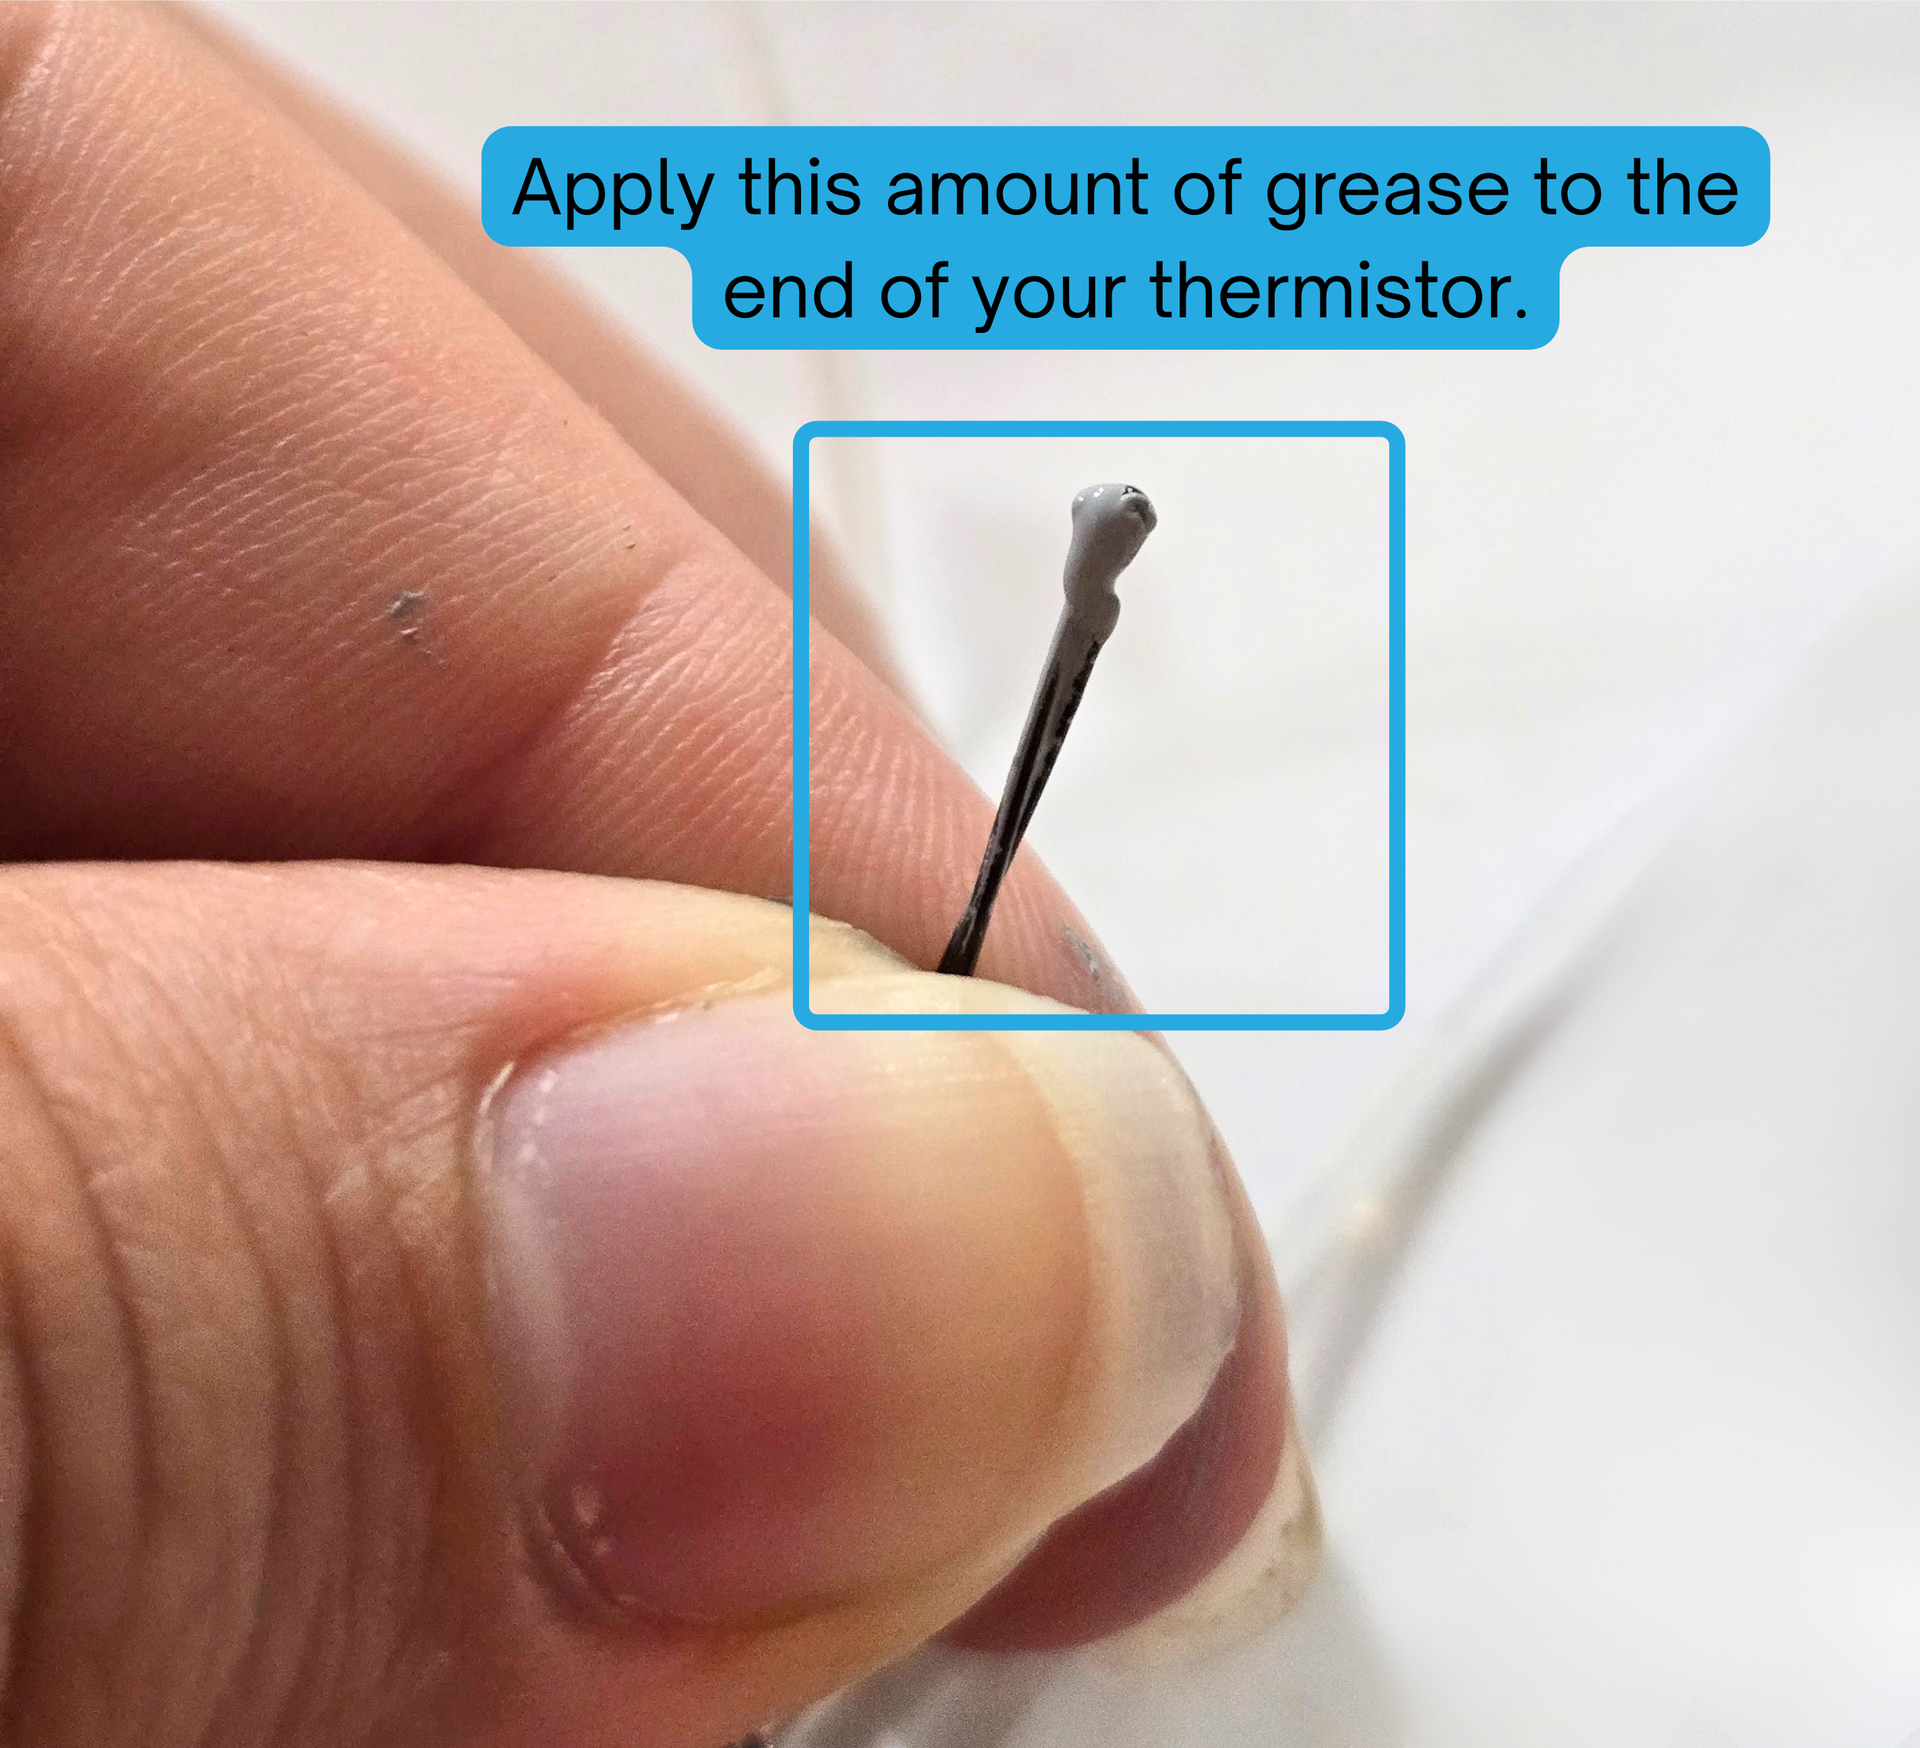
Apply grease to the end of the thermistor that goes into the heatblock.
Make sure to fully coat the tip.
Step 8:
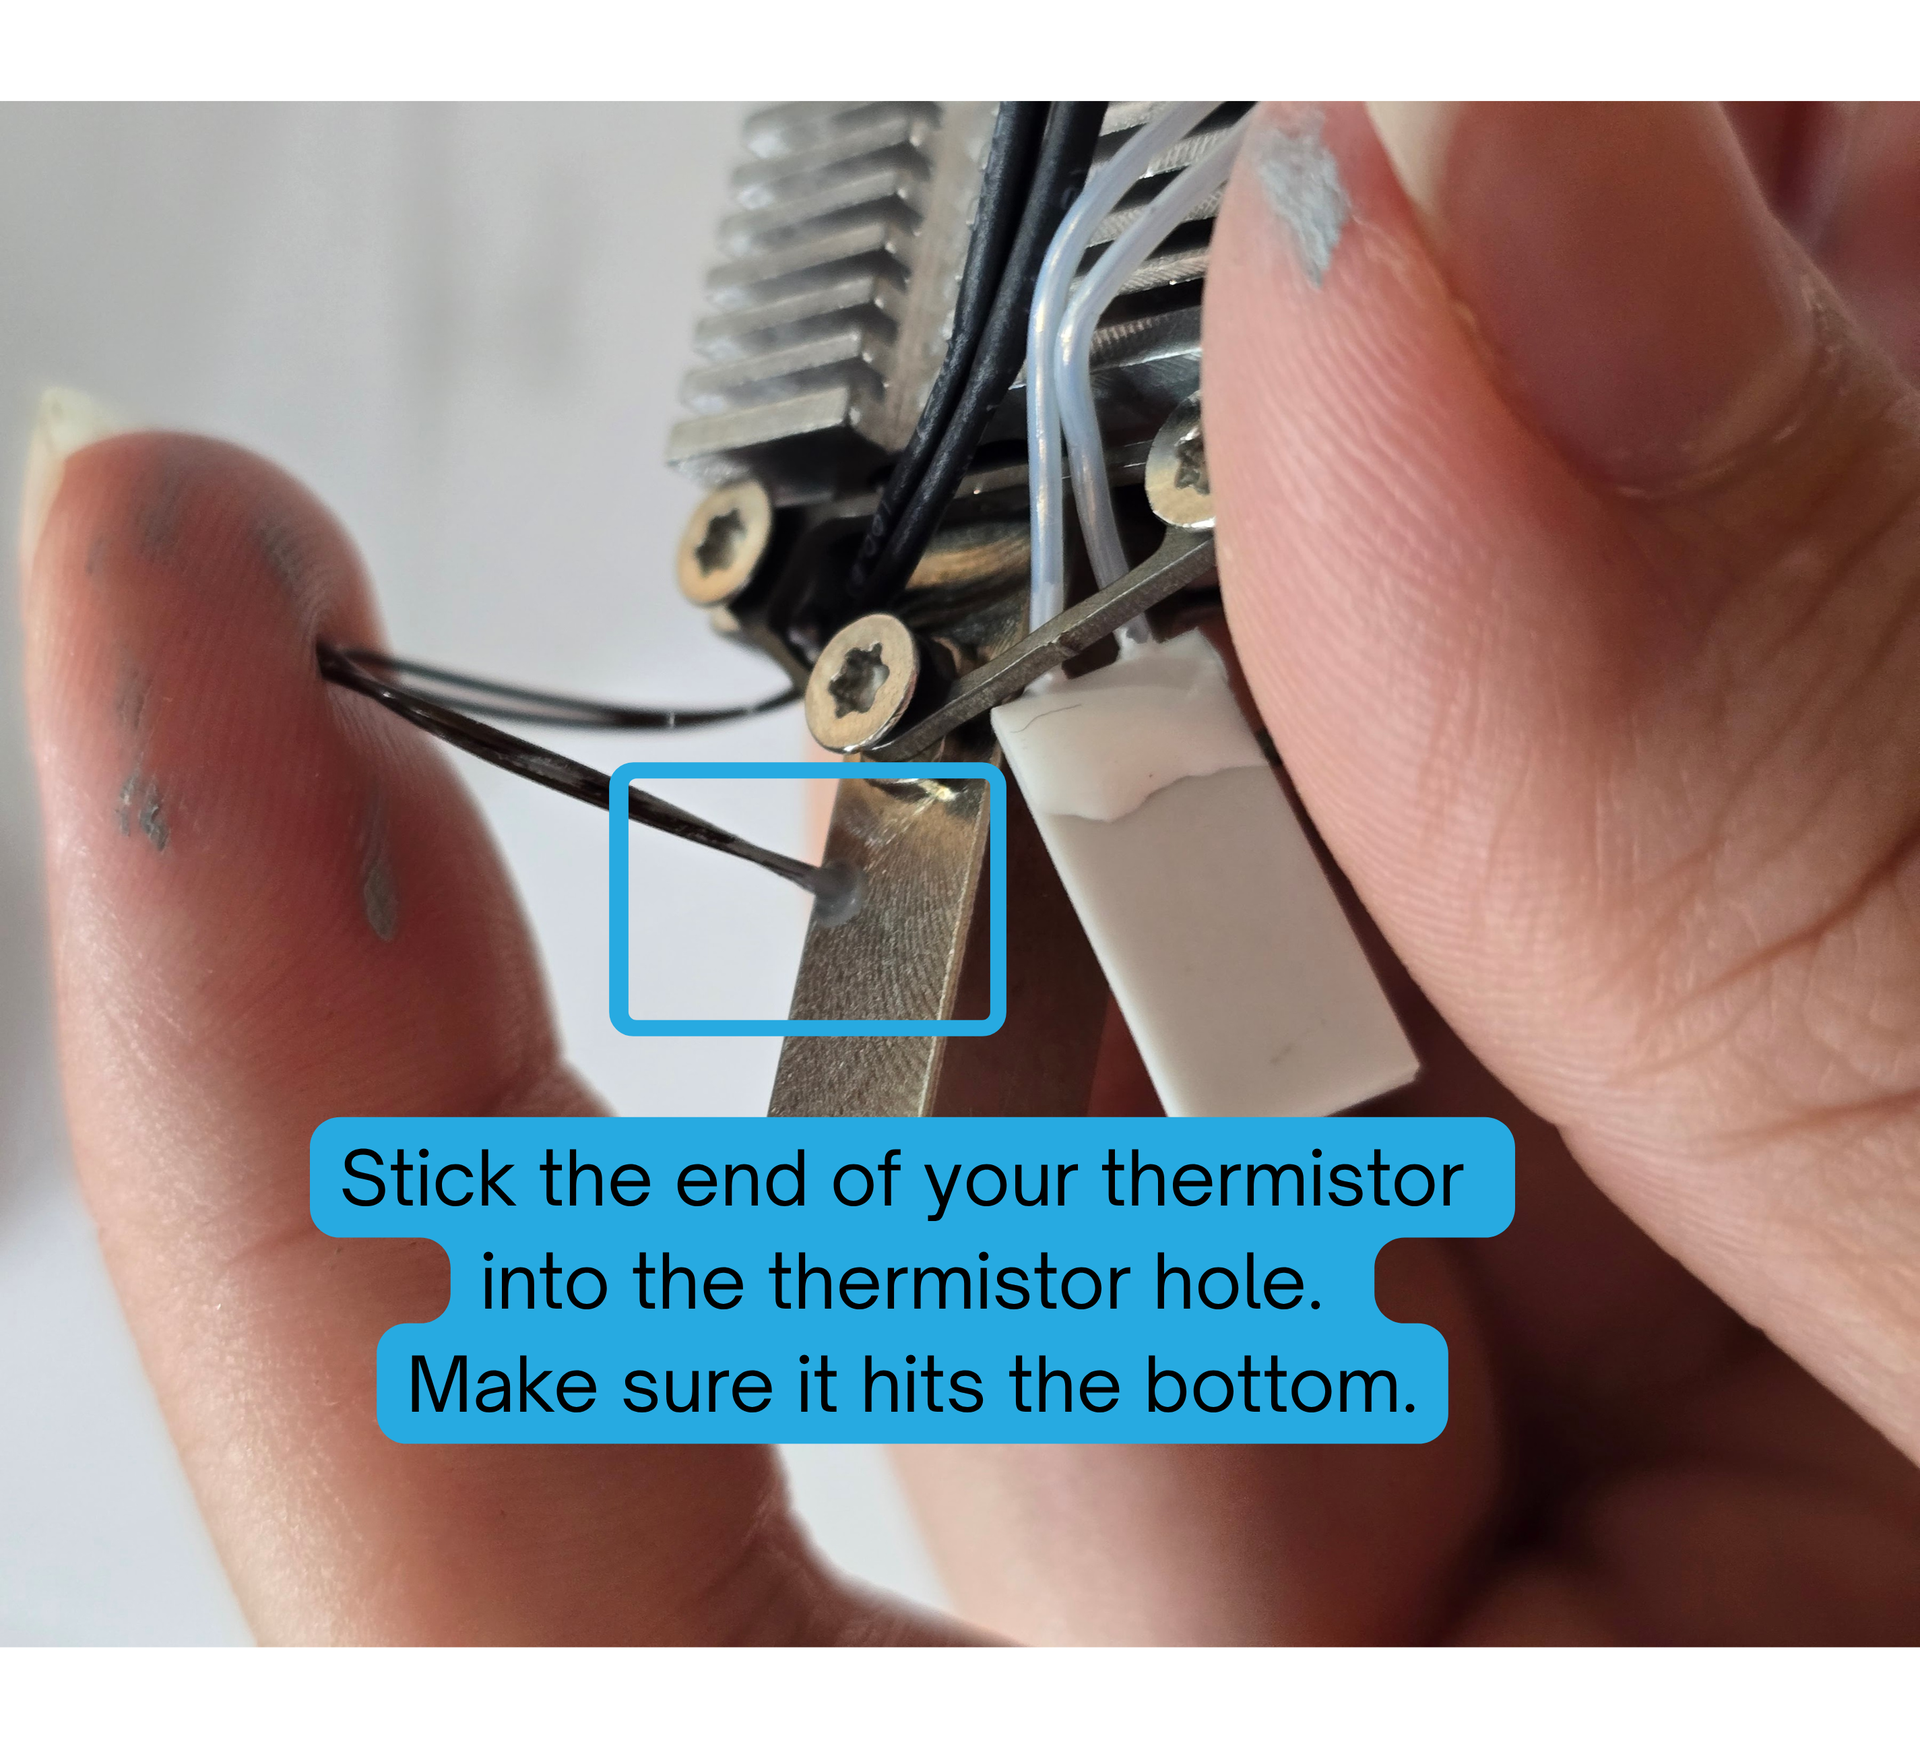
Stick the end of the thermistor into the thermistor hole. Make sure it reaches the bottom, for the best accuracy.
Step 9:
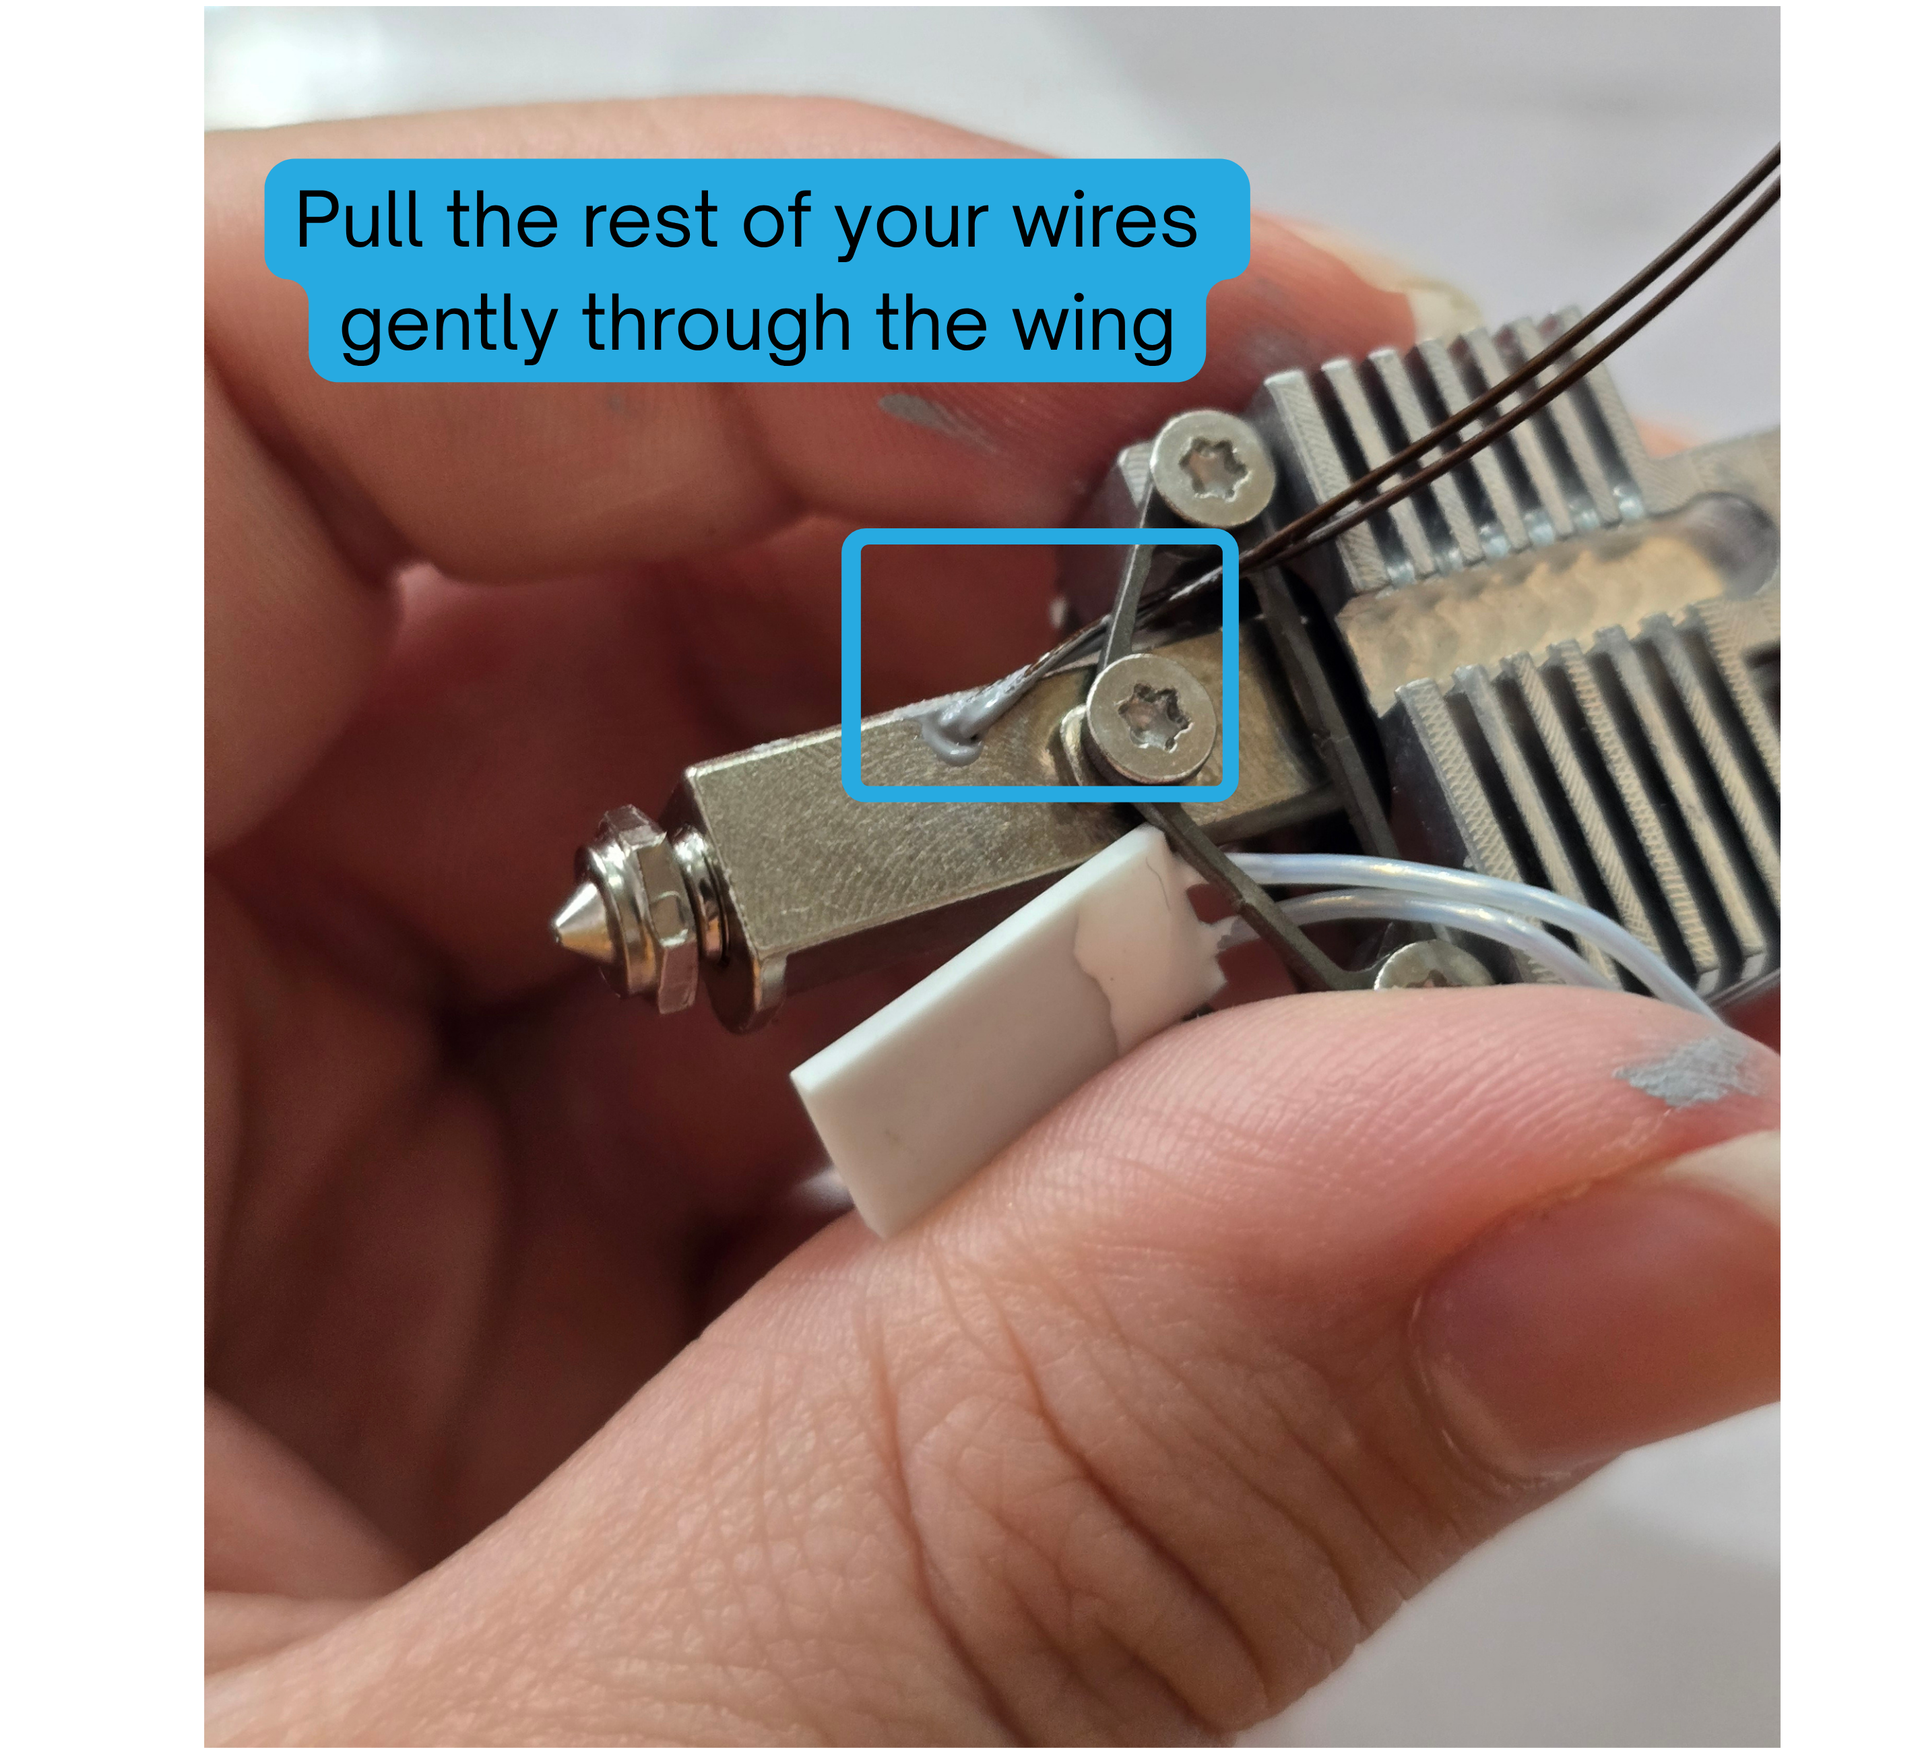
Gently pull the extra thermistor wires back through the wing. Make sure that you don't pull the thermistor out of the hole, only pull the external wires.
Step 10:
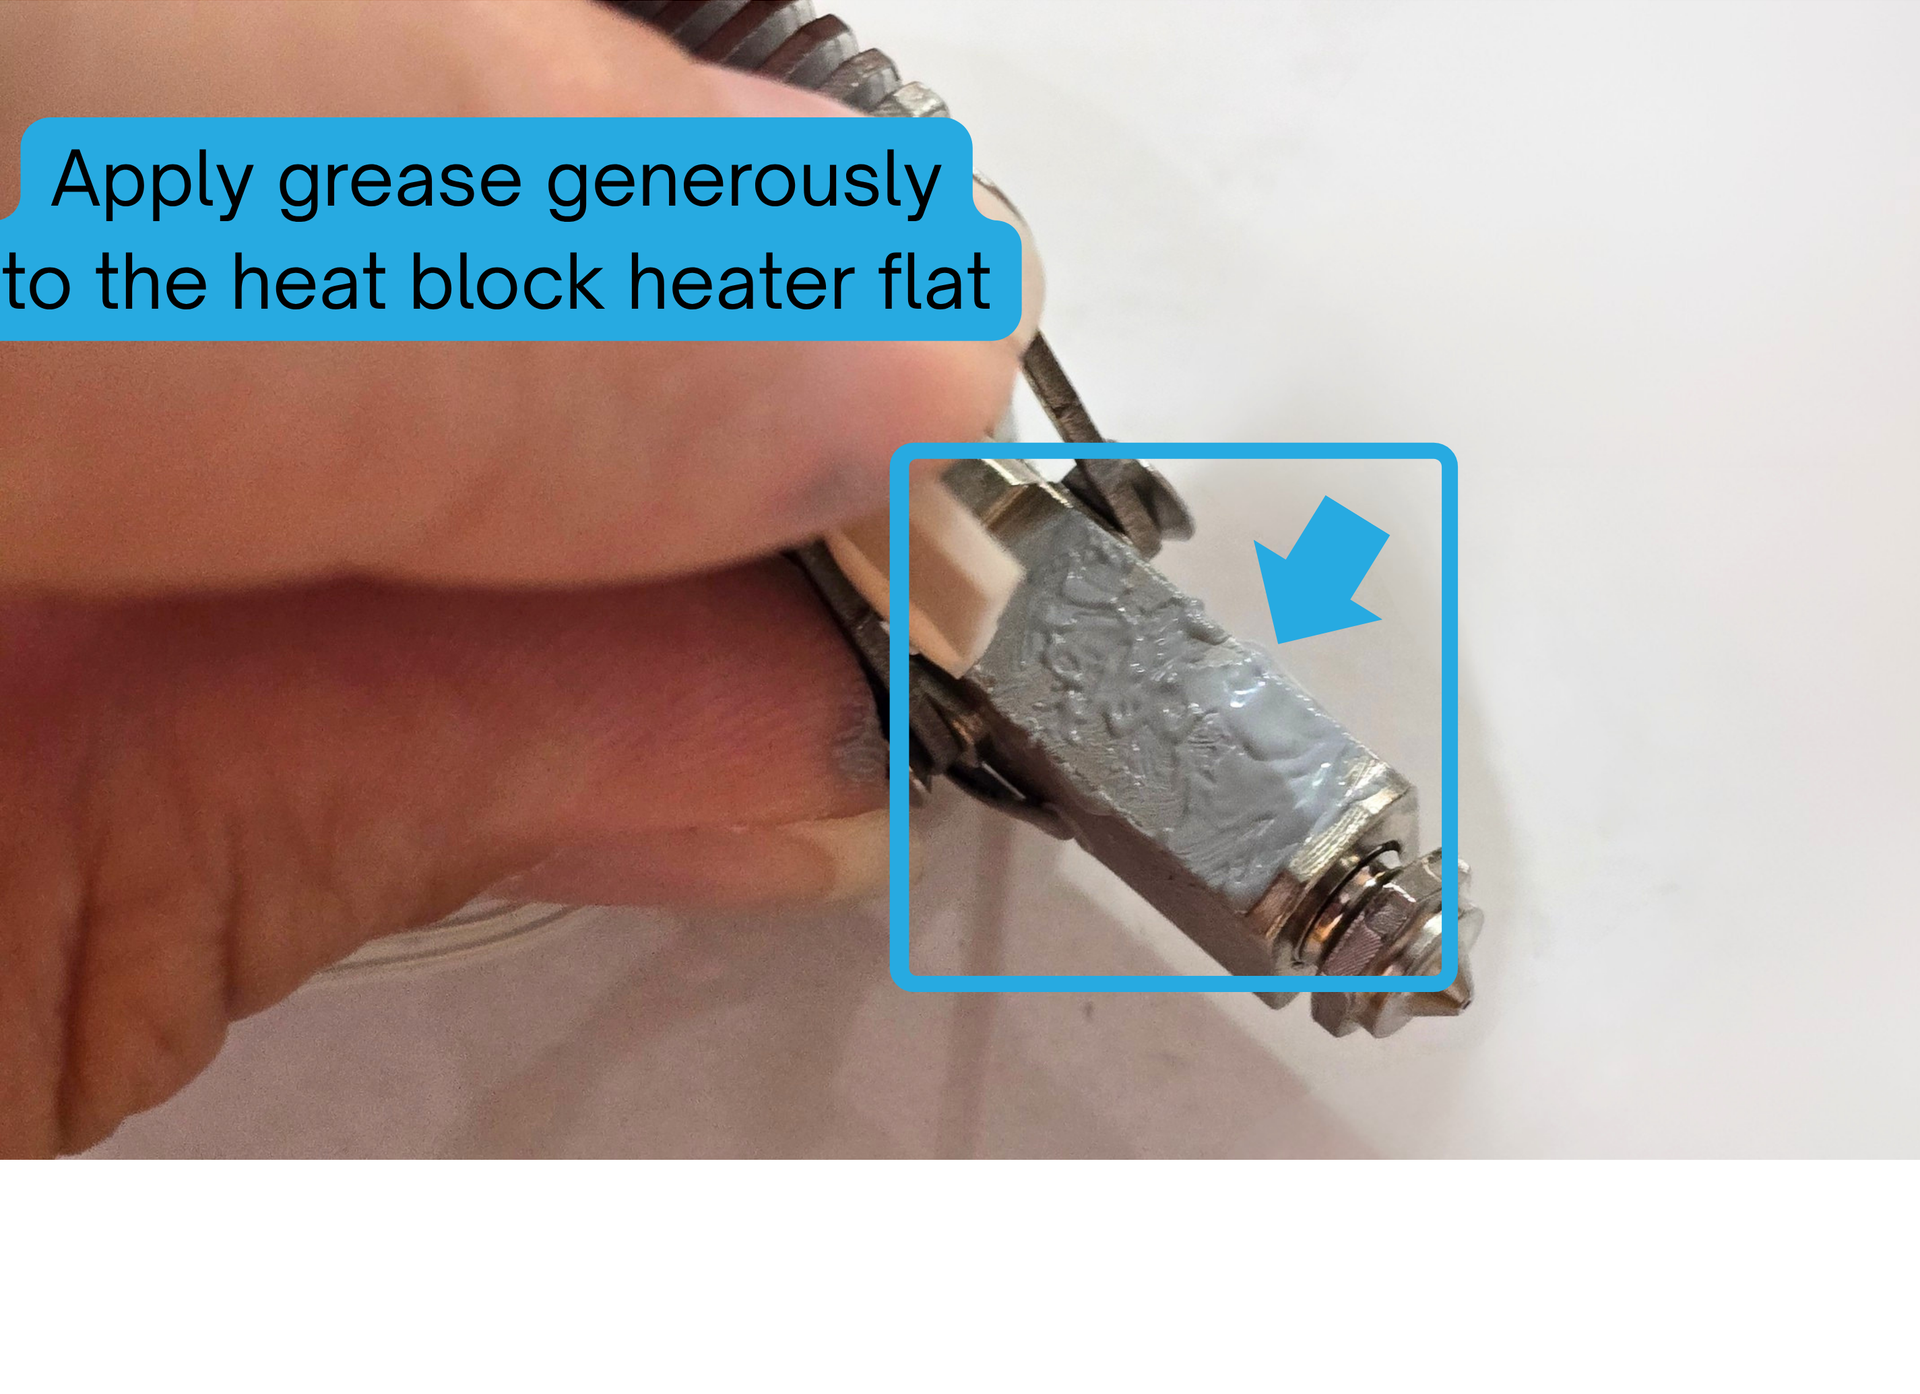
Apply grease generously to the indicated part of the heatblock.
Step 11:
Press the heater into place like so:
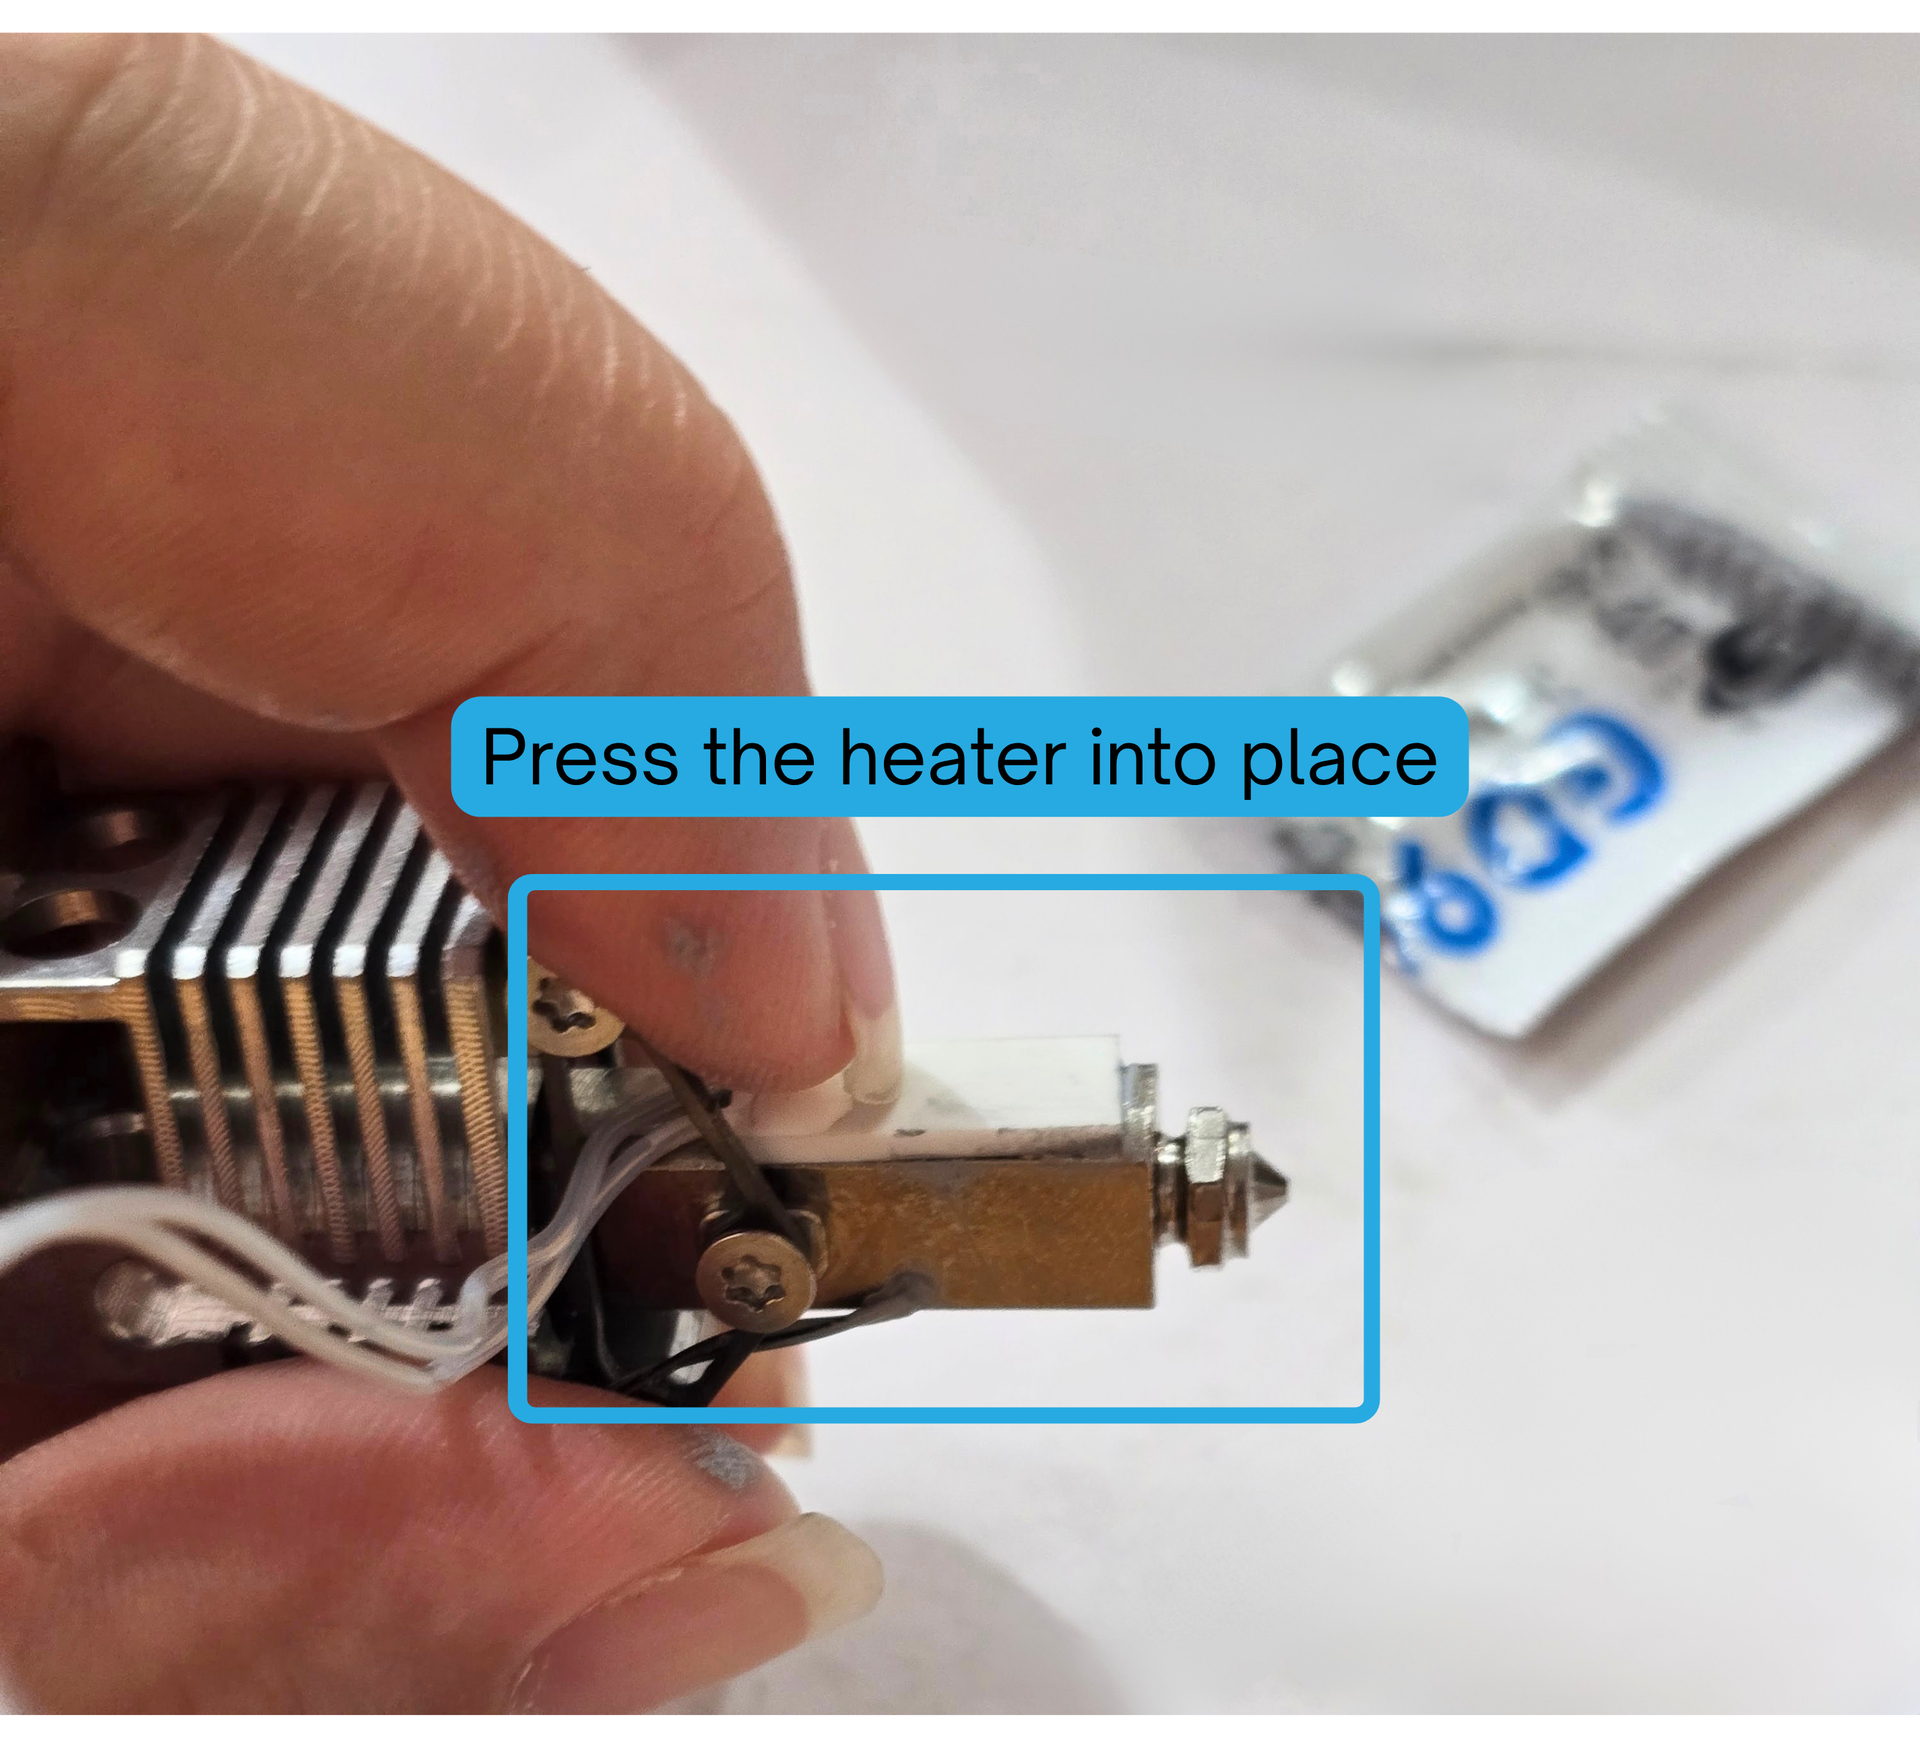
Step 12:
Slide the retention clip into place over the heater and thermistor. It should be in the position indicated below.

Step 13:
Reinstall the Silicone Sock.
Make sure your silicone sock is facing the correct direction.
Install it over the top of your FIN nozzle.
When it is fully "on" you will feel it suction itself to the nozzle.