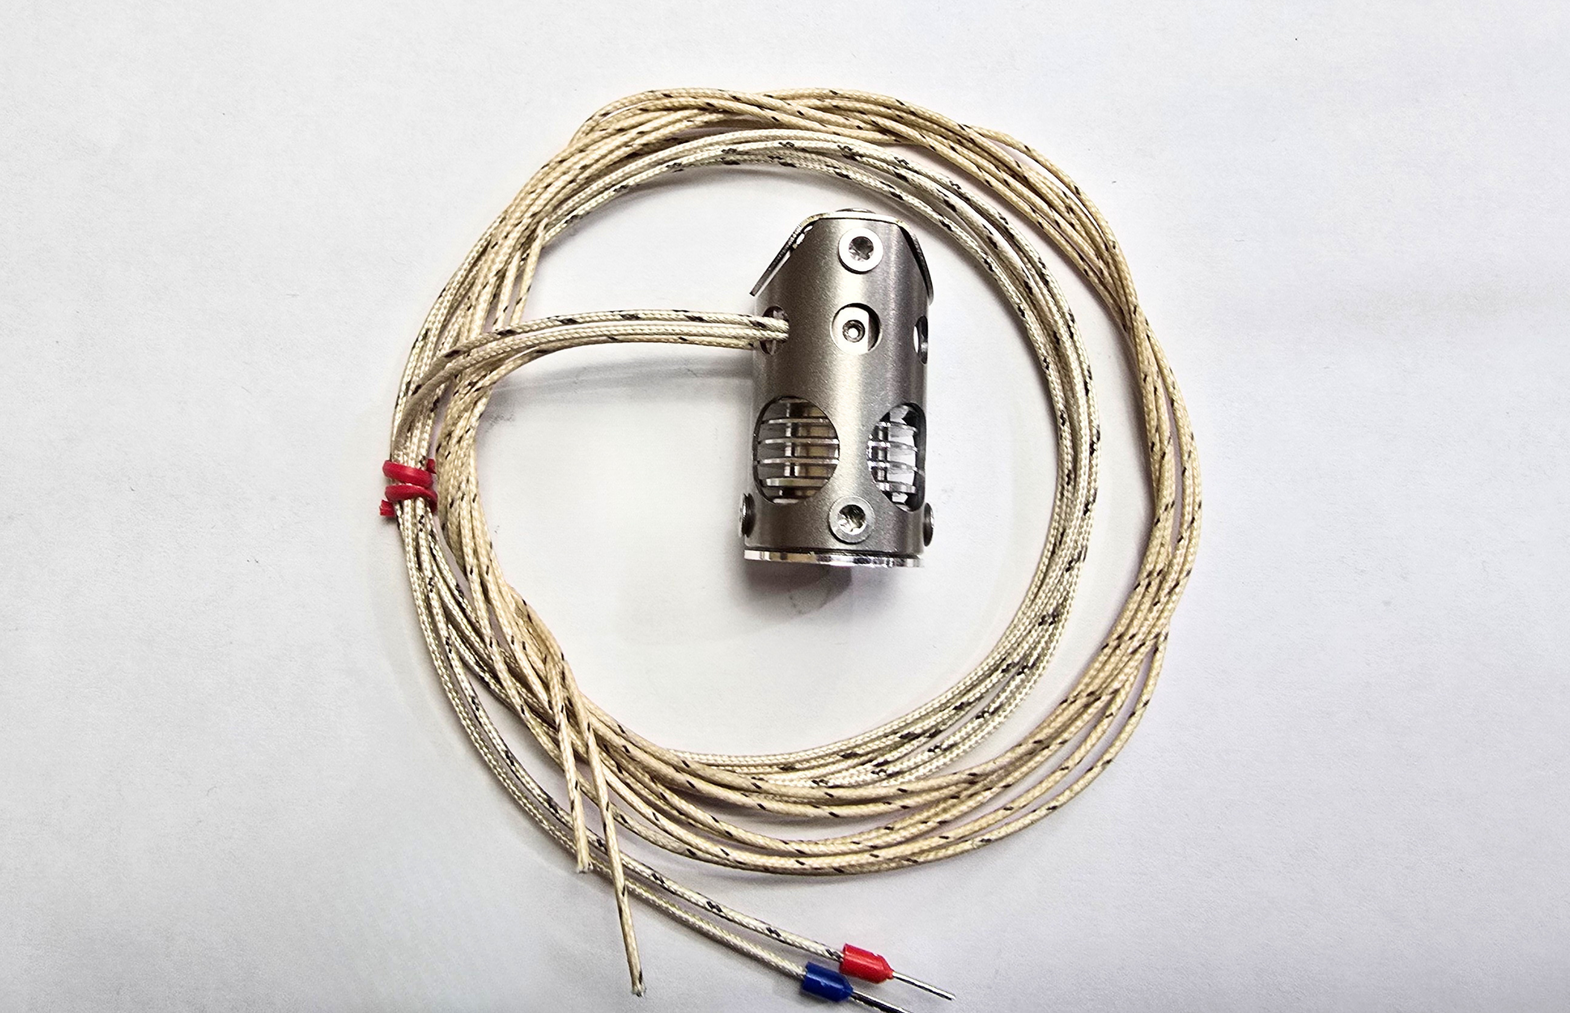
Chube Compact Heater and PT1000 Installation
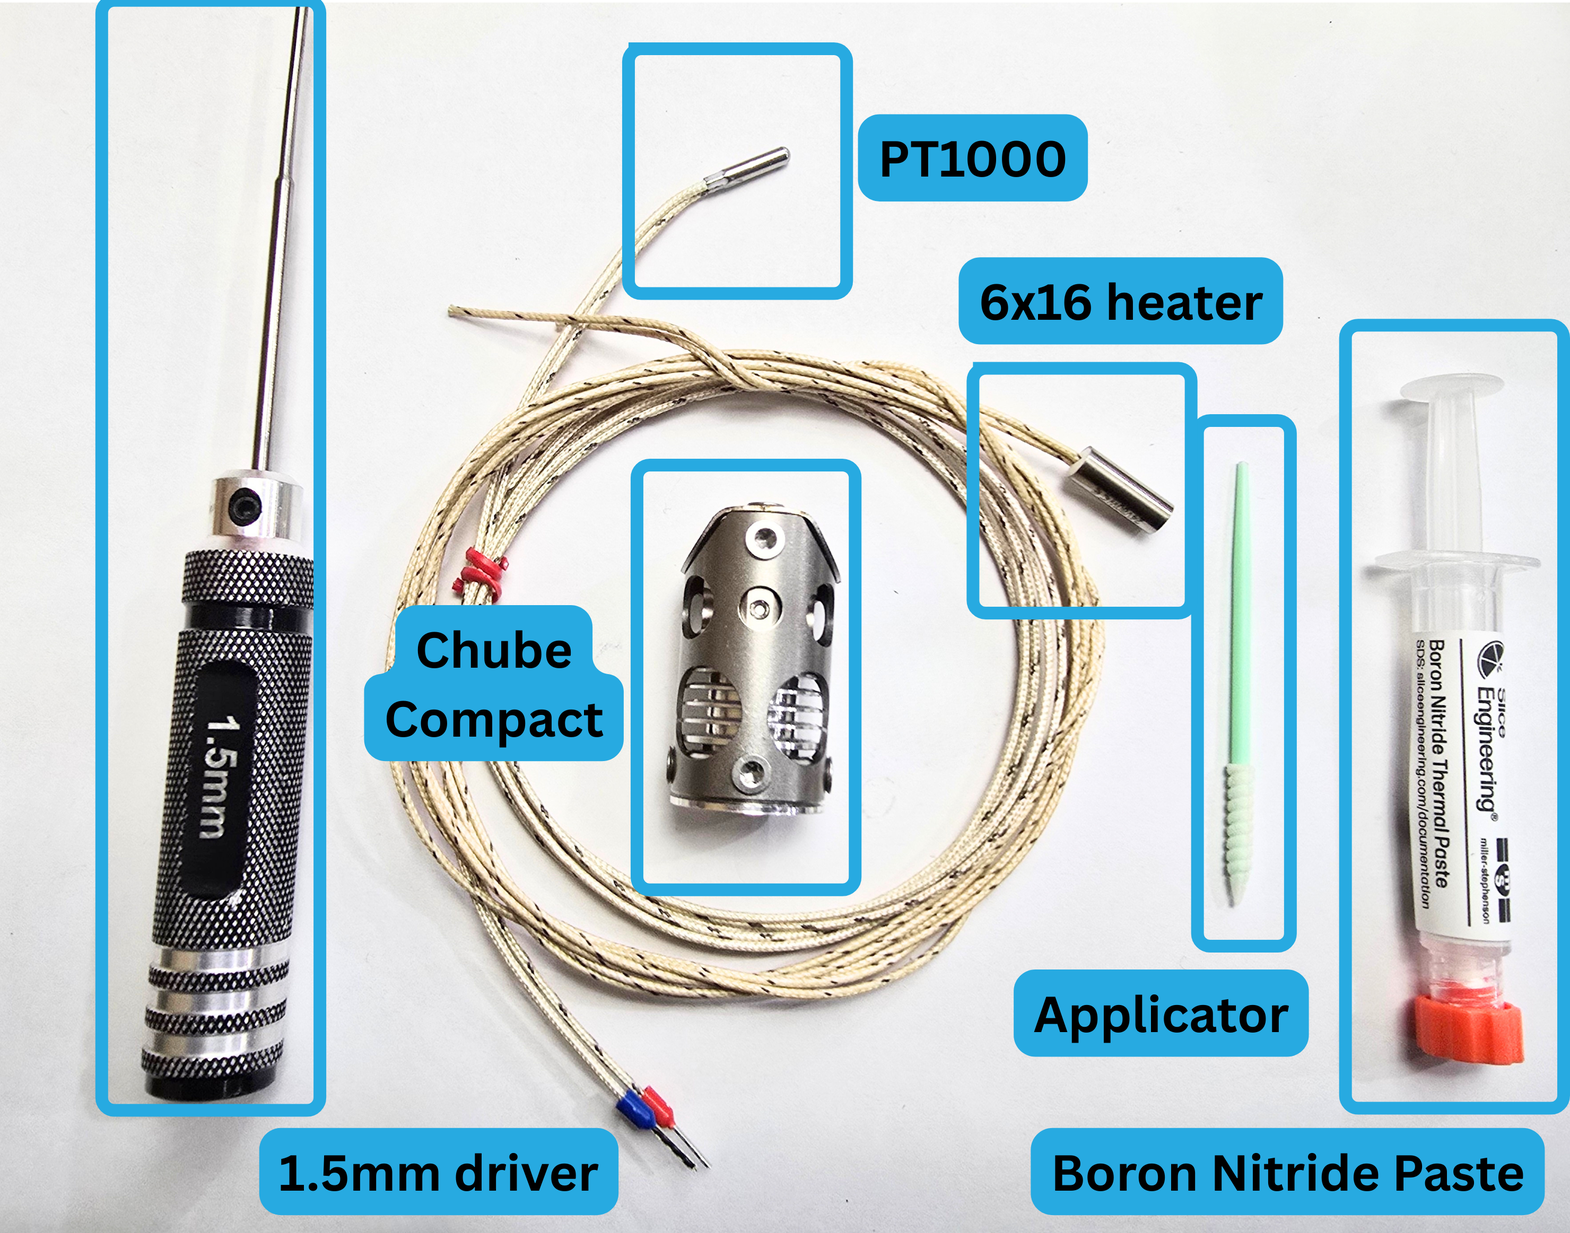
In order to properly install your heater and PT1000, you will need the following:
- Chube Compact
- 6x16 heater
- PT1000
- Boron Nitride (BN) Paste and applicator
- 1.5mm hex driver
Step 1:
Step 1a:
Put a small amount of the BN paste in a little dish, and use your applicator to apply it to the cartridge portion of the heater (the silver metal part).
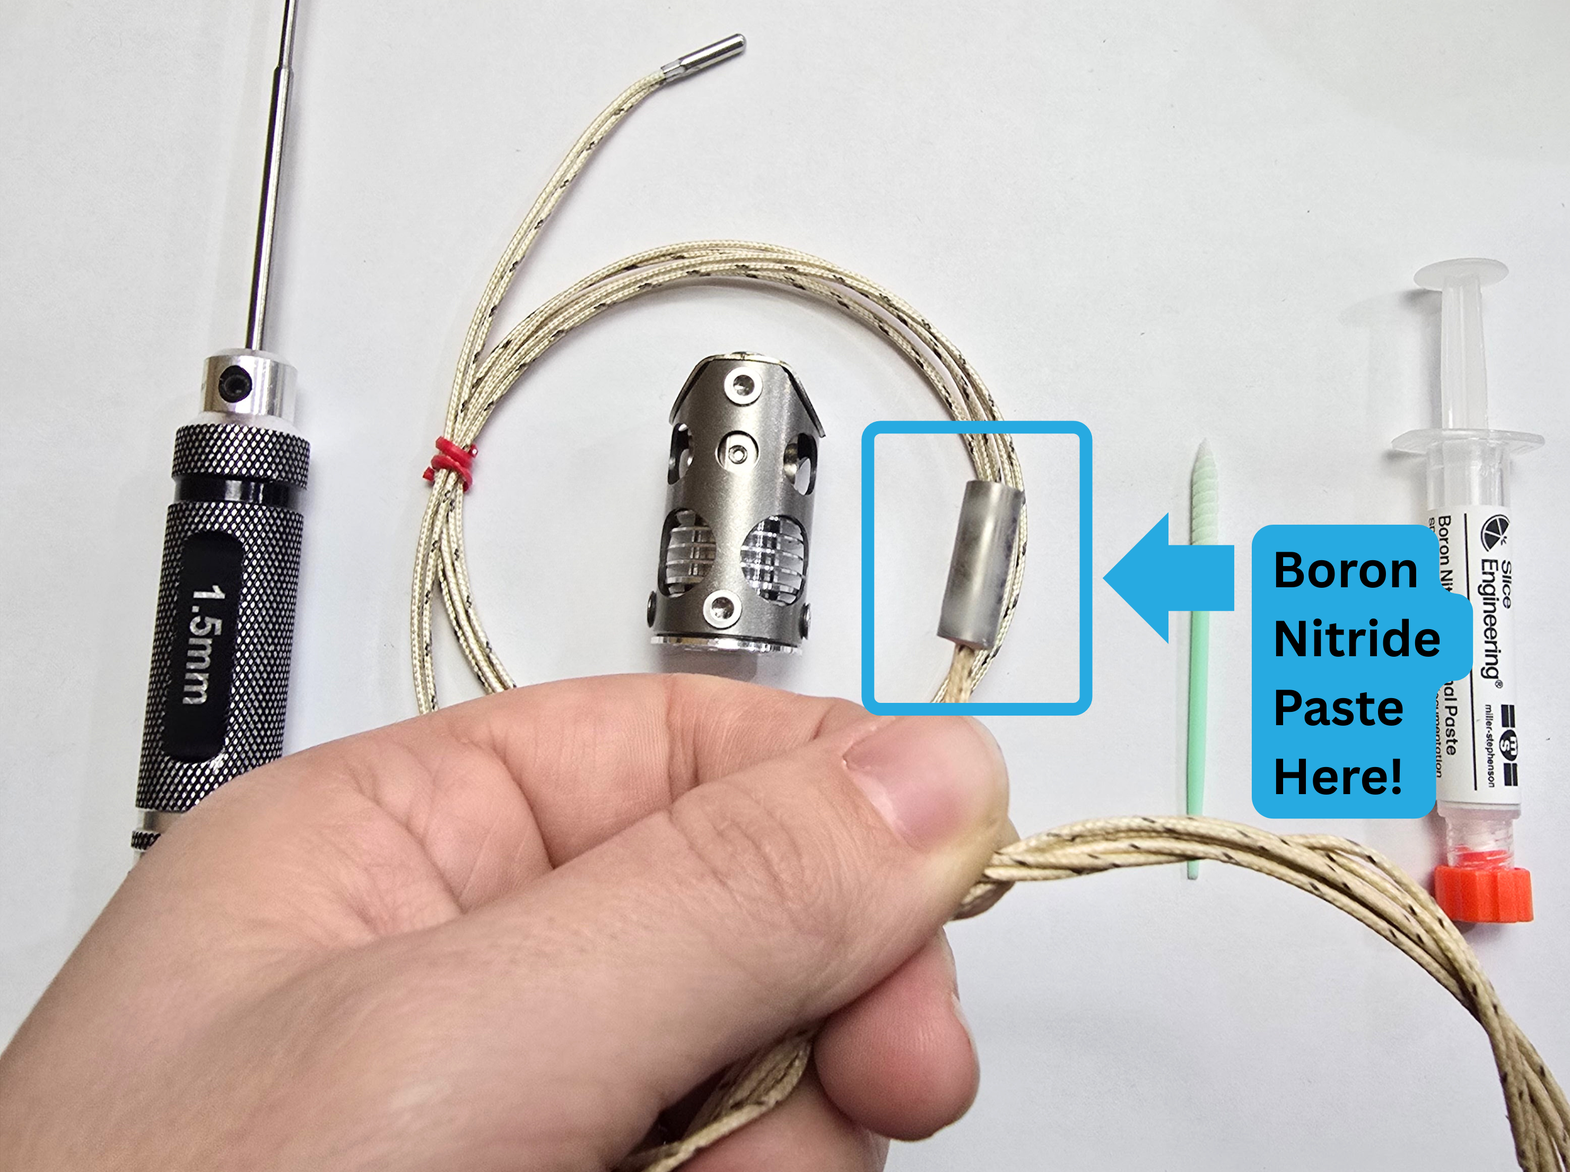
Step 1b:
Pick up your pasted heater, as well as the hotend. Put the cartridge side of the heater through the hole in the shroud, and into the block.
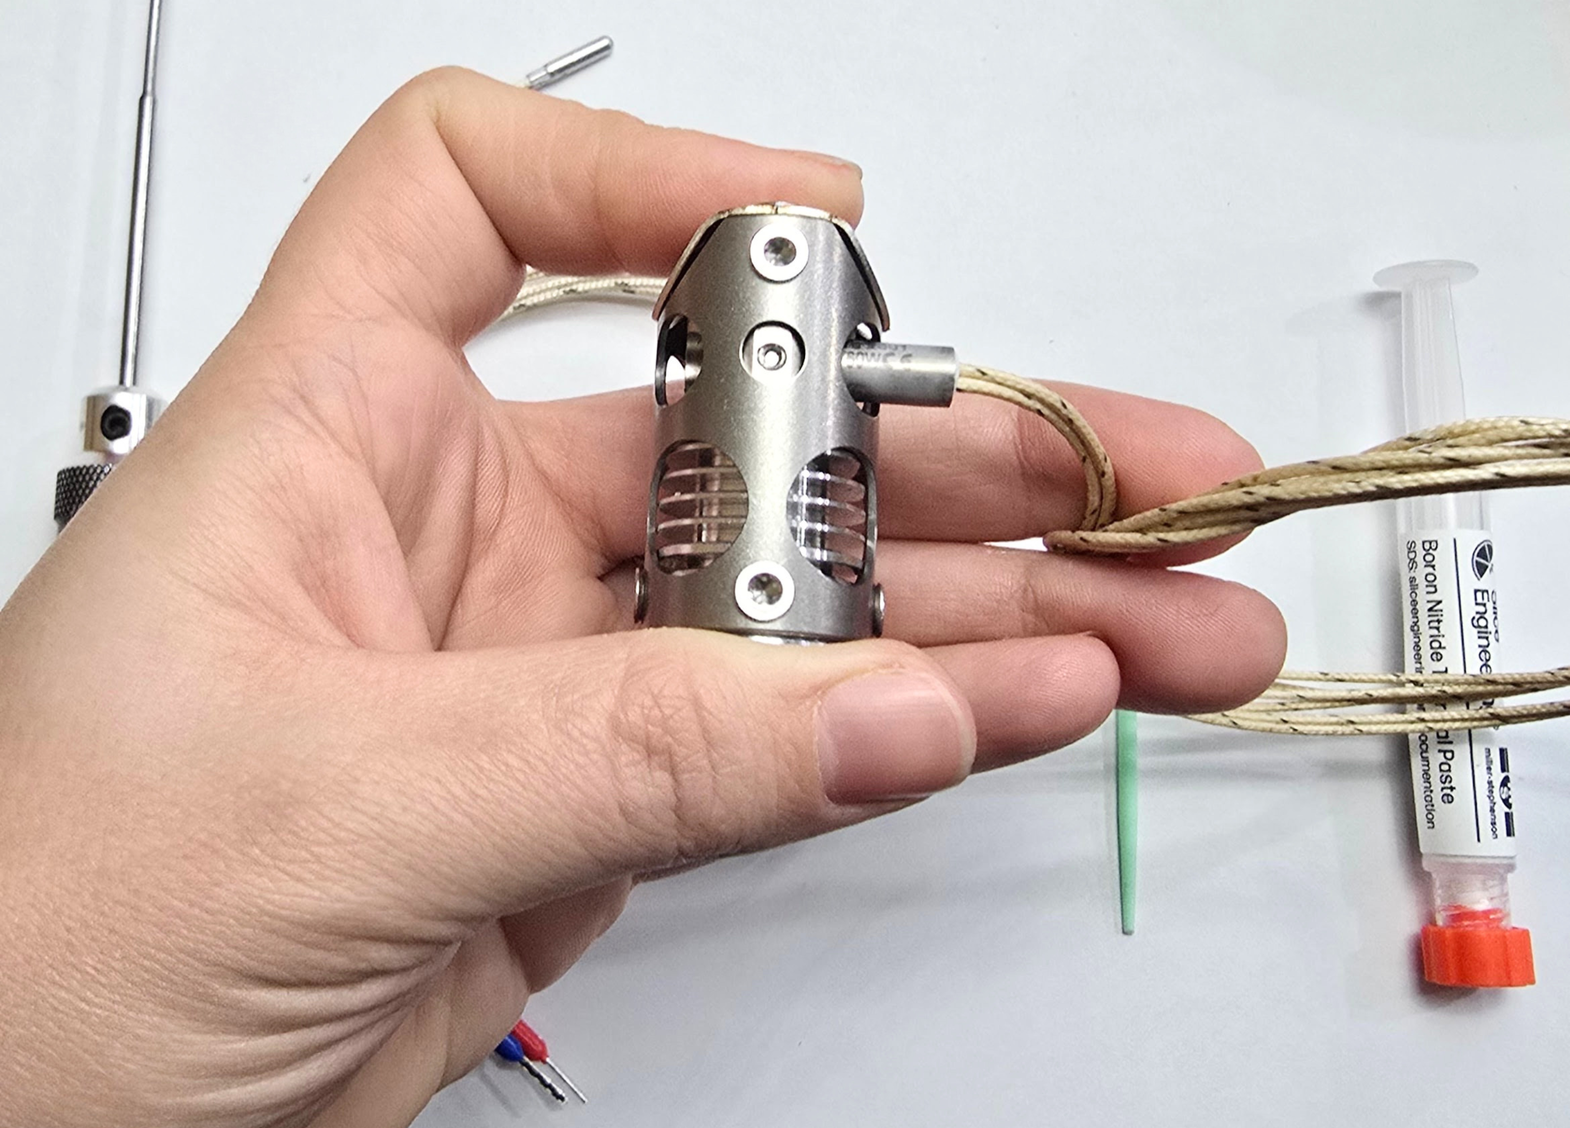
Step 1c:
Hold the hotend and heater in one hand.
Insert the heater cart into the heater-side of the heatblock.
If the heater cartridge does not go in the whole way, you will need to slightly loosen (with your 1.5mm hex driver) the grub screw on that side of the heatblock.
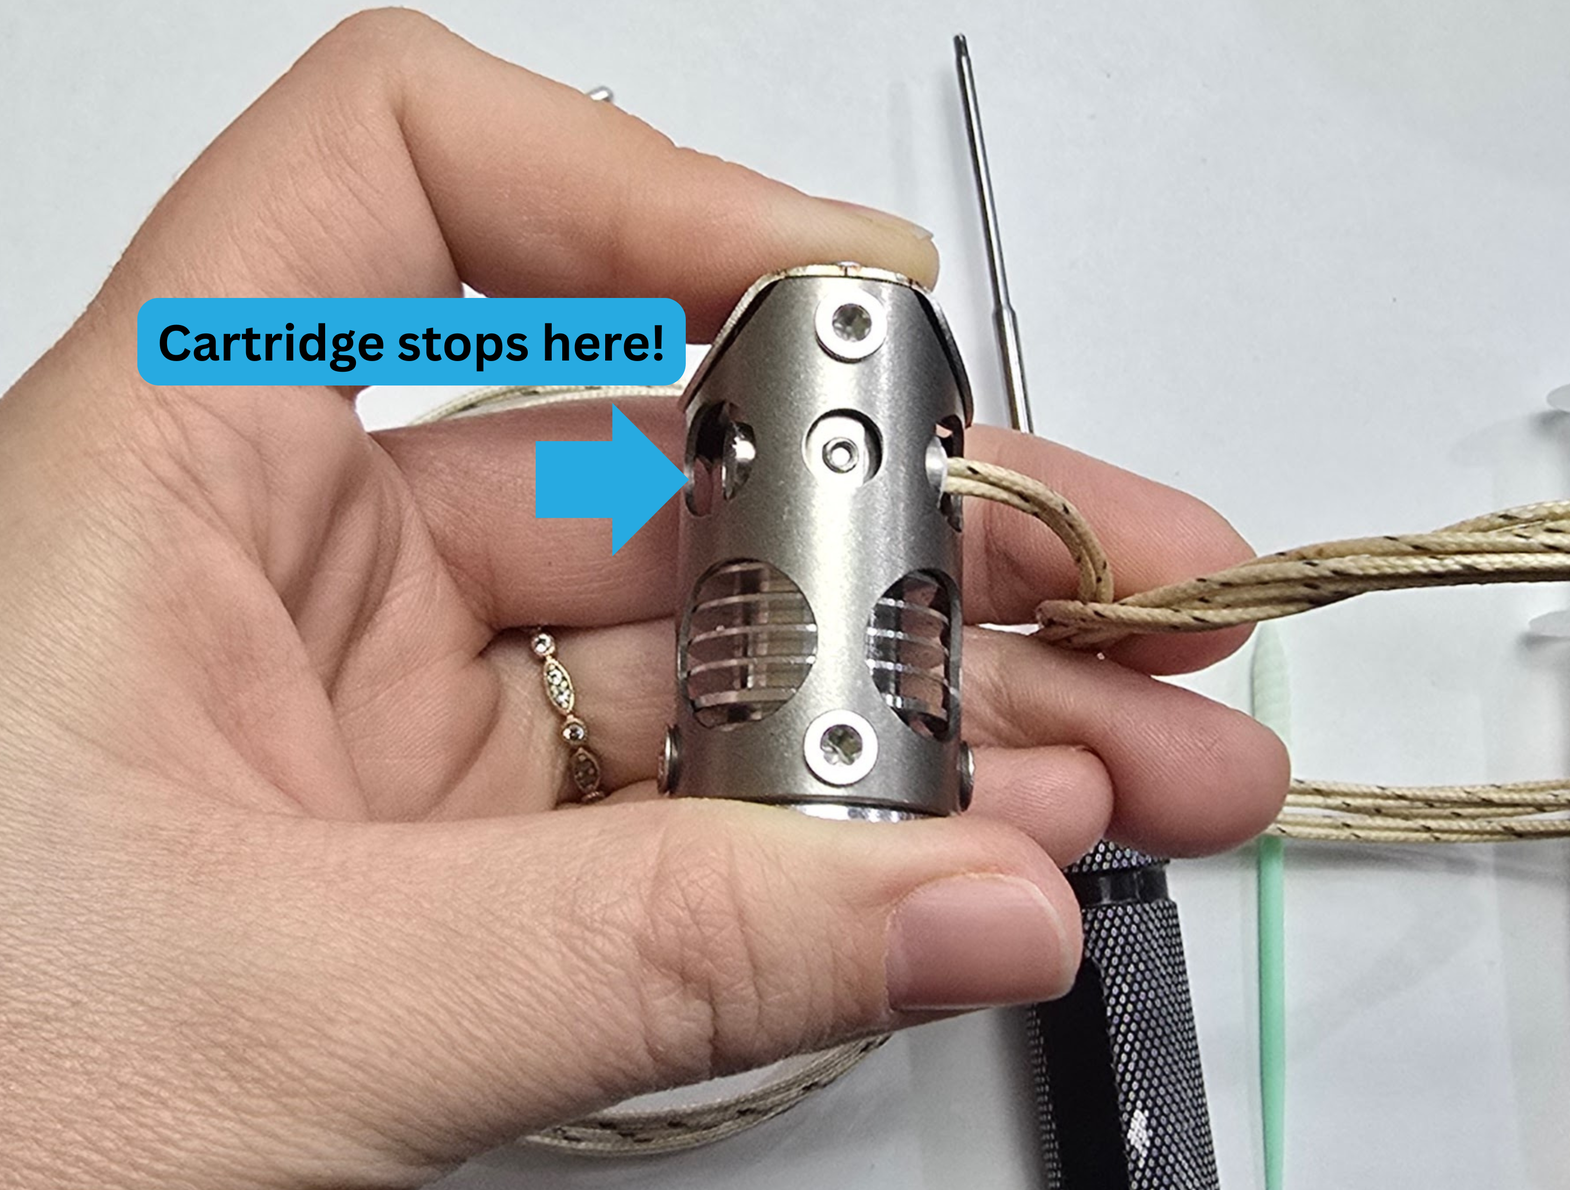
Step 1d:
Tighten the grub screw just until it retains the heater cartridge. Over-tightening can cause damage to your heater, and reduce lifespan.
Step 2:
You will need:
- Chube Compact
- Boron Nitride Paste and applicator
- 1.5mm hex driver
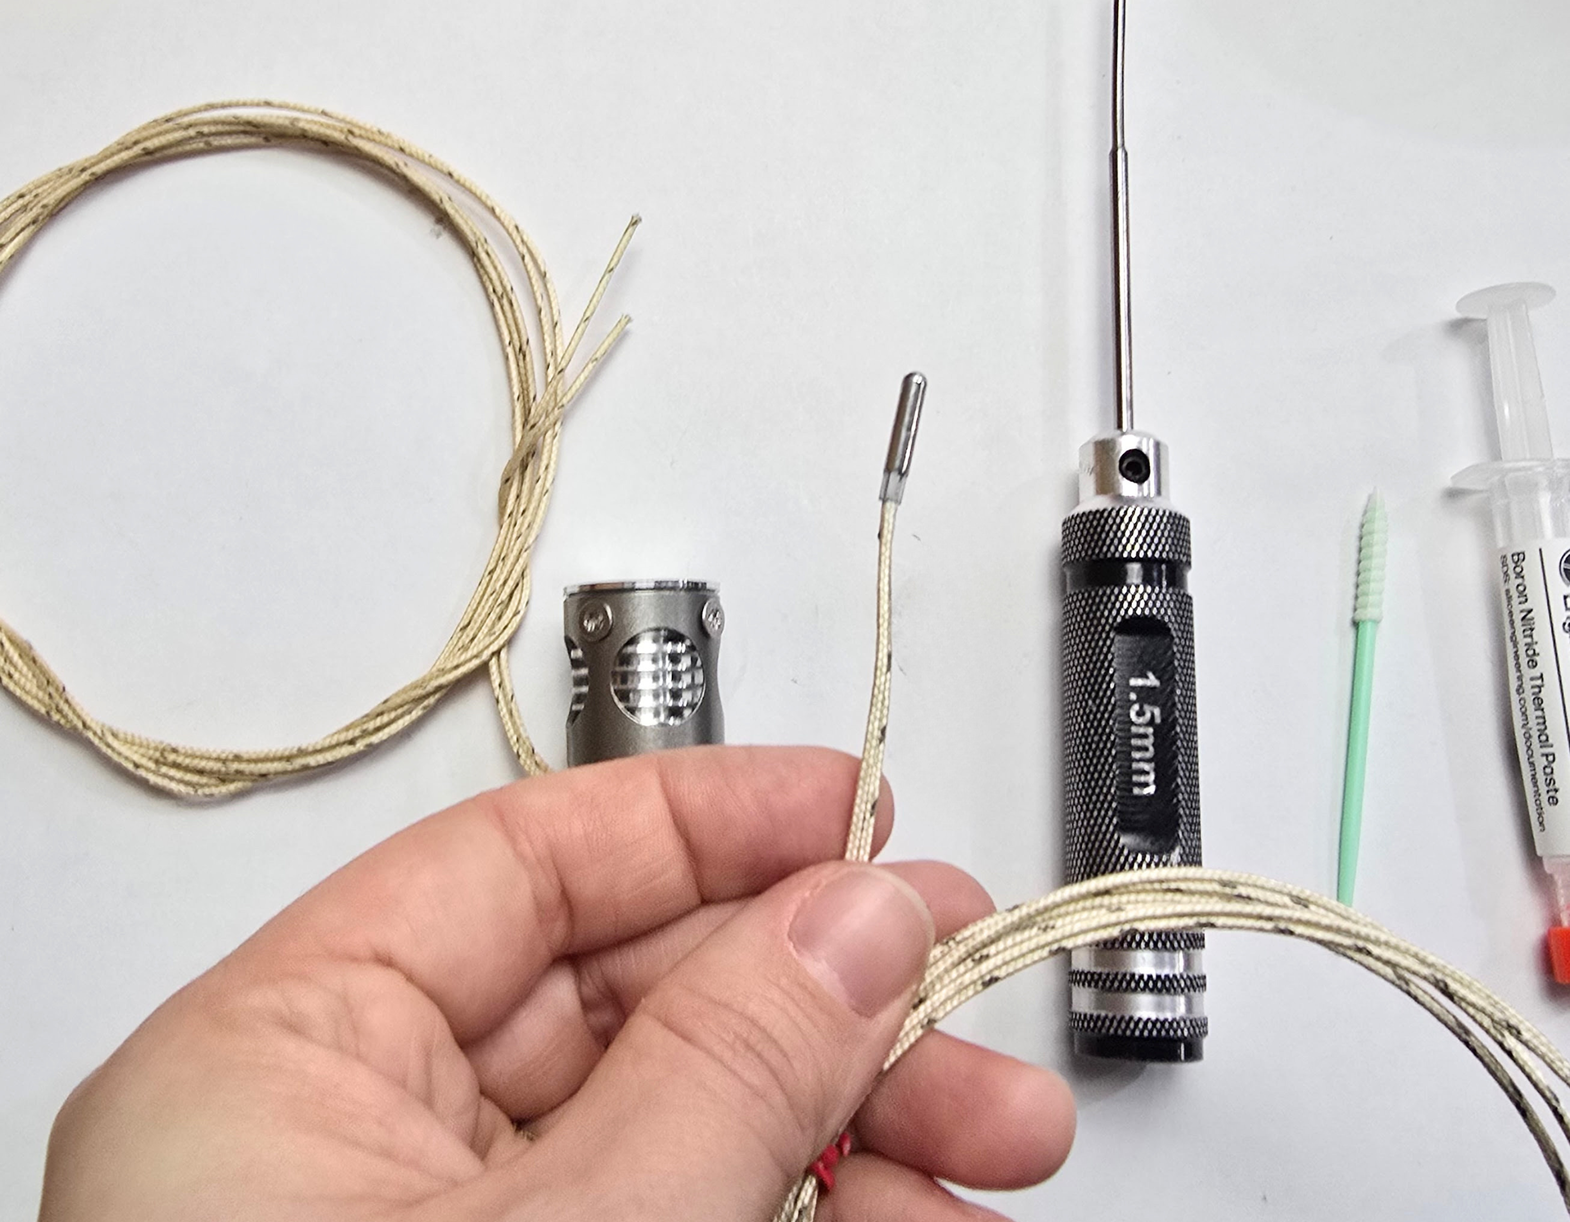
Step 2a:
Grab your PT1000, and apply a thin layer of Boron Nitride paste to the cartridge.
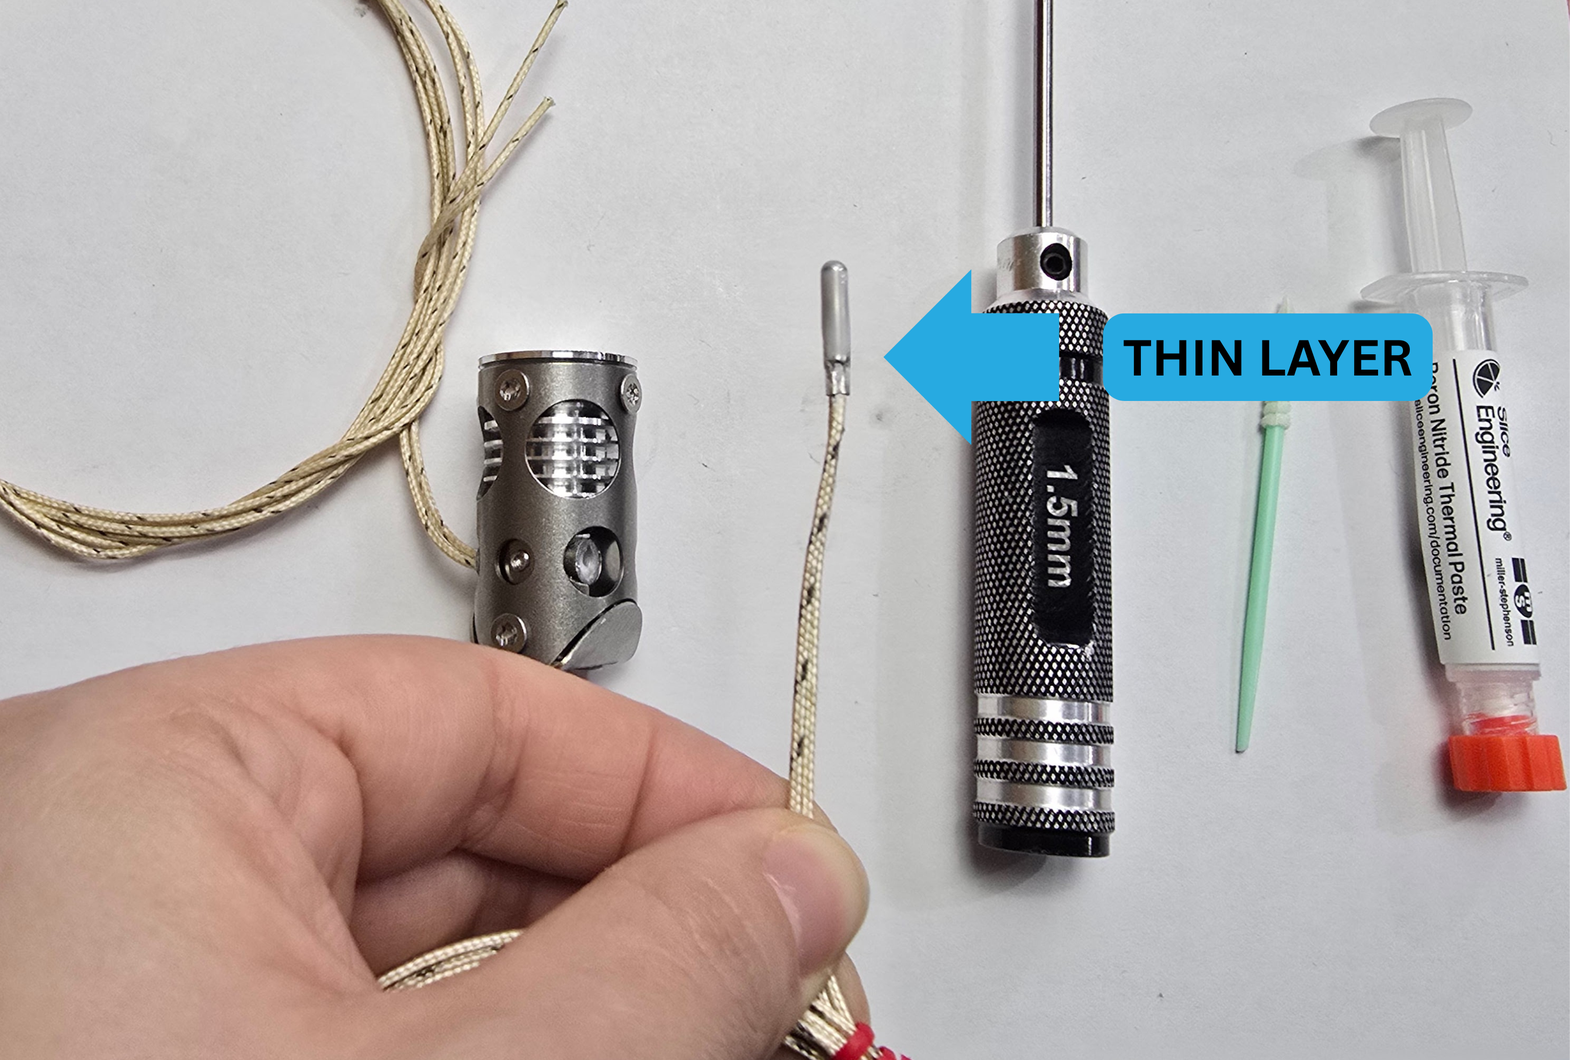
Step 2b:
Begin inserting the pasted PT1000 into the PT1000 hole. It should look like the below picture:
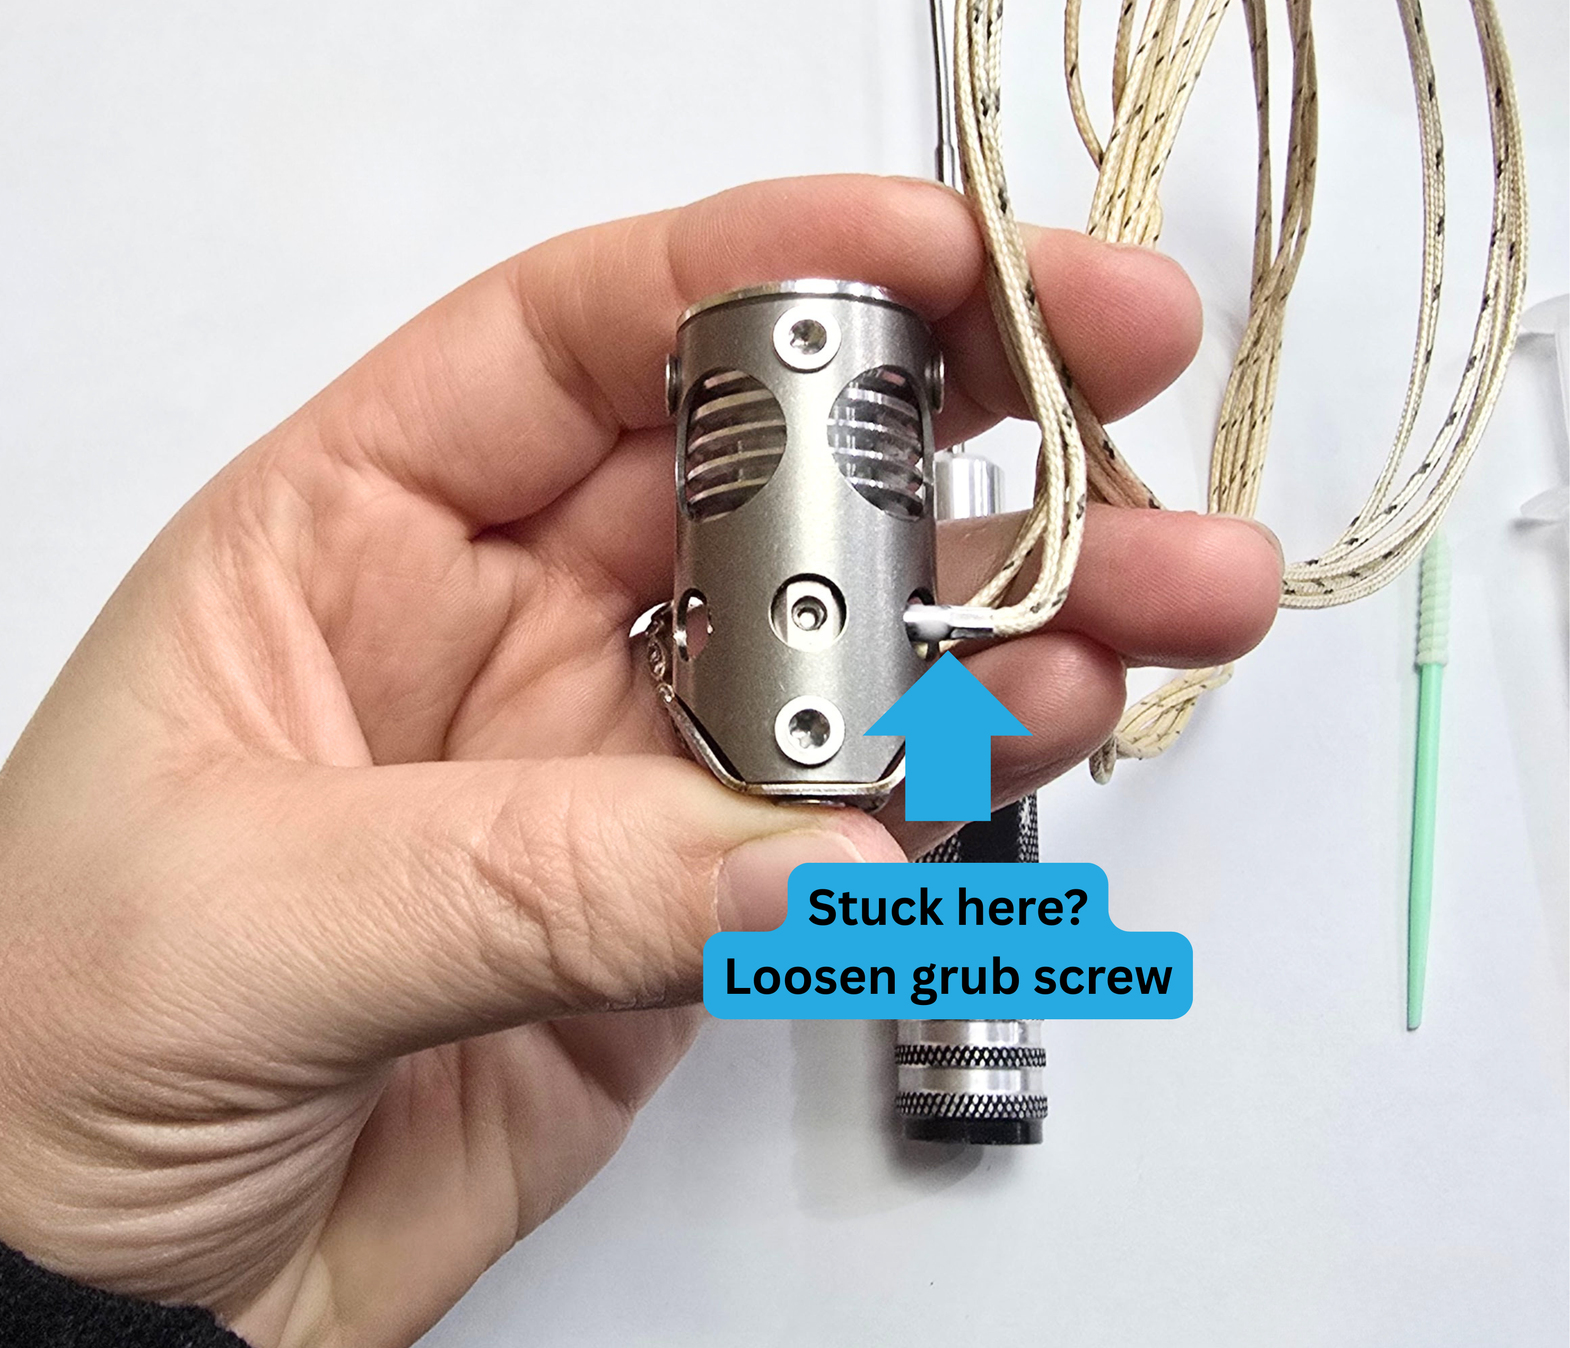
When the PT1000 cartridge gets stuck at the halfway point, use your 1.5mm driver to slightly loosen the grub screw.
Finish pressing the cartridge into the hole, until it is fully inserted.
Now tighten the grub screw until it is retaining the cartridge.
Overtightening can damage the PT1000, and decrease lifespan. Furthermore, if you bend it too much out of shape, you may not be able to remove it down the line.
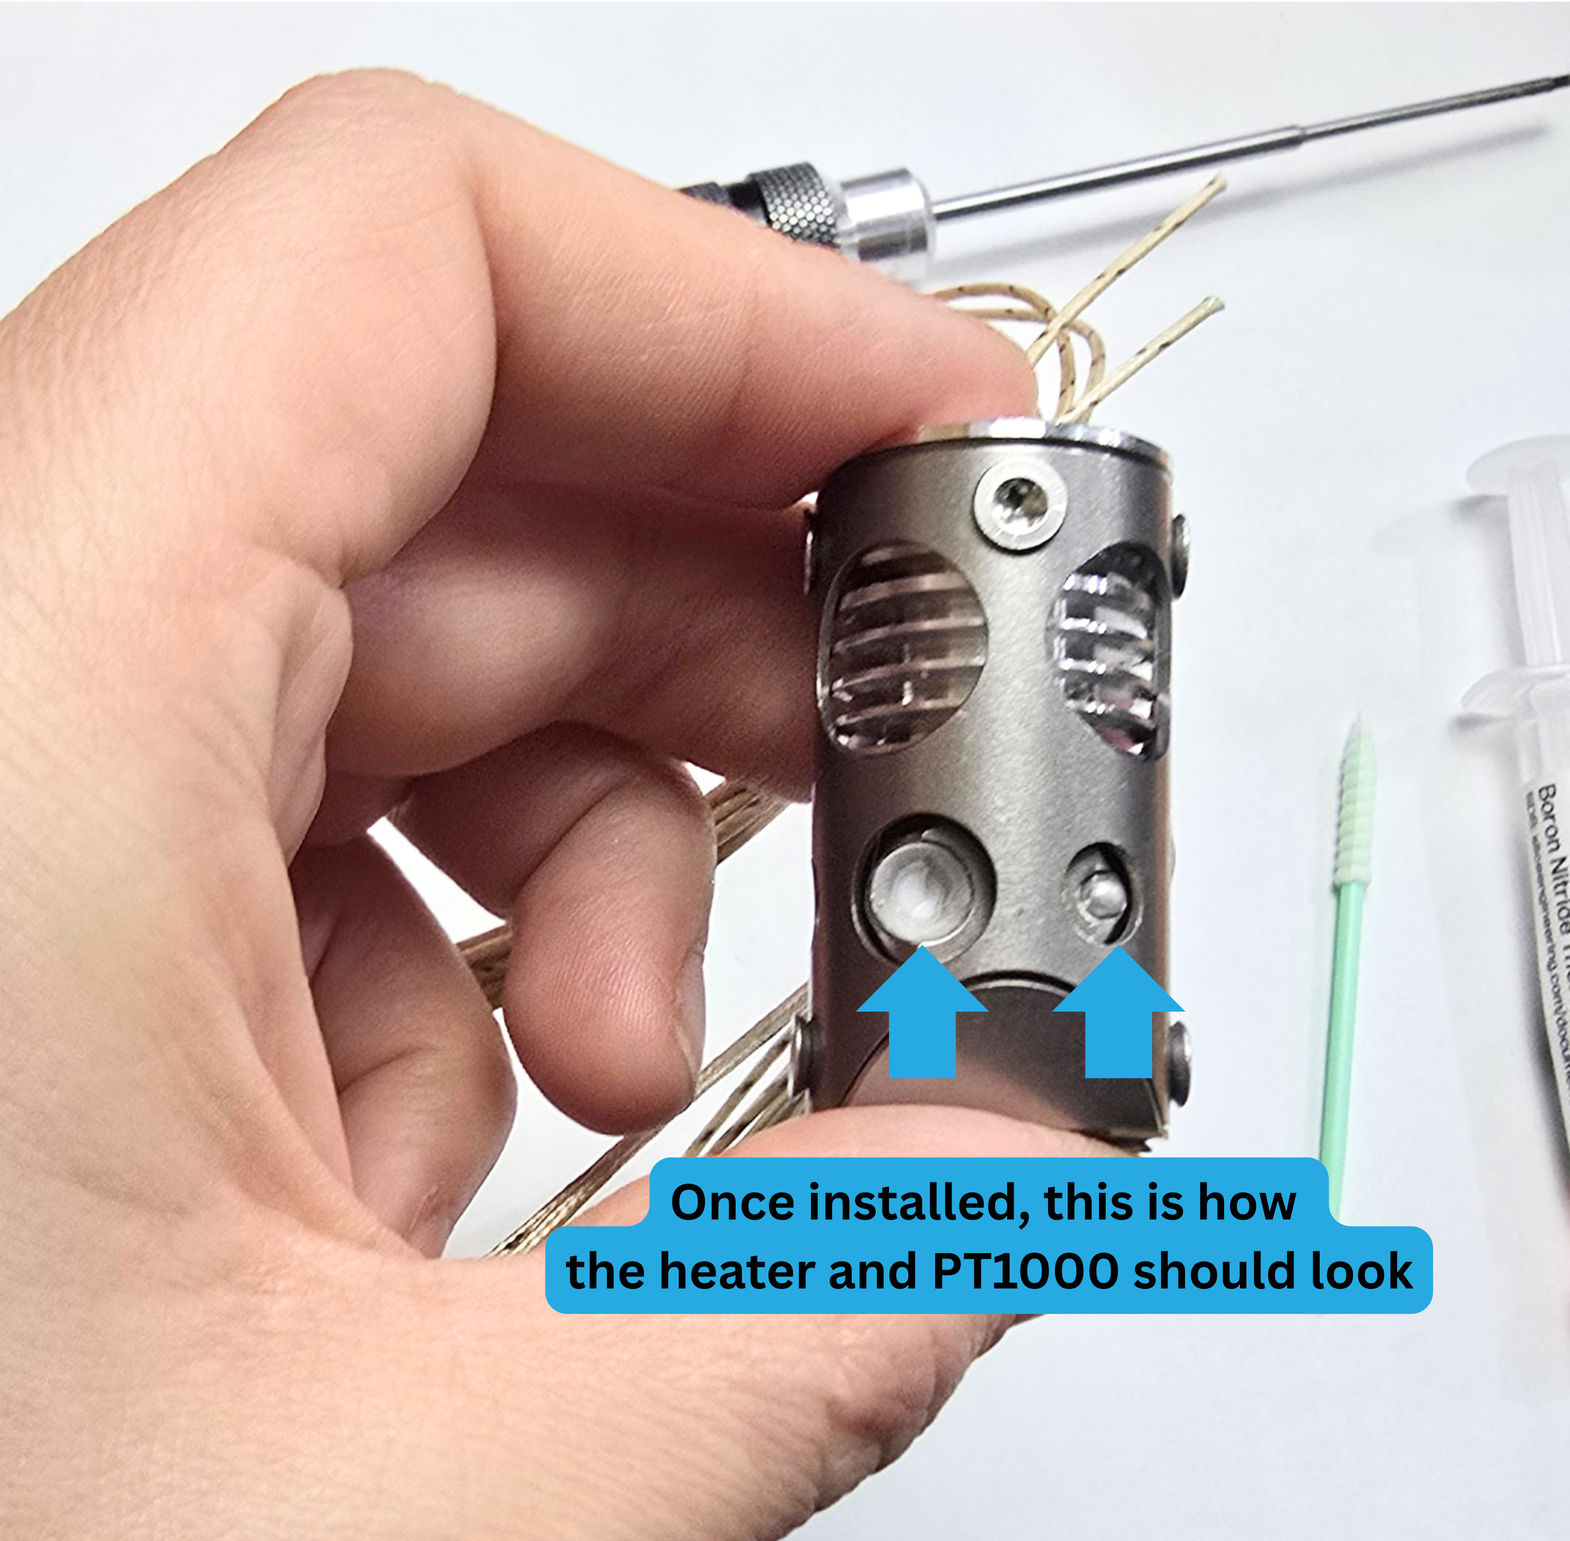
Now that your heater and PT1000 are installed, the Chube Compact is ready for your next step!